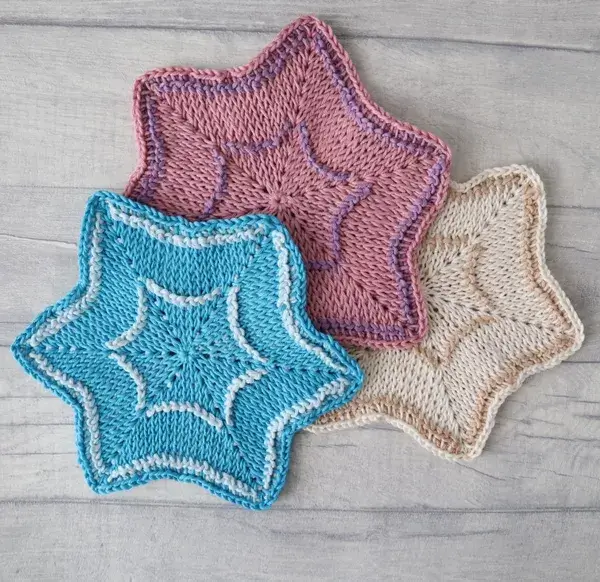
Blessed Three Star Coaster is a great first project to learn Tunisian crochet in the round technique using double ended hook. It works up fast, which makes it a great last minute gift idea and perfect stash-busting option. The best results are achieved by selecting similar colours. The Blessed Three Star Coaster is worked in the round, with FP worked facing RS and RP facing WS. Each round is worked in smaller increments with adding as many lps on the hook as possible (FP), turning the work around and working the lps off to last 3 lps (RP) from the opposite side of the hook. It is crucial to use a stitch marker to mark 1st st of each rnd and move it up with each consecutive rnd. The st count refers to the number of lps per round.
Click here for the crochet pattern
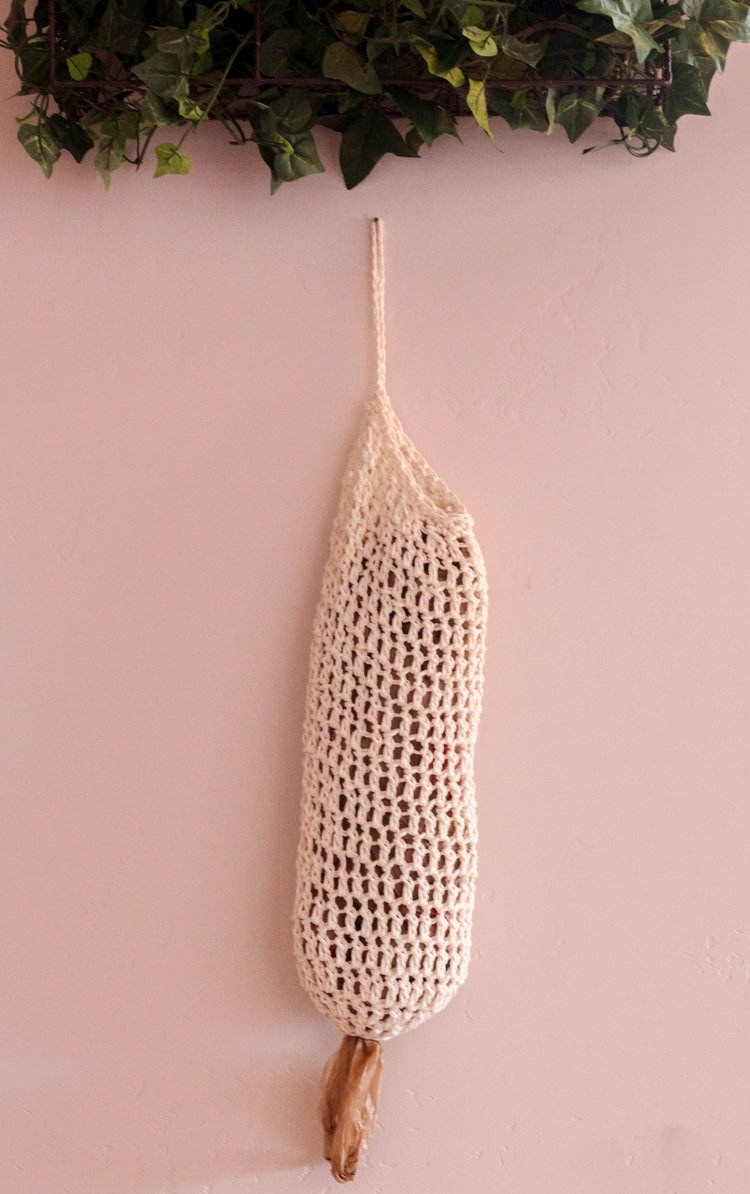
TagsPlastic Bag Holder - Free Crochet Pattern
Recently we made a move into a new house, as we were unpacking I began to collect a large pile of plastic grocery bags. I generally use this bags pretty often so I didn’t want to throw them away. That’s when I realized I didn’t have a bag holder to put them in. Moving can be pretty expensive so the last thing I wanted to do was purchase one knowing full well I could make one myself, so I did!
You can easily make this bag as long as you want to fit more grocery bags, my family is pretty small so I made a smaller bag holder. If you want a larger one just work more rounds in-between the increases/decreases.
I always recommend using cotton yarn when working an anything household related. For this pattern I used Peaches and Cream’s Cotton yarn which you can find HERE. They have so many colors to choose from!
Materials -
5.00mm Crochet Hook
8.00mm Crochet Hook
100 yards Medium (4) weight cotton yarn
Yarn Needle
Scissors
Stitch Marker
Gauge -
Double Crochet in the round
8 Sts = 4”
6 Rows - 4”
Abbreviations -
Ch - Chain
DC - Double Crochet
SC - Single Crochet
DC2Tog - Double Crochet Two Stitches Together (Dec)
Sl St - Slip Stitch
St(s) - Stitch(es)
PM - Place Marker
Notes -
Bag is worked from the bottom up.
Chain 2 DOES NOT count as a stitch.
Pattern
Using Larger Hook (8.00mm)
Begin with magic circle
R1 - Working loosely (Leaving almost a 1” hole) Ch2, DC10 times into circle, Sl St to beginning (10)
R2 - Ch2, 2DC into each stitch around, Sl St to beginning (20)
R3 - Ch2, *DC, 2DC*, repeat around, Sl St to beginning (30)
R4 - PM, DC into each stitch around (30)
Repeat round 4 13 MORE times for a total of 17 rounds. If you want a longer bag to fit more plastic bags work more rounds.
R18 - *DC2Tog, DC, *Repeat around (20)
Using Small Hook (5.00m)
R19 - SC into each Stitch around (20)
R20 - SC into each Stitch around (20)
Loop
Ch26, Sl St back into the first stitch.
Fasten off, weave in all ends.
30 Minute Ice Cream Sleeve
Let me guess, you’re here for one reason and one reason only; You love ice cream but can’t stand how cold that little pint is when you’re just trying to enjoy a cold dessert while watching the Bachelor. Especially if you love to devour ice cream any time of the year, meaning those winter months are even rougher! It really is a tragedy. So naturally, I had to design a crochet pattern to solve this horrific event we all face, sometimes on the daily.
Say hello to the 30 minute Ice Cream Pint Sleeve. Yup, you read that correctly. In 30 minutes or less, you can enjoy a pint of Ben and Jerry’s comfortably. You can thank me later.
UPDATE: My husband has managed to steal this ice cream sleeve from me the last 3 nights in a row (yes, we eat ice cream that often). Be warned you may need to make more than one!
Materials
5.50mm Crochet Hook
Approx. 30 yards Lion Brand Flikka OR light (3) cotton yarn
Scissors
Yarn Needle
Scrap yarn
Gauge
In X- Stitch using 5.50mm Crochet Hook
16sts & 7.2r = 4”
Abbreviations
Ch - Chain
DC - Double Crochet
Sk - Skip
SC - Single Crochet
Sl St - Slip Stitch
X St - X-Stitch
Notes
This sleeve is worked from the bottom up.
One size fits most one pint ice cream containers.
Ch2 does NOT count as a stitch.
Special Stitches
X-Stitch - Sk1, DC, DC into Skipped stitch
Pattern
Begin with the magic circle
R1 - 8 HDC into circle (8)
R2 - Ch1, 2HDC into each stitch around (16)
R3 - Ch1, *HDC, 2HDC, repeat from * around (24)
R4 - Ch1, *HDC into next 2 sts, 2HDC, repeat from * around (32)
R5 - Ch2, X St into each stitch around (32)
Repeat R5 for a total of 10 rounds (32)
R11 - Ch1, SC into each stitch around (32)
Fasten off. Weave in all ends.
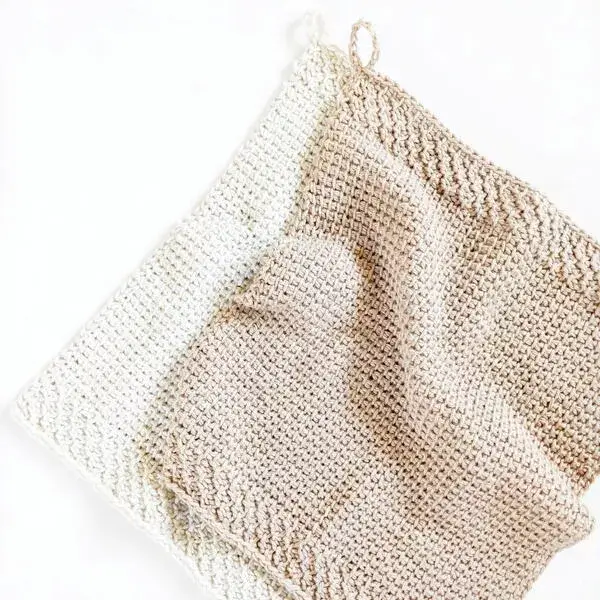
Tunisian Crochet Kitchen Towel
Learn how to make a Tunisian crochet kitchen towel for your home with this free crochet pattern. This dish towel is made using the honeycomb stitch and the Tunisian simple stitch. You will first work the Tunisian honeycomb stitch and then you will work the Tunisian simple stitch. After you've made the simple stitch, then you will work the honeycomb stitch pattern again. Once you've completed all rows, you will slipstitch to bind off for the last row and then crochet a loop.
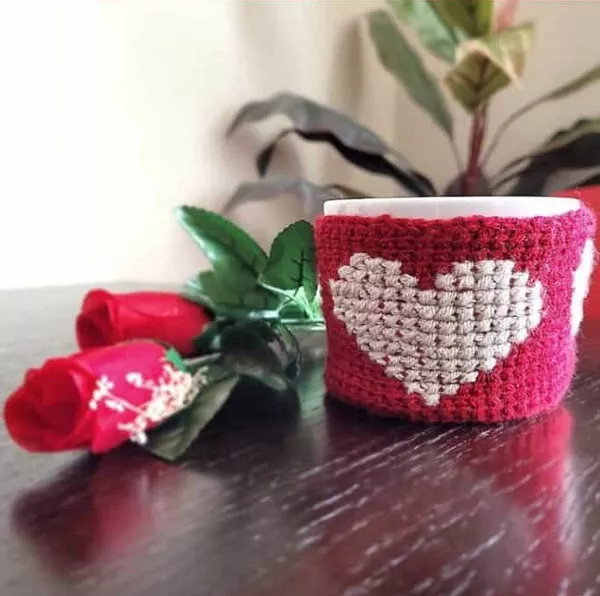
Easy Tunisian Valentine's Mug Cozy
Valentine's day is just around the corner and I wanted to make something quick and easy this time. I decided to make this Tunisian crochet mug cozy that worked out great and is so easy to customize! If you are new to Tunisian crochet, this mug cozy pattern is a great first project for beginners. It has a base of Tunisian Simple Stitches and a cross stitch heart pattern on it. If you are looking for a last minute project to make for Valentine's Day (or any other special occasion), this works up really quickly This pattern contains: Complete list of materials Written Instructions Video tutorials for all stitches and techniques used in this pattern.
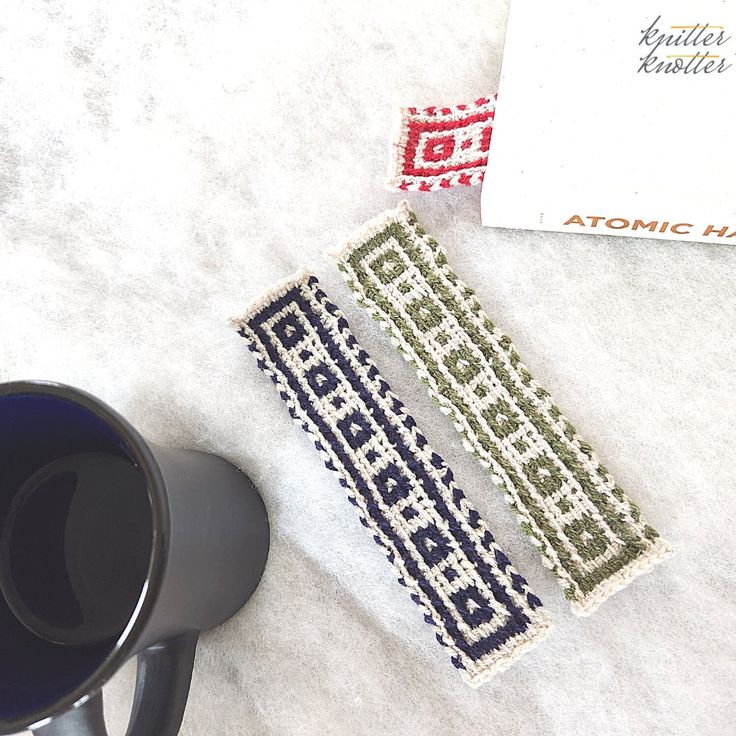
Tunisian Mosaic Book-mark
Have a look at this beautiful and intricate Tunisian Mosaic pattern! It's a lovely textured and patterned design, and it's the perfect beginner's project to hop on.