For Home
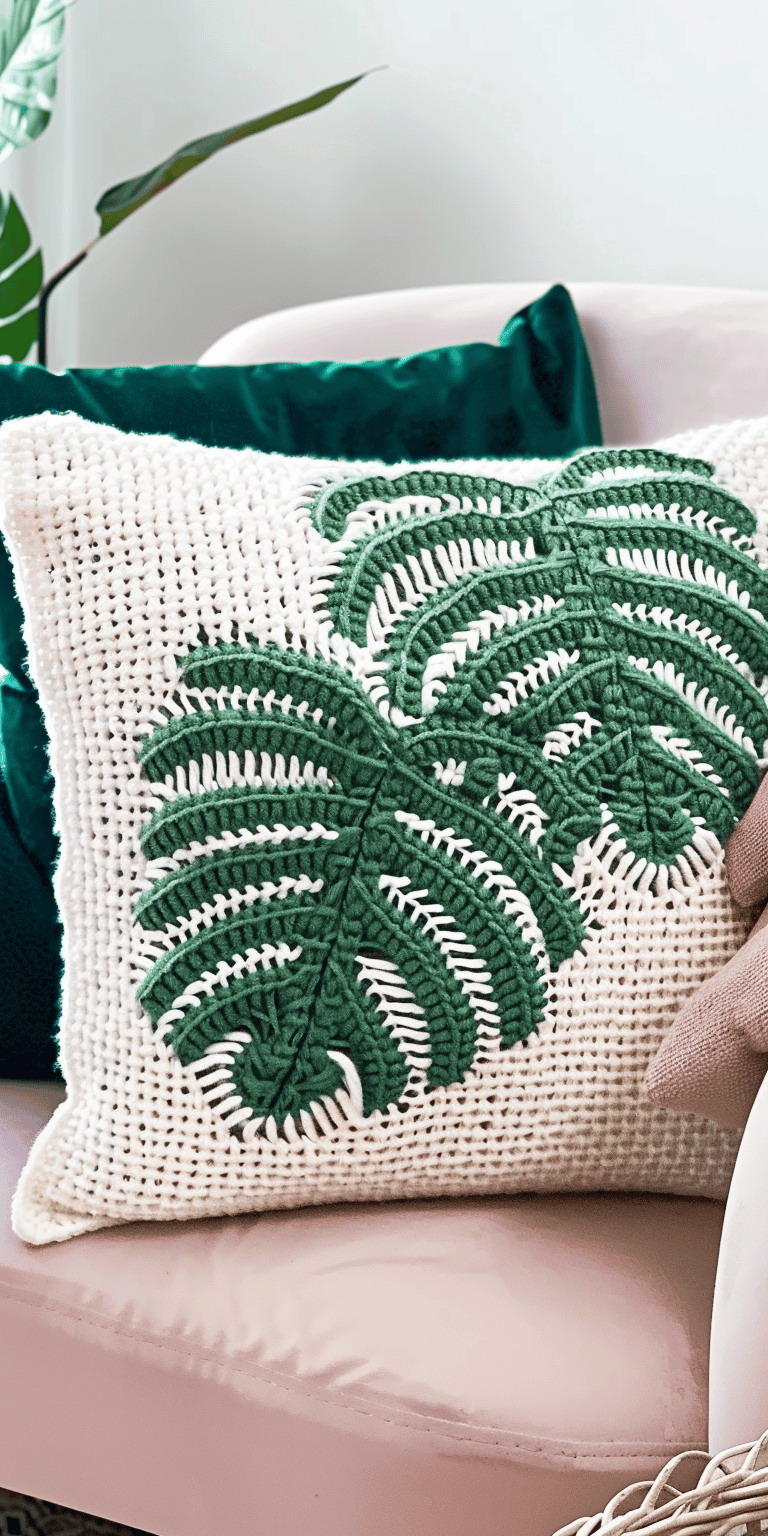
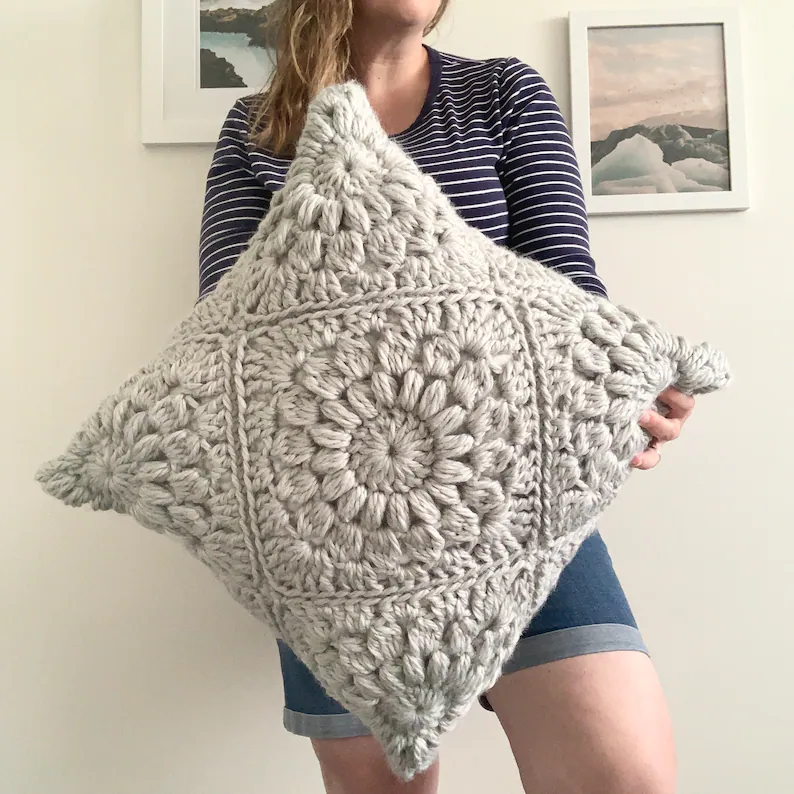
Monstera Cushion Crochet Pattern & Tutorial
Get creative with crochet using this Monstera Cushion Crochet...
Get creative with crochet using this Monstera Cushion Crochet...
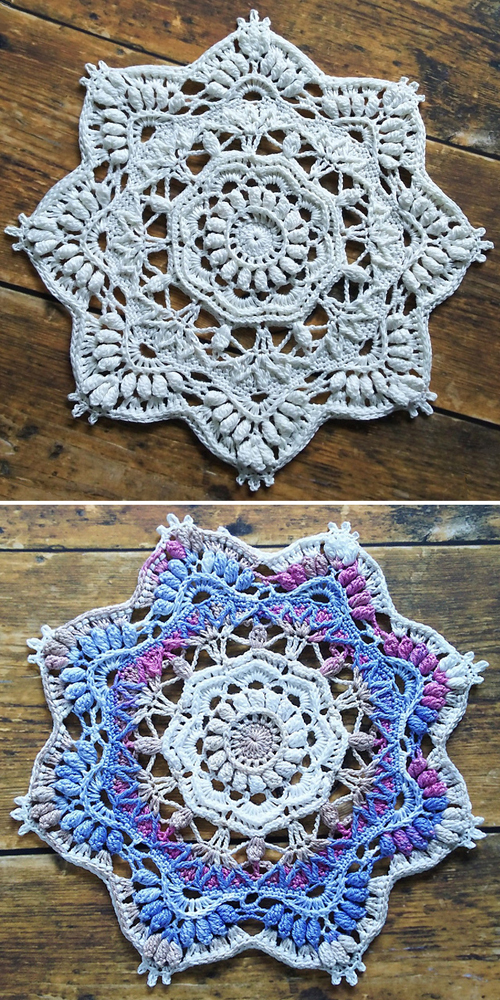
If you’re looking for a crochet pattern that’s perfect for making...
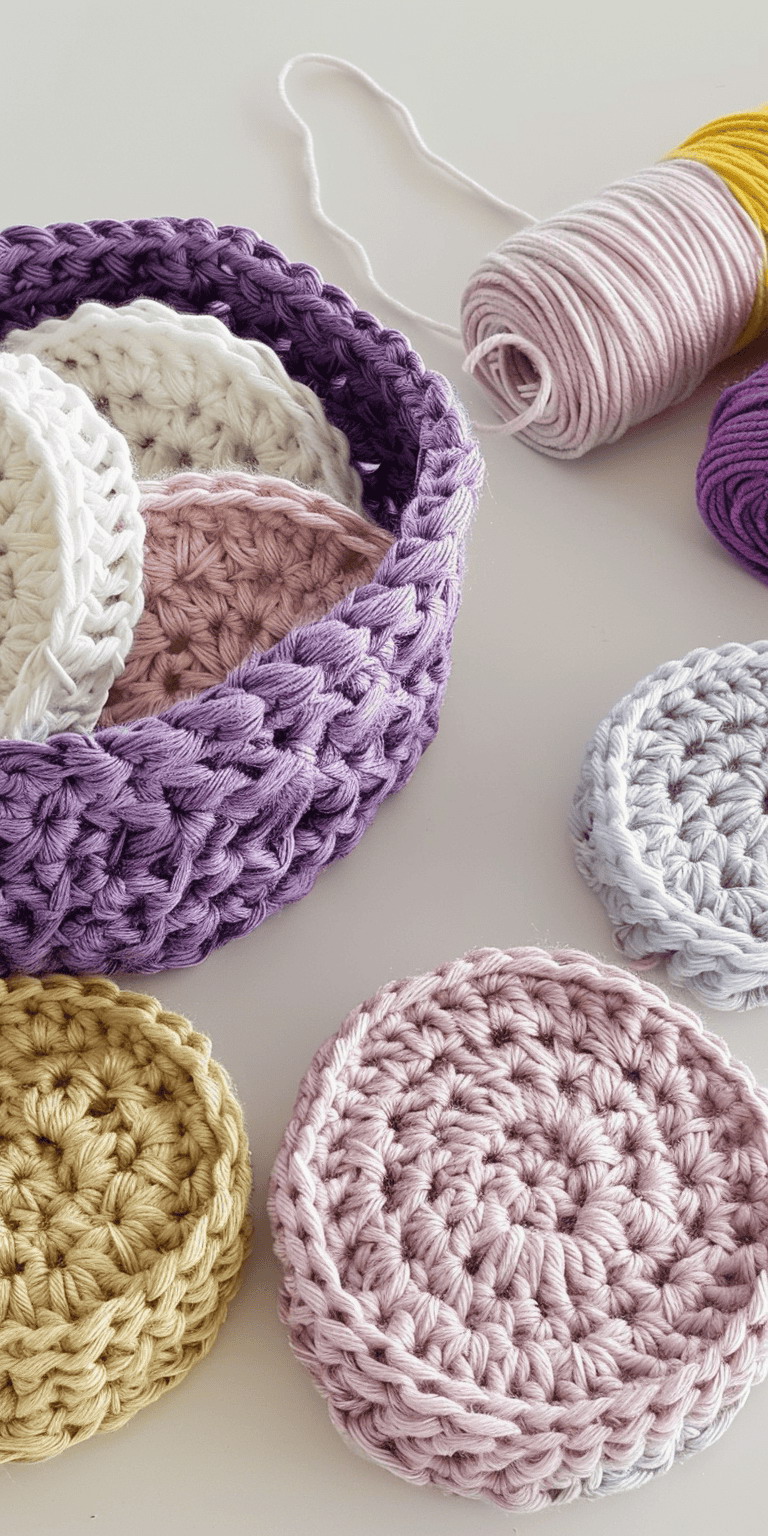
Looking for an easy and fun crochet project? Check out this “Easy...

The Jasmine Stitch Face Scrubbies & Basket Pattern is a...
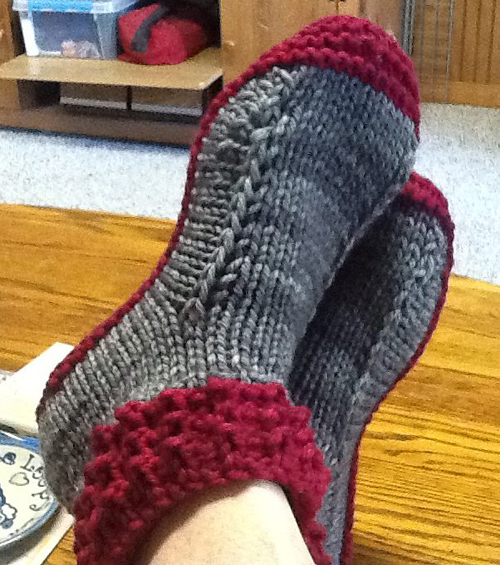
This Knitting pattern / tutorial is available for free......
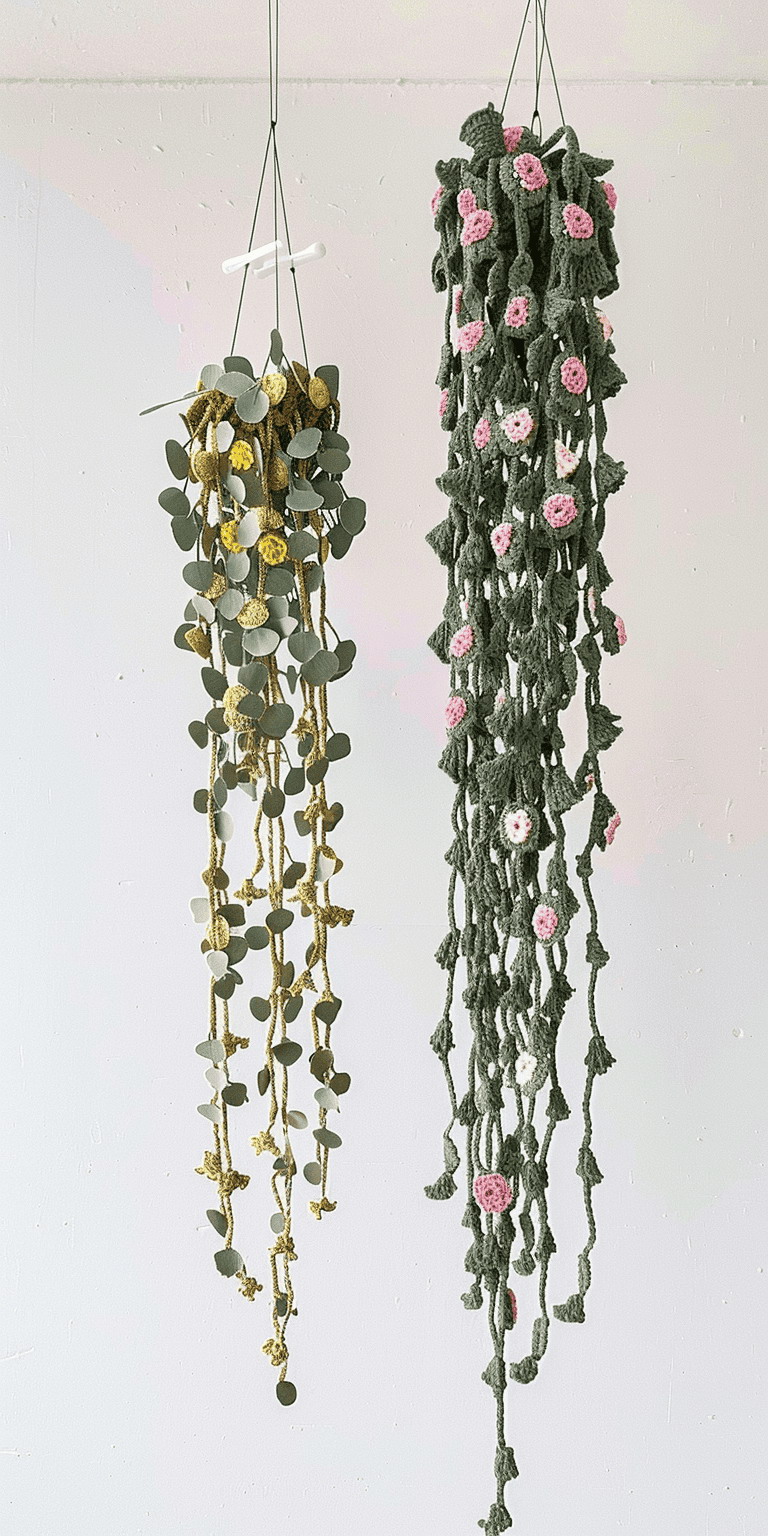
If you’re looking for a crochet pattern that will add a touch of...
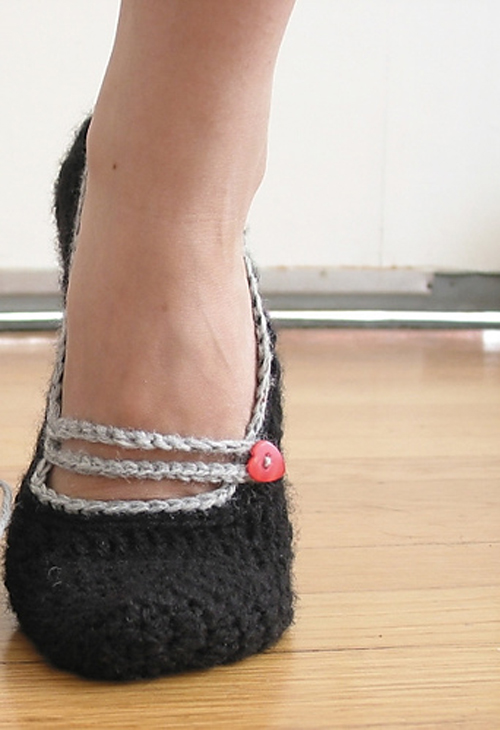
This crochet pattern / tutorial is available for free......
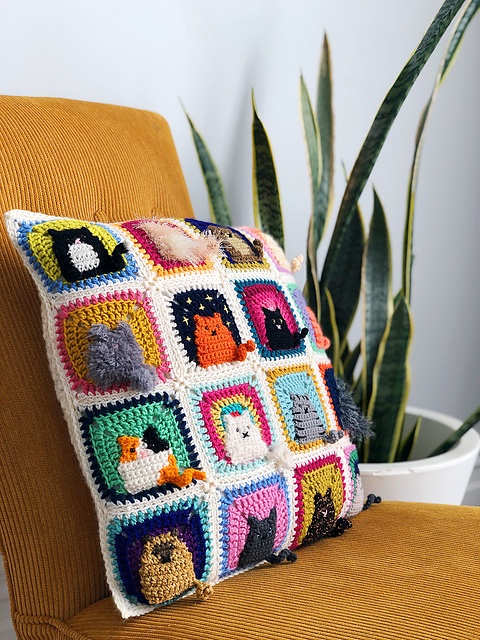
Looking to add some feline flair to your crochet projects? Then...
This crochet pattern is available as a free download......