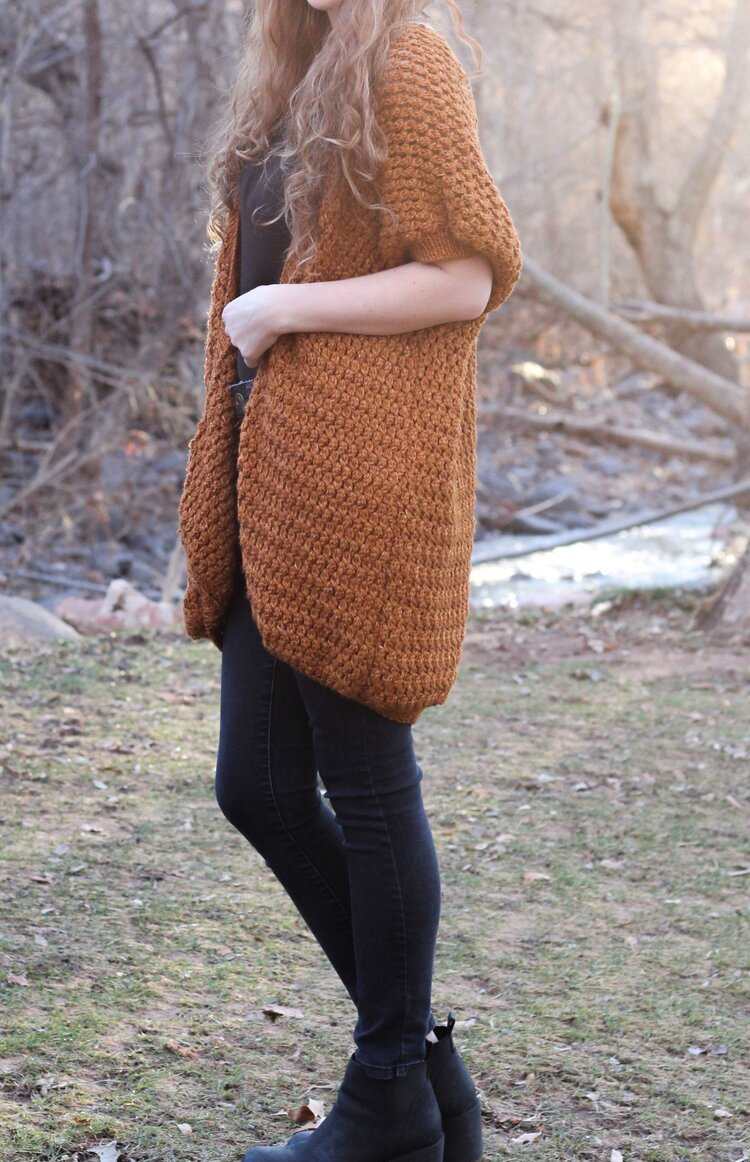
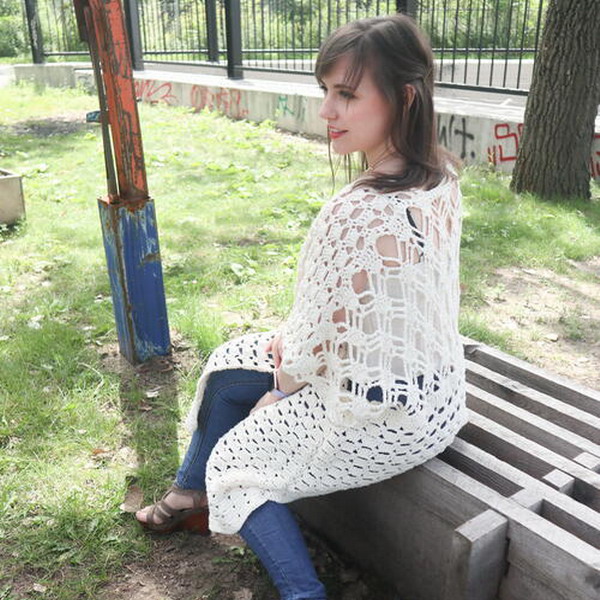
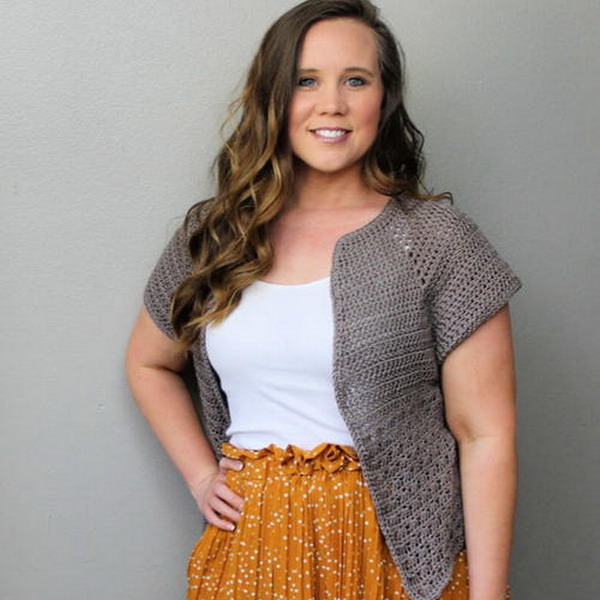
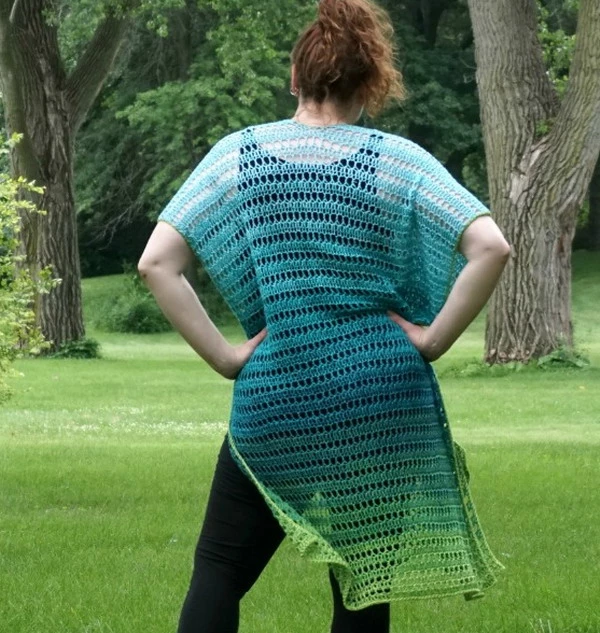
The genesis summer kimono cardigan has a richly varied structure. Also, its beautiful color bands highlight the alternating voids and denser stitches. Overall, it's a beautiful, casual and playful cardi for everyday.
I wanted something colorful and summery, which can be hard to find when crocheting/knitting. This pattern came to be when I was reading the story of Joseph and The Coat of Many Colors. Now, I'm not going to go into the whole story of Jacob gifting the coat to Joseph, But this particular coat meant a lot to the people of this time. A piece of clothing with different colors represented worth and leadership.
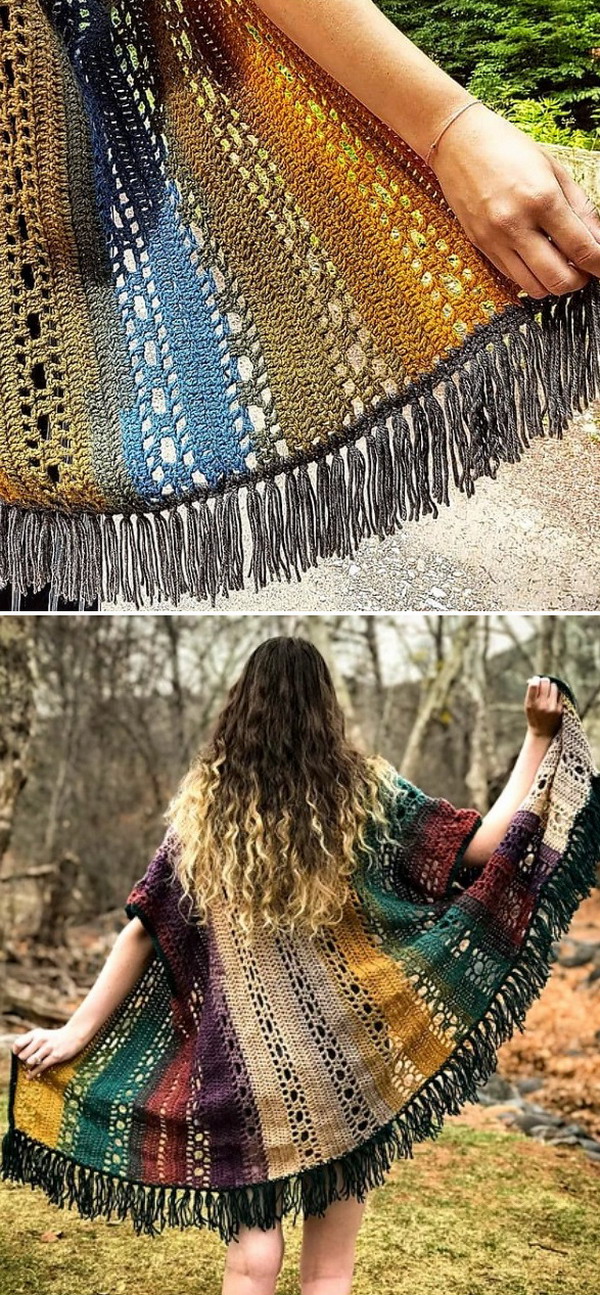
With a little imagination and the help of Lion Brand Mandala yarn the Genesis (the book of the Bible you can find Joseph's Coat in) kimono was born!
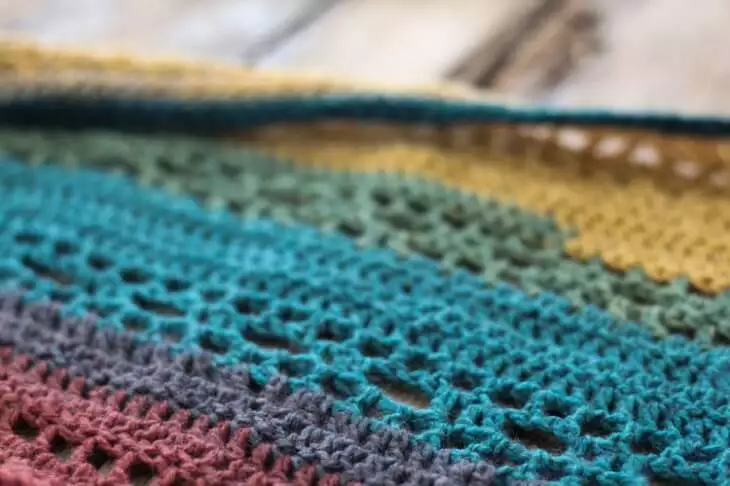
The reason I loved using Mandala yarn was simply because I HATEweaving in ends at the end of a project. Lion Brand's Mandala yarn is the perfect solution if you love using multiple colors that transition nicely, without the annoyance of loose ends.
Notes:
1. One size fits most.
2. Beginning chain 3 of each row counts as a double crochet stitch
3. Size adjustments are shown throughout pattern as such: (small, medium, large)
Materials:
- 5.50mm Crochet Hook
- 2-3 balls Lion Brand Mandala yarn in the color Warlock (OR approximately 1,000-1.500 yards light weight 3 yarn)
- Approx. 100-150 yards light weight (3) yarn for edge lining and fringe. (Amount varies depending on how long you want your fringe)
- Scissors
- Yarn Needle
Stitches:
-
Ch - Chain
-
SC - Single Crochet
-
SK - Skip
-
DC - Double Crochet
Gauge:
In Double Crochet using 5.50mm Crochet Hook
2” = 6 Stitches
2” = 4 Rows
Pattern:
Back Panel
Ch (104, 121, 139)
R1 - DC Into 4th chain from hook and across (101, 118, 136)
R2 - Turn, Ch4, Sk1, DC, *Ch1, Sk1, DC, repeat from * across
R3 - Turn, Ch3, DC Into chain space, DC into stitch, DC into chain space, *Ch3, Skip (DC, chain space, DC), DC into next chain space, DC into next stitch, DC into next chain space, repeat from * across , DC in last stitch
R4 - Turn, Ch4, Sk1, DC, Ch1, Sk1, (DC, Ch1, DC) into chain space, *Ch1, Sk1, DC, Ch1, Sk1, (DC, Ch1, DC) into chain space, repeat from * across, at the end you will have 4 stitches left, Ch1, Sk1, DC, Ch1, Sk1, DC
R5 - Turn, Ch3, DC Into each double crochet stitch, DC into each chain 1 space across (101, 118, 136)
R6-R8 - Turn, Ch3, DC across (101, 118, 136)
R9 - Repeat row 2
R10 - Repeat row 3
R11 - Repeat row 4
R12 - Repeat row 5
R13 -R15 - Turn, Ch3, DC across (101, 118, 136)
R16 - Repeat row 2
R17 - Repeat row 3
R18 - Repeat row 4
R19 - Repeat row 5 (101, 118, 136)
R20 -R22 - Turn, Ch3, DC across (101, 118, 136)
R23 - Repeat row 2
R24 - Repeat row 3
R25 - Repeat row 4
R26 - Repeat row 5 (101, 118, 136)
R27 -R29 - Turn, Ch3, DC across (101, 118, 136)
R30 - Repeat row 2
R31 - Repeat row 3
R32 - Repeat row 4
R33 - Repeat row 5 (101, 118, 136)
R34 -R36 - Turn, Ch3, DC across (101, 118, 136)
R37 - Repeat row 2
R38 - Repeat row 3
R39 - Repeat row 4
R40 - Repeat row 5 (101, 118, 136)
R41-R43 - Turn, Ch3, DC across (101, 118, 136)
R44 - Repeat row 2
R45 - Repeat row 3
R46 - Repeat row 4
R47 - Repeat row 5 (101, 118, 136)
R48 -R50 - Turn, Ch3, DC across (101, 118, 136)
R51 - Repeat row 2
R52 - Repeat row 3
R53 - Repeat row 4
R54 - Repeat row 5 (101, 118, 136)
SMALL/MEDIUM ONLY Fasten Off.
R55 -R57 - Turn, Ch3, DC across (101, 118, 136)
R58 - Repeat row 2
R59 - Repeat row 3
R60 - Repeat row 4
R61 - Repeat row 5 (101, 118, 136)
LARGE Fasten Off.
Front Panels (Make Two):
Ch (104, 121, 139)
R1 - DC Into 4th chain from hook and across (101, 118, 136)
R2 - Turn, Ch4, Sk1, DC, *Ch1, Sk1, DC, repeat from * across
R3 - Turn, Ch3, DC Into chain space, DC into stitch, DC into chain space, *Ch3, Skip (DC, chain space, DC), DC into next chain space, DC into next stitch, DC into next chain space, repeat from * across , DC in last stitch
R4 - Turn, Ch4, Sk1, DC, Ch1, Sk1, (DC, Ch1, DC) into chain space, *Ch1, Sk1, DC, Ch1, Sk1, (DC, Ch1, DC) into chain space, repeat from * across, at the end you will have 4 stitches left, Ch1, Sk1, DC, Ch1, Sk1, DC
R5 - Turn, Ch3, DC Into each double crochet stitch, DC into each chain 1 space across (101, 118, 136)
R6-R8 - Turn, Ch3, DC across (101, 118, 136)
R9 - Repeat row 2
R10 - Repeat row 3
R11 - Repeat row 4
R12 - Repeat row 5 (101, 118, 136)
R13 -R15 - Turn, Ch3, DC across (101, 118, 136)
R16 - Repeat row 2
R17 - Repeat row 3
R18 - Repeat row 4
R19 - Repeat row 5 (101, 118, 136)
R20 -R22 - Turn, Ch3, DC across (101, 118, 136)
R23 - Turn, Ch4, Sk1, DC, *Ch1, Sk1, DC, repeat from * across
Size small ONLY
R24 -Turn, Ch3, DC Into each double crochet stitch, DC into each chain 1 space across (101, 118, 136)
Fasten Off.
Continue on for size MEDIUM and LARGE
R24 - Turn, Ch3, DC Into chain space, DC into stitch, DC into chain space, *Ch3, Skip (DC, chain space, DC), DC into next chain space, DC into next stitch, DC into next chain space, repeat from * across , DC in last stitch
R25 - Turn, Ch4, Sk1, DC, Ch1, Sk1, (DC, Ch1, DC) into chain space, *Ch1, Sk1, DC, Ch1, Sk1, (DC, Ch1, DC) into chain space, repeat from * across, at the end you will have 4 stitches left, Ch1, Sk1, DC, Ch1, Sk1, DC
R26- Turn, Ch3, DC Into each double crochet stitch, DC into each chain 1 space across (118, 136)
Size medium ONLY
Fasten off.
Continue on for size LARGE
R27 - Turn, Ch3, DC Into each double crochet stitch, DC into each chain 1 space across (136)
R28 - R30 - Turn, Ch3, DC across (136)
Fasten off.
Seaming:
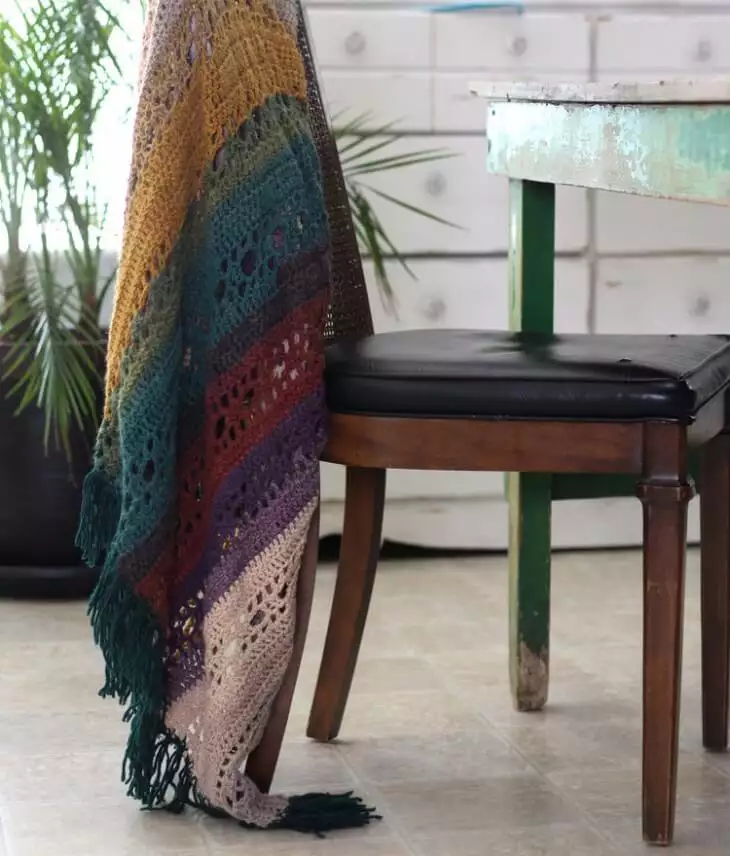
Step 1: Lay back panel down, place both side panels on top and line up the sides. There should be a gap between both side panels in the center.
Step 2: Sew the top of both side panels to the top of the back panel to create the shoulders. I prefer to use the shoulder seam method.
Step 3: Measure down each side approx. 11”, sew panels together from this point down to the bottom of the kimono. I prefer to use the mattress stitch method.
Flip right side out.
Edging:
Attach Yarn that you chose for your edging/fringe to bottom of Cardigan and SC around both front panels, neckline and along the bottom of the cardigan. Do this twice. Then you will attach the yarn to the bottom of each sleeve (armpit section) and SC twice around the sleeve holes. Fasten Off, weave in ends.
Fringe:
This is optional and feel free to have fun with this part of your cardigan! Make the fringe as long or as shorts as you'd like, put fringe along the bottom of the cardigan or on both the bottom and sleeves! Play around and see what you like. For my fringe I cut (3) 7” long yarn pieces and placed them along the bottom.
