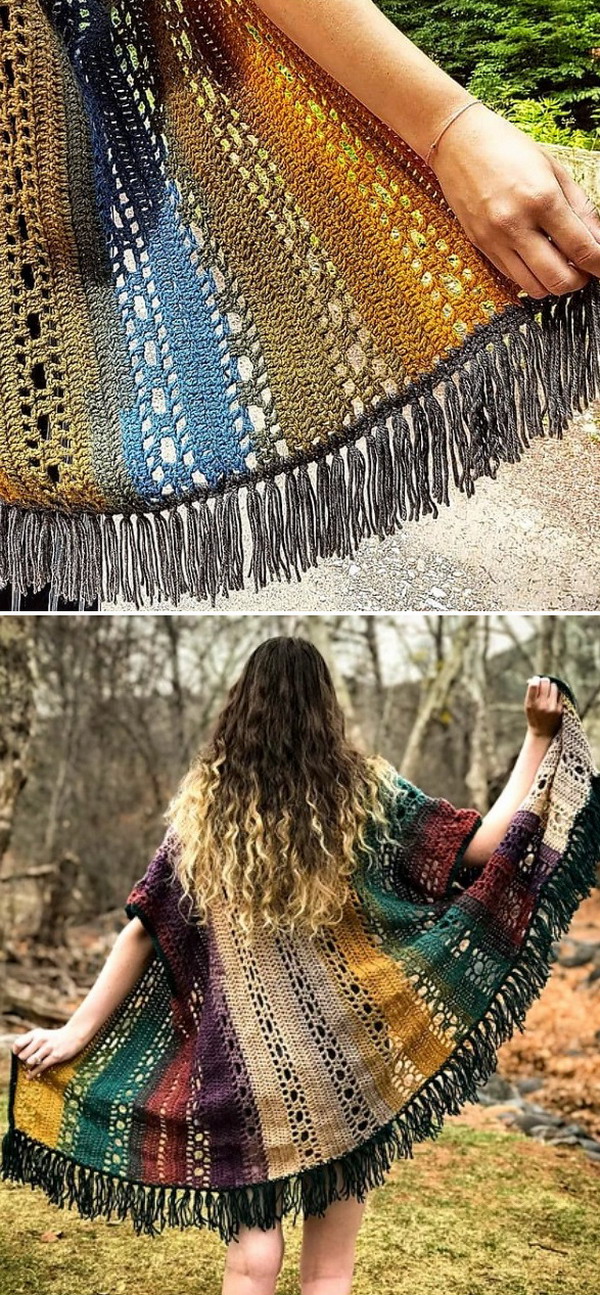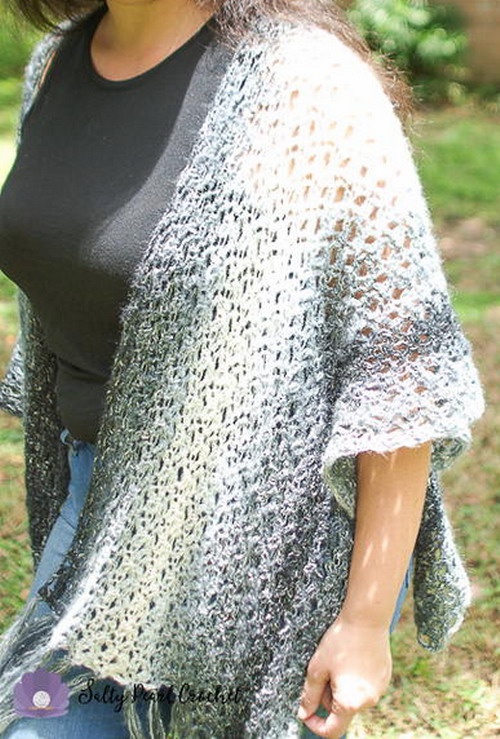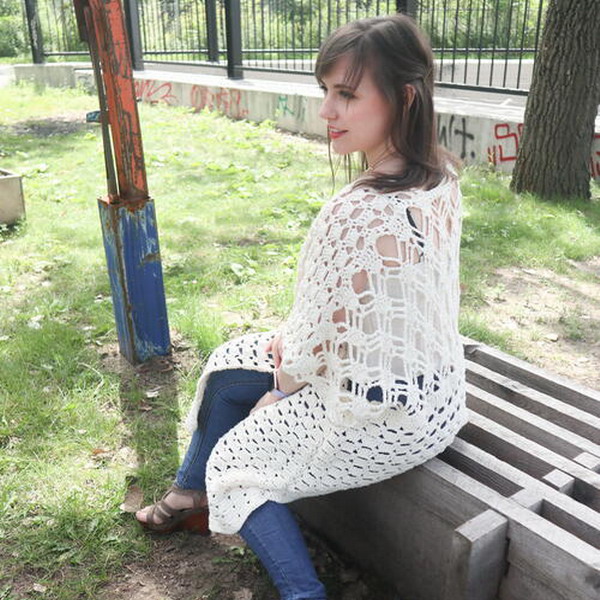
Find the INEXPENSIVE AD-FREE PDF for this pattern on Etsy HERE.
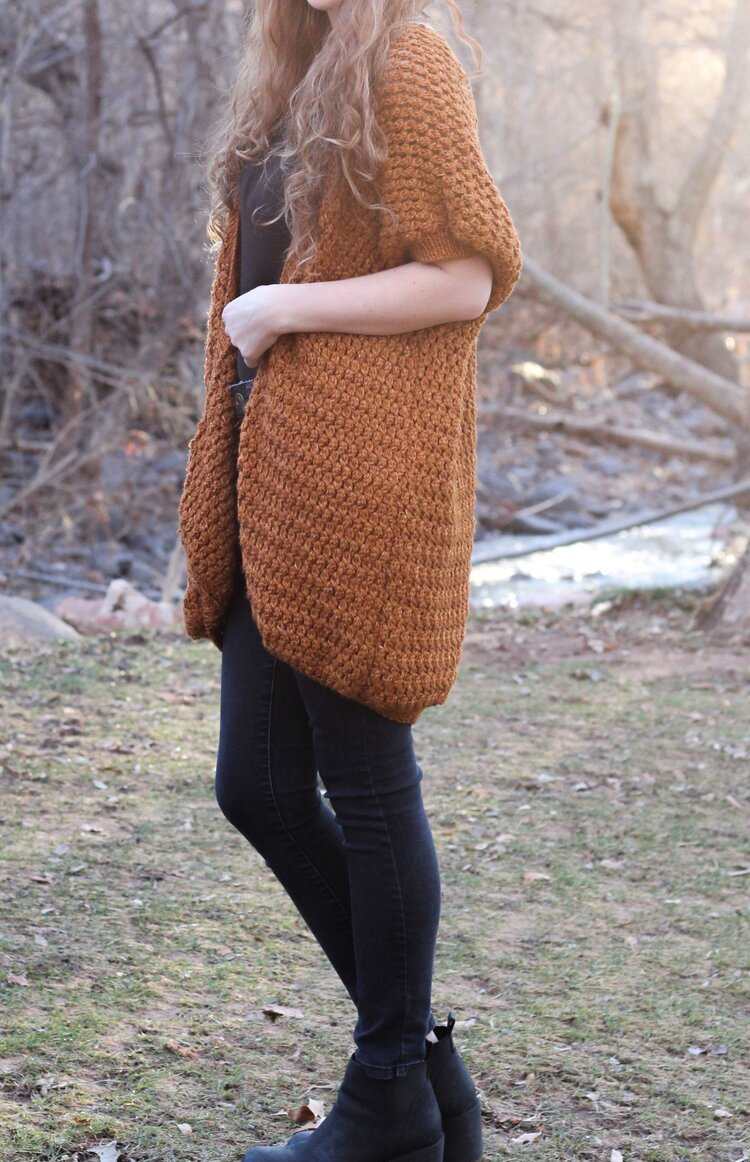
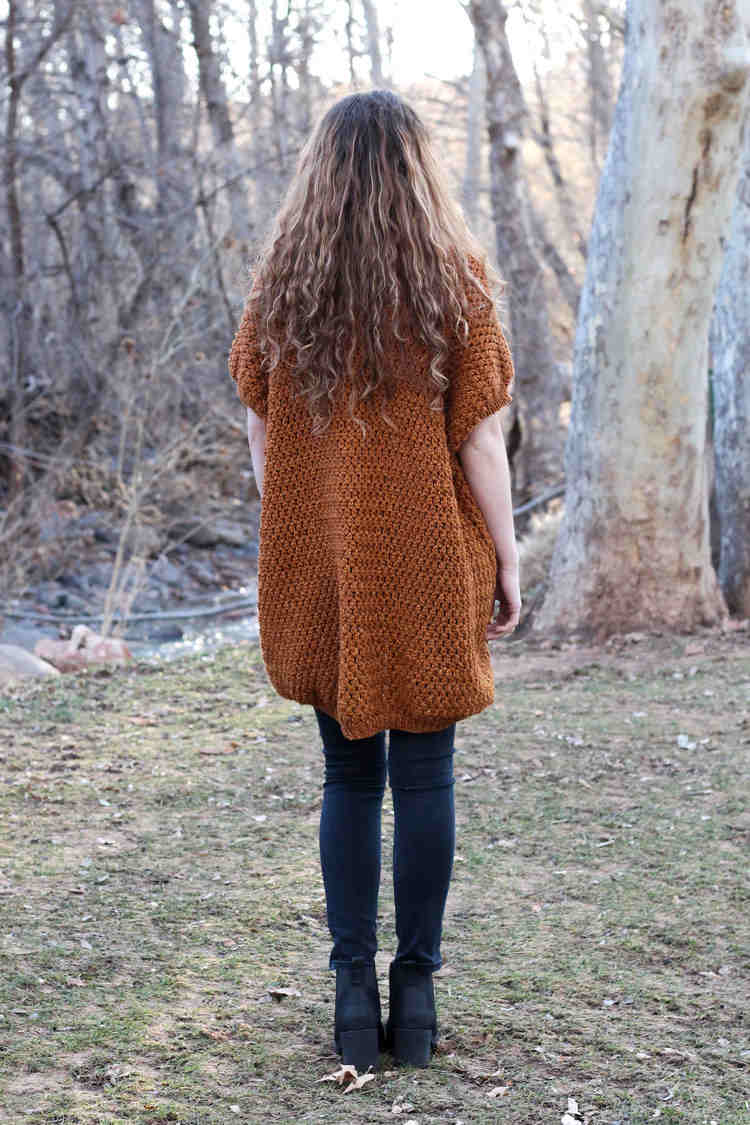
Today I have a unique garment for you all, the Hudson Cardigan uses a textured stitch called the “Soft Cluster” once blocked gives a BEAUTIFUL drape and gorgeous look. I discovered this stitch when my Father in Law found a crochet stitch book in his storage room. I am sadly the only one in my family who crochets or knits, but on the bright side I was instantly given this amazing book!
I know it's been a hot minute since my last garment design, but I really wanted to take a step back and learn a new way to convey my points when writing my patterns. I know it can be seriously frustrating when you just don't understand what a designer is instructing within their pattern. You will notice schematic's showing up in my designs from this point, hopefully they help to give a better idea on what the pattern is trying to convey.
The best part of this kimono is you can choose to crochet or knit the ribbing. I'm a big fan of the good old fashion 1x1 knit rib. Different from anything you've seen before? Maybe. Totally nifty? I think so! Not a knitter? No big deal, just follow the crochet instructions. If you know both crafts this project is a great way to showcase both skills.
Materials -
6.00mm crochet hook
4.50mm crochet hook (Crochet Ribbing)
1,900, 2,150, 2,400, 2,650 yards Lion Brand Jeans Yarn in Top Stitch (Medium 4 weight yarn)
Yarn Needle
Knit Ribbing -
US 7/4.50mm knitting needle
16” Cord (sleeve ribbing)
32” cord or larger (front/bottom ribbing)
Stitch marker (Or scrap yarn)
Gauge -
Cluster Stitches
7 Sts = 4”
6 Rows - 4”
Abbreviations -
Crochet:
Ch - Chain
SC - Single Crochet
SC BLO - Single Crochet in the Back Loop Only
Sl St - Slip Stitch
DC - Double Crochet
CL - Cluster Stitch
YO - Yarn Over
Notes -
Choose one of two different methods when working the ribbing of this kimono, crochet or knit.
Chain 3 counts as a double crochet.
Kimono is worked in one piece, back up to both front panels. Sides are seamed, ribbing is worked last.
Mattress Stitch Tutorial - https://youtu.be/B7a1cHUpsXE
Tubular Bind off (Not my Video) - https://www.youtube.com/watch?v=FNbanlVzbxw
Wet Blocking is HIGHLY recommended once finished. The cluster stitch will loosen and give your work a beautiful drape.
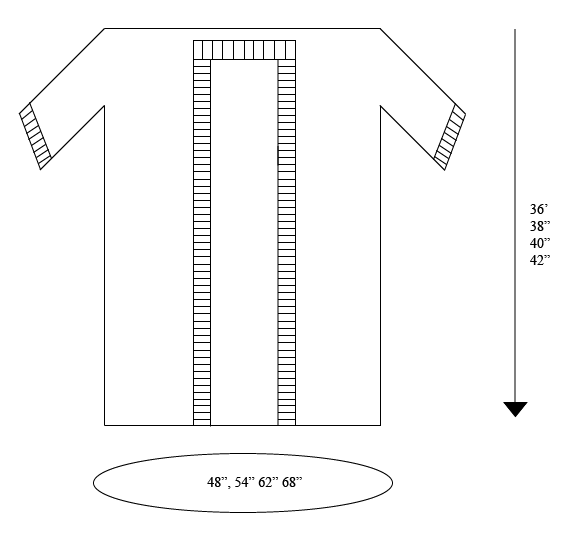
Sizing
Recommended ease is Positive 14”-16”; Sample is shown in size XS/S on a 33” bust with 15”+ ease.
It is highly recommended to size down instead of up if you are between sizes as this kimono
Is oversized
Pattern
Note - Size adjustments listed as such XS/S, M/L, XL/2XL, 3XL
Cluster Stitch - [*yo, insert hook, draw up a loop, yo, draw through 2 loops repeat * 3 times in same Ch, yo, draw through 4 loops]
Back Panel
Ch 102, 112, 126, 136
R1 - Turn, Sk 3 Ch, CL, *Ch1, Sk1, CL, repeat * across, Ch3, Turn (50, 55, 62, 67) CL Sts
R2 - *CL between clusters of previous row, repeat * across, CL in top of previous rows Ch3, Ch3, Turn (50, 55, 62, 67) CL Sts
Repeat R2 for 56, 60, 62, 66 TOTAL rows
Do not fasten off, continue on to right front panel.
Right Front Panel
R(57, 61, 63, 67) - *CL between clusters of previous row, repeat * for a total of 20, 22, 26, 28 CL Sts, Ch3, Turn
R(58, 62, 64, 68) - *CL between clusters of previous row, repeat * across, CL in top of previous rows Ch3, Ch3, Turn (20, 22, 26, 28) CL Sts
Repeat R(58, 62, 64, 68) for 56, 60, 62, 66 TOTAL rows
Fasten off.
Left Front Panel
Attach yarn to the end of R56, 60, 62, 66 on the back panel
Repeat steps from right front panel.
Fasten off.

Seaming
Fold work in half with front panels facing you, on both sides leave 11”, 13”, 15”, 17” open from the folded edge down. Seam from this point down to the bottom using your preferred method. I like to use the mattress stitch (Video link in notes).
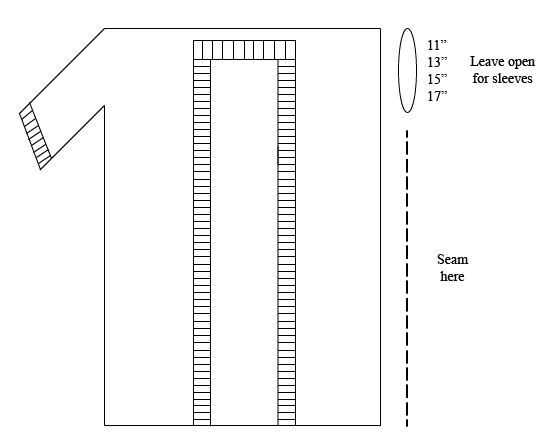
From this point on choose which craft you will be using for the ribbing; Crochet or Knit.
Crochet Bottom Ribbing
Note - There are no defined stitches to work into at some points, just keep your work even and taut when working.
Using smaller hook
Attach yarn to the bottom of the kimono
Ch7
R1 - SC into 2nd Ch from hook and across, Sl St into next 2 Sts (6)
R2 - Turn, SC BLO into single crochet stitches (6)
R3 - Ch1, Turn, SC BLO across, SL St into next 2 Sts (6)
Repeat rows 2 & 3 across the bottom section. Fasten off, weave in ends.
Crochet Front Ribbing
Note - There are no defined stitches to work into at some points, just keep your work even and taut when working.
Using smaller hook
Attach yarn to the bottom of the right front panel.
Ch7
R1 - SC into 2nd Ch from hook and across, Sl St into next 2 Sts/Rows (6)
R2 - Turn, SC BLO into single crochet stitches (6)
R3 - Ch1, Turn, SC BLO across, SL St into next 2 Sts (6)
Repeat rows 2 & 3 up the right front panel, neck, down the left front panel section. Fasten off, weave in ends.
Crochet Sleeve Ribbing (Repeat for both sleeves)
Note - There are no defined stitches to work into at some points, just keep your work even and taut when working.
Using smaller hook
Attach yarn to the underarm section of one sleeve.
Ch7
R1 - SC into 2nd Ch from hook and across, Sl St into next 2 Sts/Rows (6)
R2 - Turn, SC BLO into single crochet stitches (6)
R3 - Ch1, Turn, SC BLO across, SL St into next 2 Sts (6)
Repeat rows 2 & 3 around the sleeve, sl st the last row to the first row. Fasten off, weave in ends.
Knitting Abbreviations
K - Knit
P - Purl
LN - Left Hand Needle
SL - Slip 1
Sts - Stitches
Knit Bottom Ribbing
Note - There are no defined stitches to work into at some points, just keep your work even and taut when working.
Attach yarn to the bottom of the kimono
Using US 7/4.50mm knitting needle and 32” cord or larger, pick up an odd number of stitches across the bottom of the kimono.
R1 - K1, P1 to end
R2 - P1, K1 to end
Repeat for 10 total rows, bind off using your preferred method. I use the Tubular method link above.
Knit Front Ribbing
Note - There are no defined stitches to work into at some points, just keep your work even and taut when working.
Attach yarn to the bottom of the right front panel.
Using US 7/4.50mm knitting needle and 32” cord or larger, pick up an odd number of stitches up the right front panel, neck, down the left front panel section.
R1 - K1, P1 to end
R2 - P1, K1 to end
Repeat for 10 total rows, bind off using your preferred method. I use the Tubular method link above.
Knit Sleeve Ribbing (Repeat for both sleeves)
Attach yarn to the underarm section of one sleeve.
Using US 7/4.50mm knitting needle and 32” cord or larger, pick up an even number of stitches around the arm section.
R1 - K1, P1 to end
R2 - P1, K1 to end
Repeat for 10 total rows, bind off using your preferred method. I use the Tubular method link above.
Wet Blocking is HIGHLY recommended once finished. The cluster stitch will loosen and give your work a beautiful drape.
