
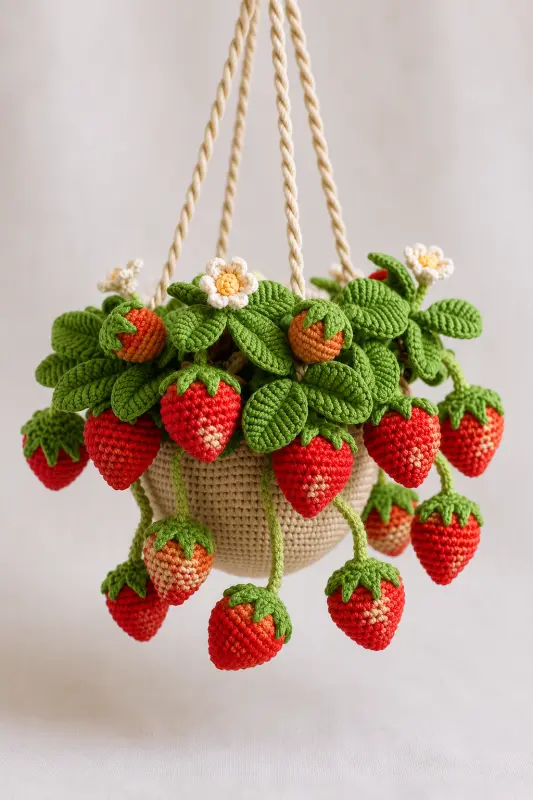
Create a charming Crochet Strawberry Hanging Basket inspired by a lush little strawberry plant overflowing with ripe berries, unripe fruit, ribbed leaves, and delicate white blossoms. This decorative amigurumi-style basket is designed to capture the layered, abundant look of the reference photo while remaining practical for intermediate crocheters.
The basket is crocheted in smooth beige yarn, while the strawberries are shaped individually and decorated with tiny seed stitches. Long green stems and vines allow the berries to hang naturally around the basket, and dimensional leaves and five-petal flowers complete the miniature strawberry plant.
Materials & Tools
Yarn
Use sport-weight cotton or cotton/acrylic yarn with a firm twist for clearly defined stitches.
- Beige: approximately 70-90 g for the hanging pot
- Bright red: approximately 30-40 g for ripe strawberries
- Orange/tan: approximately 10-15 g for unripe or partially ripened strawberries
- Dark green: approximately 35-45 g for calyxes, stems, vines, leaves, and flower details
- White/cream: approximately 5 g for blossoms
- Yellow: approximately 2-3 g for flower centers
- Optional light pink, pale orange, or cream: for strawberry color variation and highlights
- Twisted cotton cord or thick yarn for the three hanging straps
Hook & Notions
- 2.25-2.75 mm crochet hook, or size needed to obtain a firm fabric
- Tapestry needle
- Stitch marker
- Polyester fiberfill
- Small amount of scrap yarn for temporary positioning
- Scissors
- Optional: floral wire or thin craft wire for reinforced hanging vines
- Optional: cardboard or plastic circle for reinforcing the inside bottom
- Optional: hot glue or fabric glue for securing the interior base
- Optional: 10-15 mm wooden or plastic ring for the top hanging point
Finished Size
Using sport-weight yarn and a 2.5 mm hook:
- Basket: approximately 4-5 in (10-13 cm) wide
- Basket height: approximately 3–3½ in (7.5-9 cm)
- Strawberries: approximately 1½-2¼ in (4-5.5 cm) each
- Hanging vines: approximately 3-8 in (7.5-20 cm)
The finished dimensions will vary depending on yarn, hook size, and stuffing tension.
Abbreviations
| Abbreviation | Meaning |
|---|---|
| MR | Magic Ring |
| ch | Chain |
| sc | Single Crochet |
| hdc | Half Double Crochet |
| dc | Double Crochet |
| inc | 2 sc in the same stitch |
| dec | Single Crochet Decrease |
| sl st | Slip Stitch |
| BLO | Back Loop Only |
| FLO | Front Loop Only |
| st/sts | Stitch/Stitches |
| FO | Fasten Off |
| RS | Right Side |
| WS | Wrong Side |
| rep | Repeat |
| rnd | Round |
Pattern Notes
- Work amigurumi pieces in continuous rounds unless otherwise stated.
- Use a stitch marker to mark the first stitch of each round.
- Do not join rounds unless specifically instructed.
- Keep the basket and strawberries firmly stuffed but not overstuffed.
- Stitch counts are given in parentheses at the end of every round.
- When working decreases, insert the hook through the front loop of the indicated stitches unless your preferred invisible decrease method differs.
Part 1: The Hanging Pot
The basket has a flat circular base and gently tapered sides. The upper edge is slightly reinforced so it remains open and stable beneath the hanging plant.
Basket Base
Color: Beige
Rnd 1
Make a MR.
6 sc into MR.
(6)
Rnd 2
2 sc in each st around.
(12)
Rnd 3
*Sc in next st, inc in next st; rep from * around.
(18)
Rnd 4
*Sc in next 2 sts, inc in next st; rep from * around.
(24)
Rnd 5
*Sc in next 3 sts, inc in next st; rep from * around.
(30)
Rnd 6
*Sc in next 4 sts, inc in next st; rep from * around.
(36)
Rnd 7
*Sc in next 5 sts, inc in next st; rep from * around.
(42)
Rnd 8
*Sc in next 6 sts, inc in next st; rep from * around.
(48)
For a wider basket, continue increasing before beginning the sides.
Rnd 9
Sc around in BLO.
(48)
This creates a subtle transition from the flat base to the vertical basket walls.
Rnds 10-22
Sc in each st around.
(48)
Stuff the bottom lightly as you work. The basket should remain slightly flexible rather than becoming completely rigid.
Rnd 23
*Sc in next 7 sts, inc in next st; rep from * around.
(54)
This slight increase creates the outward flare visible near the top of the basket.
Rnd 24
Sc around.
(54)
Rnd 25
Sc around.
(54)
Rnd 26 - Reinforced Rim
Working in BLO, sc around.
(54)
Rnd 27
Sc around.
(54)
Rnd 28
Sl st in each st around.
(54)
FO and weave in the end.
Optional Basket Rim Reinforcement
For a particularly neat decorative basket, cut a circle of thin plastic or sturdy cardboard slightly smaller than the inside bottom of the basket.
Place it inside before adding the final stuffing.
Do not use cardboard if the finished basket may become wet.
For additional stability, a small circle of felt can also be placed over the cardboard.
Part 2: Ripe & Unripened Strawberries
Make approximately 10-14 strawberries in assorted sizes and colors.
The reference design looks most natural when the berries are not completely identical. Make several large ripe strawberries, a few smaller berries, and 2-4 partially ripened orange/tan berries.
Large Ripe Strawberry
Color: Bright Red
Rnd 1
Make a MR.
6 sc into MR.
(6)
Rnd 2
Inc around.
(12)
Rnd 3
*Sc in next st, inc in next st; rep from * around.
(18)
Rnd 4
*Sc in next 2 sts, inc in next st; rep from * around.
(24)
Rnd 5
Sc around.
(24)
Rnd 6
Sc around.
(24)
Rnd 7
*Sc in next 3 sts, inc in next st; rep from * around.
(30)
Rnd 8
Sc around.
(30)
Rnd 9
Sc around.
(30)
Rnd 10
*Sc in next 3 sts, dec; rep from * around.
(24)
Begin stuffing firmly.
Rnd 11
*Sc in next 2 sts, dec; rep from * around.
(18)
Rnd 12
*Sc in next st, dec; rep from * around.
(12)
Add the remaining stuffing and shape the berry into a rounded cone.
Rnd 13
Dec around.
(6)
FO, leaving a long tail.
Thread the tail through the front loops of the remaining 6 sts, pull closed, and weave through the body.
Smaller Strawberry
Make 4-6 smaller berries for visual variety.
Color: Red
Rnd 1
MR, 6 sc.
(6)
Rnd 2
Inc around.
(12)
Rnd 3
*Sc in next st, inc; rep from * around.
(18)
Rnd 4
Sc around.
(18)
Rnd 5
Sc around.
(18)
Rnd 6
*Sc in next st, dec; rep from * around.
(12)
Stuff firmly.
Rnd 7
Dec around.
(6)
FO and close.
Partially Ripened Strawberry
The orange/tan berries in the reference give the hanging plant a more realistic, freshly growing appearance.
Use orange, pale orange, tan, or a combination of these colors.
Rnd 1
MR, 6 sc.
(6)
Rnd 2
Inc around.
(12)
Rnd 3
*Sc in next st, inc; rep from * around.
(18)
Rnd 4
*Sc in next 2 sts, inc; rep from * around.
(24)
Rnd 5
Sc around.
(24)
Rnd 6
Sc around.
(24)
Rnd 7
*Sc in next 2 sts, dec; rep from * around.
(18)
Rnd 8
Sc around.
(18)
Rnd 9
*Sc in next st, dec; rep from * around.
(12)
Add stuffing.
Rnd 10
Dec around.
(6)
FO and close.
Optional Berry Gradient
For a more realistic ripening effect, divide the strawberry into color sections.
For example:
- Rnds 1-3: pale tan
- Rnd 4: pale orange
- Rnds 5-7: orange-red
- Remaining rounds: bright red
Change colors at the end of the specified round and carry the unused yarn loosely inside the berry.
For a subtler effect, use only one or two pale orange rounds at the top.
Strawberry Seed Details
The tiny pale stitches are an important part of the strawberry appearance.
Use cream, pale yellow, or light pink embroidery yarn.
Seed Stitch
With a tapestry needle, bring the contrasting yarn out through the strawberry.
Make a tiny diagonal stitch approximately 2-3 mm long.
Insert the needle back into the berry immediately beside the starting point.
Repeat irregularly over the surface.
Arrange the seeds in staggered rows rather than perfectly straight lines.
For each large strawberry, approximately 18-25 tiny seed stitches gives a balanced appearance.
Gradient Berry Seeds
On partially ripe strawberries:
- Use cream near the orange section.
- Use pale yellow through the transition area.
- Use cream again on the red section.
Do not make the seeds completely uniform. Slight variations help the berries look handmade and organic.
Part 3: Calyxes & Stems
The green leafy tops are made separately and attached securely to each strawberry.
Five-Point Strawberry Calyx
Color: Dark Green
Center
Make a MR.
Rnd 1
6 sc into MR.
(6)
Do not fasten off.
Calyx Points
The following sequence forms five pointed leaves around the berry.
Point 1:
Ch 4, starting in 2nd ch from hook, sl st in next ch, sc in next ch, hdc in next ch, sl st into next center stitch.
Point 2:
Ch 4, starting in 2nd ch from hook, sl st in next ch, sc in next ch, hdc in next ch, sl st into next center stitch.
Point 3:
Ch 4, starting in 2nd ch from hook, sl st in next ch, sc in next ch, hdc in next ch, sl st into next center stitch.
Point 4:
Ch 4, starting in 2nd ch from hook, sl st in next ch, sc in next ch, hdc in next ch, sl st into next center stitch.
Point 5:
Ch 4, starting in 2nd ch from hook, sl st in next ch, sc in next ch, hdc in next ch, sl st into the first center stitch.
FO, leaving a long tail.
Position the calyx over the pointed end of the strawberry and secure it with the tapestry needle.
Pull the center slightly tight so the five leaves sit snugly against the berry.
Long Strawberry Stem
Color: Green
For a simple flexible stem:
Stem
Ch 18.
Starting in 2nd ch from hook, sl st in each ch across.
(17 sl sts)
FO, leaving a long tail.
Attach the stem directly to the center of the calyx.
For longer hanging strawberries, make:
- Short stem: 12 chains
- Medium stem: 18 chains
- Long stem: 25 chains
- Extra-long trailing stem: 30-35 chains
For a natural appearance, vary the lengths.
Curved Vine Stem
To create a slightly thicker, textured vine:
Rnd 1
MR, 5 sc.
(5)
Rnds 2-18
Sc around.
(5)
This creates a tiny crocheted tube.
Lightly stuff it with a narrow strand of fiberfill if desired.
FO and weave in the end.
For very thin stems, the chained slip-stitch version is preferable.
Branching Vine
To create the dense plant structure shown in the photograph, make several green branches.
Main Vine
Ch 35.
Starting in 2nd ch from hook, sl st in each ch across.
(34 sl sts)
FO.
At approximately three different points along the vine, attach short stems for strawberries or leaves.
A small dab of fabric glue may be used at the back of the attachment point if the finished basket will be handled frequently.
Part 4: Leaves & Blossoms
The leaves should have a prominent central rib and gently curved shape.
Make approximately 18-25 leaves in different sizes.
Basic Ribbed Strawberry Leaf
Color: Green
Row 1
Ch 10.
Starting in 2nd ch from hook:
Sl st, sc, sc, hdc, hdc, dc, hdc, sc, sc.
(9 sts)
Row 2
Ch 1.
Working along the opposite side of the foundation chain:
Sc, sc, hdc, hdc, dc, hdc, sc, sc, sl st.
Do not turn.
FO, leaving a long tail.
This produces a small pointed oval leaf.
Larger Leaf
Row 1
Ch 14.
Starting in 2nd ch from hook:
Sl st in next ch, sc in next 2 ch, hdc in next 3 ch, dc in next 3 ch, hdc in next 2 ch, sc in next 2 ch, sl st in last ch.
Row 2
Ch 1.
Work back down the opposite side:
Sl st, sc in next 2 sts, hdc in next 2 sts, dc in next 3 sts, hdc in next 3 sts, sc in next 2 sts, sl st.
FO.
Leaf Rib
Use a darker green strand.
Insert the tapestry needle at the leaf tip.
Work small straight stitches down the center of the leaf toward the base.
Keep the stitches slightly raised.
For additional veins, add 2-3 short diagonal stitches branching away from the central rib.
This creates the pronounced ribbed texture visible in the reference design.
Curled Leaf Tip
For some leaves, make the tip slightly curled.
After completing the leaf, pinch the final 2-3 stitches together and secure them with a few small stitches.
Do not flatten every leaf.
A mixture of flat, curved, and slightly folded leaves creates a much more natural strawberry plant.
Small White Strawberry Blossom
Color: White/Cream
The flowers are worked from the center outward.
Rnd 1
Make a MR.
5 sc into MR.
Sl st to first sc.
(5)
Petals
*Ch 3, 2 dc into the same stitch, ch 3, sl st into the same stitch; rep from * around.
You will have 5 petals.
FO.
Weave in the white tail.
Yellow Flower Center
Color: Yellow
Using a tapestry needle and yellow yarn, make several small French-knot-style stitches in the center of each blossom.
Alternatively:
Mini Center
Make a MR.
5 sc into MR.
Sl st to first sc.
FO.
Place the tiny yellow circle over the center of the white flower and secure it with a few stitches.
Make approximately 4-6 blossoms.
Optional Flower Bud
For smaller unopened flowers:
White
MR, 5 sc.
Sl st to first sc.
FO.
Using yellow yarn, add one tiny center stitch.
Attach the bud to the end of a short green stem.
Part 5: Assembly & Hanging Instructions
1. Prepare the Basket
The beige basket should remain lightly stuffed or partially structured.
Add a small amount of fiberfill around the lower portion.
Do not completely fill the upper area because the green foliage will occupy this space.
If using a reinforcement disk, place it inside the bottom of the basket before the final stuffing is added.
2. Create the Plant Base
Cut or crochet approximately 6-8 main green stems.
Arrange them around the inside of the basket.
Position some stems vertically while allowing others to angle outward.
Secure the stems to the inner basket wall with several strong stitches.
For a more realistic appearance, avoid placing every stem at exactly the same height.
3. Add the Leaves
Begin with the largest leaves.
Place them around the top edge of the basket, pointing outward.
Secure each leaf at its base using the green yarn tail.
Recommended arrangement:
- 6-8 leaves around the front
- 5-7 leaves around the back
- 4-6 leaves pointing upward
- Several smaller leaves between the strawberries
Overlap some leaves slightly.
This creates the dense layered foliage seen in the reference image.
4. Attach the Strawberries
Arrange the berries before permanently securing them.
A good composition includes:
- 4-5 large ripe strawberries
- 3-4 medium ripe strawberries
- 2-4 small strawberries
- 2-3 orange or partially ripe berries
Place several berries directly beneath the foliage.
Allow other berries to hang several inches below the basket.
Suggested Positioning
Front:
- 3 large red berries at different heights
- 1 medium berry slightly to the side
Sides:
- 2-3 berries on long vines
Back:
- Smaller berries and partially ripe fruit
Upper foliage:
- Flowers and small developing berries
Do not space the berries evenly. A slightly irregular arrangement gives the hanging basket a more organic appearance.
5. Secure the Calyxes
Each strawberry should have its green calyx sitting directly over the top of the berry.
Use the long green tail from the calyx to stitch it firmly around the top.
Make several small stitches through:
- the center of the calyx,
- the upper strawberry stitches,
- and the beginning of the stem.
Pull firmly enough to prevent movement without distorting the berry.
6. Attach the Vines
Thread the stem of each strawberry upward through the foliage.
Secure the upper end to a leaf, branch, or inside basket edge.
Allow the lower portion to remain loose.
For the hanging berries in the reference style, let the vines curve naturally rather than hanging perfectly straight.
A light internal floral wire can be inserted into longer vines if you want the stems to hold specific curves.
If using wire, completely cover and secure the ends so no sharp metal can emerge.
Three-Point Hanging System
The basket is supported by three evenly spaced cords.
Use twisted cotton cord or strong sport/bulky yarn.
Cut:
- 3 cords approximately 24-30 in (60-75 cm) each
Adjust the length according to your desired hanging height.
Attach the Cords
Divide the basket's upper edge into three approximately equal sections.
Position the cords at:
- Front-left
- Front-right
- Back-center
Alternatively, position them at three evenly spaced points around the circumference.
Secure each cord through several stitches of the basket rim.
For additional strength, pass each cord through the basket wall and knot it securely on the inside.
Do not rely on a single crochet stitch to support the entire basket.
Create the Top Gathering Point
Bring all three cords upward.
Check that the basket hangs level.
Adjust the cord lengths until the pot remains centered.
Tie the three cords together at the top.
For a decorative finish, attach the cords to a small wooden ring.
Alternatively, wrap the joined cords tightly with green or beige yarn to create a neat central knot.
Final Assembly Details
Before finishing, check the basket from all sides.
Add visual depth by varying:
- Strawberry sizes
- Stem lengths
- Leaf angles
- Flower positions
- Berry colors
- Vine curves
Keep the densest foliage around the top of the basket.
Let several strawberries emerge through the leaves.
Allow approximately 5-7 strawberries to hang clearly below the basket edge, with shorter berries tucked into the foliage.
Add the white blossoms primarily to the upper foliage so they appear to be growing from the plant rather than floating among the berries.
Finishing Checklist
- Basket base is flat and stable.
- Basket rim is reinforced.
- All strawberries are securely closed.
- Seed stitches are firmly anchored.
- Every strawberry has a green calyx.
- Strawberry stems are securely attached.
- Leaves have visible center ribs.
- Flowers have yellow centers.
- Vines are distributed around the entire basket.
- Three hanging cords are securely attached.
- Basket hangs evenly.
- All yarn tails are woven in securely.
- No sharp wire ends are exposed.
The finished piece should have a full, overflowing strawberry-plant silhouette, with the beige basket mostly concealed by layered green foliage and bright red berries cascading naturally around the sides.
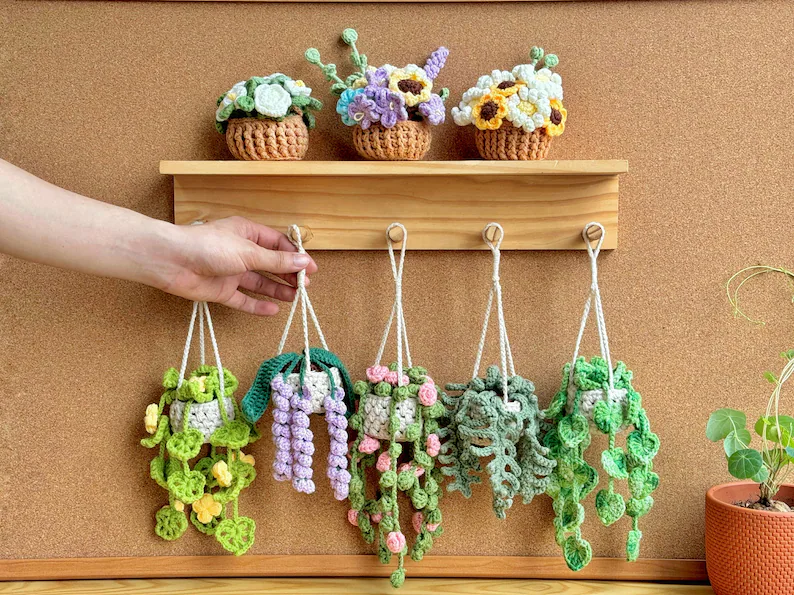
Plant crochet pattern, car hanging plant Crochet Pattern
Plant crochet pattern, car hanging plant Crochet Pattern, Crochet hanging plant for car, Hanging Plant Pattern, Hanging basket crochet
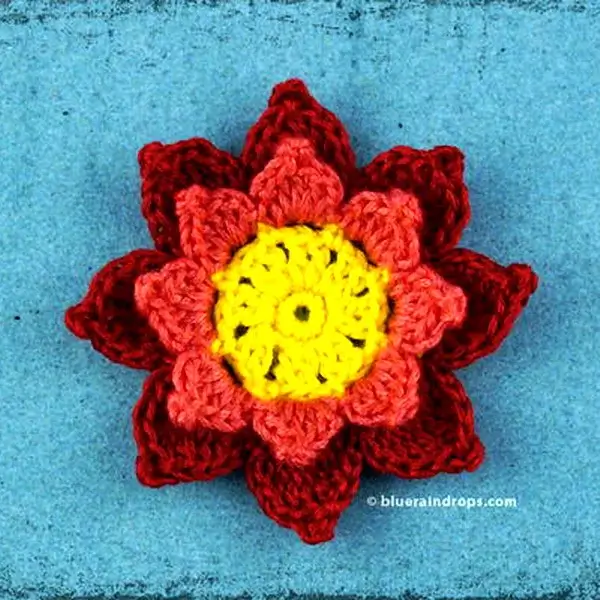
Double Layered Picot Flower
The free Double Layered Picot Flower #1 is a very easy and quick crochet pattern.Create your own flowers using your favorite colors and attach them on hats, bags, pillows, jackets and many more. Experiment with different yarn weights and hook sizes for larger or smaller flowers. Embellish the center of the flower with beads or a cute big button. Both flowers, the pink and the brown, are crocheted with six strand embroidery floss and a 2 mm crochet hook and they measure 6,5 cm (2,5 inches) in diameter.
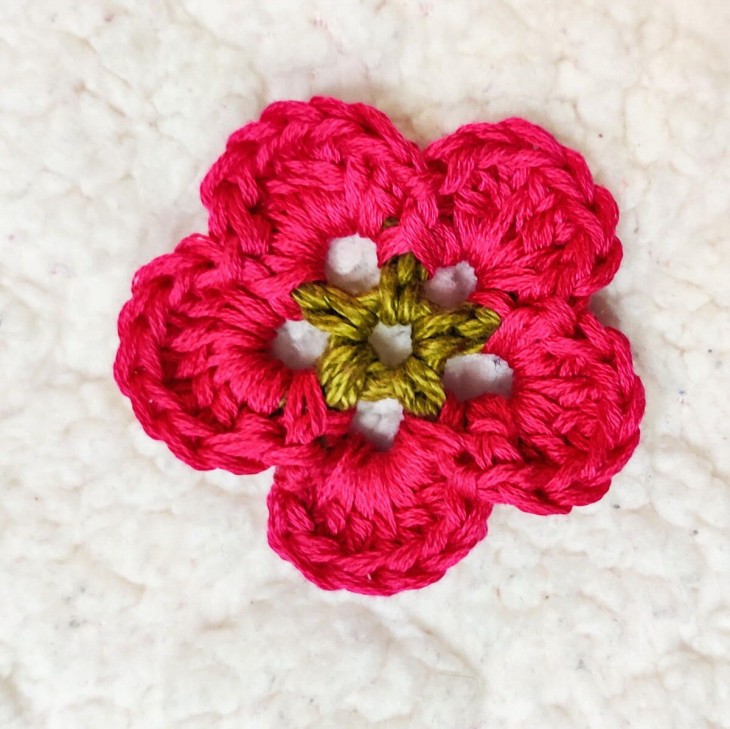
Crochet Five Petal Textured Flower
If you love working on crochet projects, these textured petals crochet flowers would be a fun-loving project for you. You can make these textured flowers in different color combinations using worsted yarn and a 4.00mm crochet hook. Reuse all the yarn scrap and leftover to create these textured five petals crochet flowers. You can use these flowers in whatever way you would like to do.
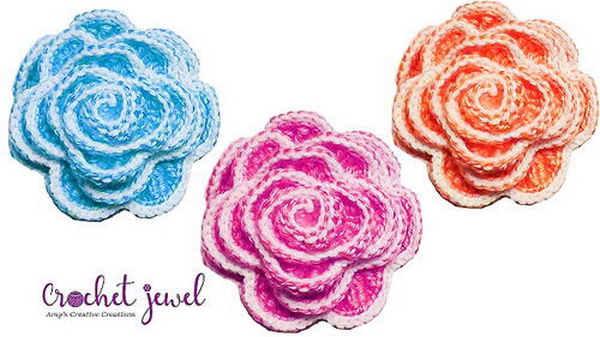
Crochet Layered Rosette Flower Tutorial
"Create this pretty crochet flower for hat or bag! This layered flower was created with a g hook and medium worsted yarn. It's coils into a rosette layered flower when finished. I uploaded a crochet video if you need more help. These beautiful roses can be done in any color of yarn and look great with two different color of yarn. I love how this crochet flower rosette looks on other crochet patterns like hats and scarves. "
Crochet lily pattern free
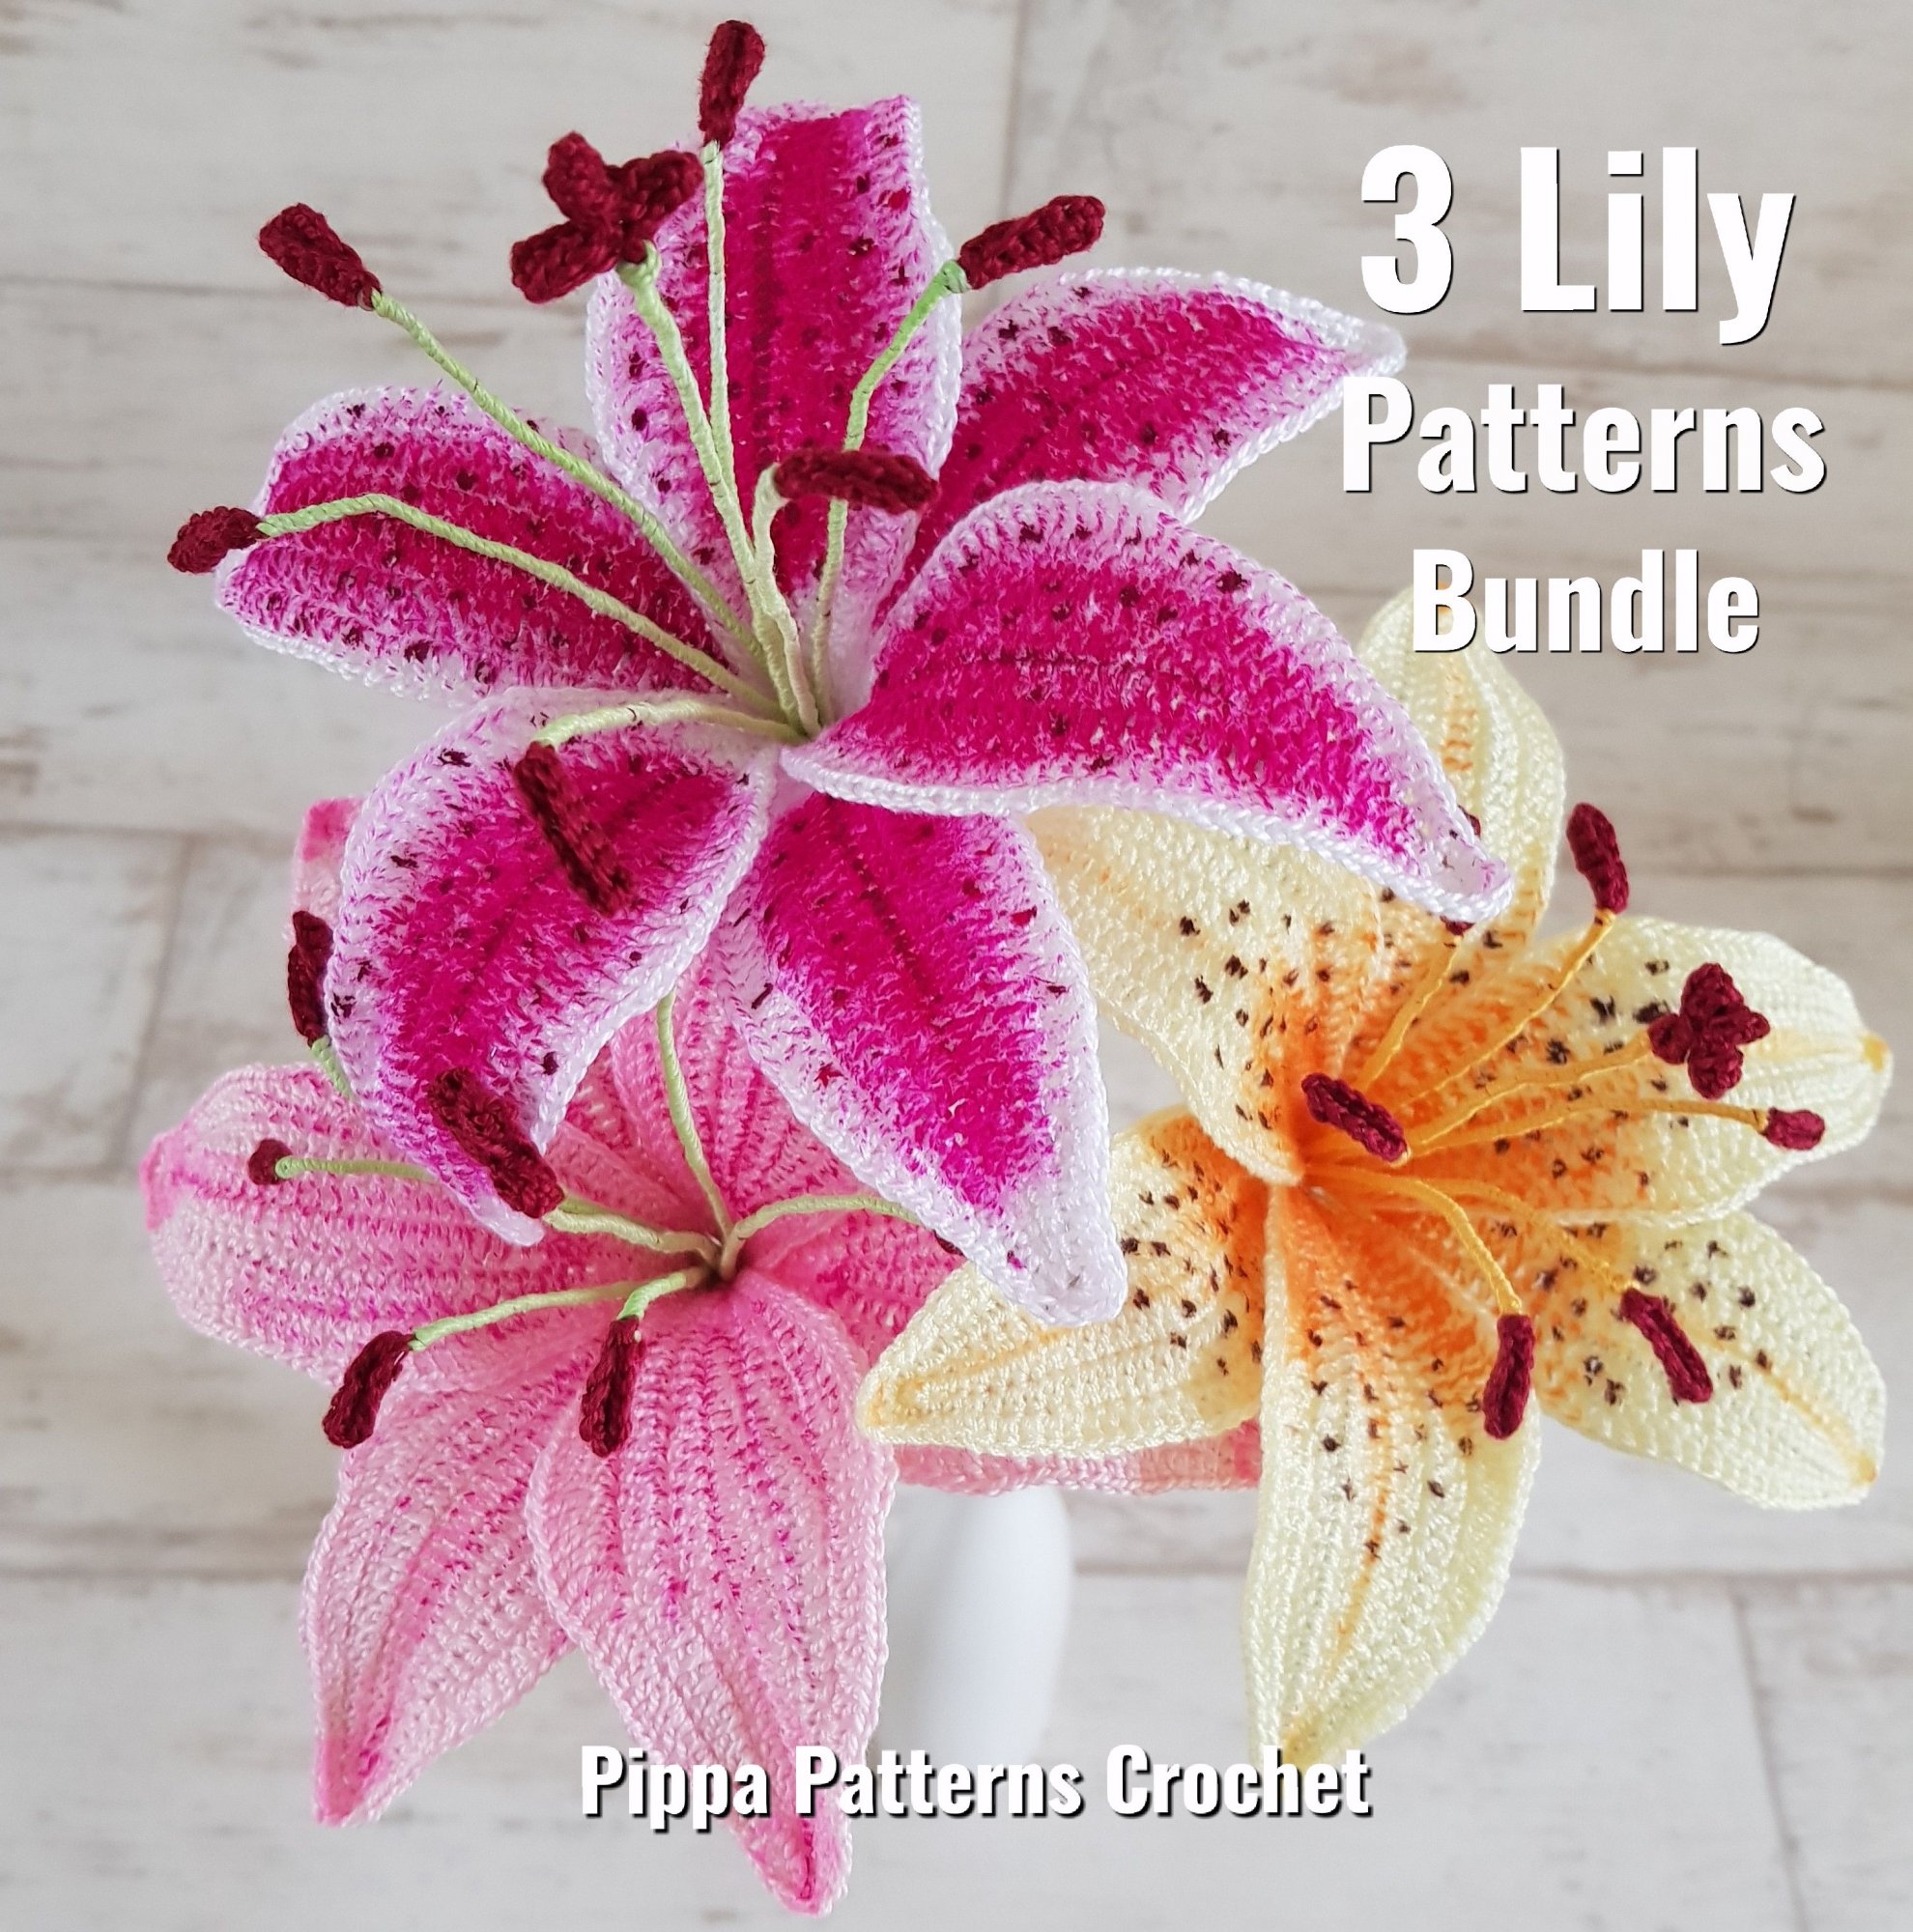
🌸 Free Crochet Lily Pattern - Realistic Botanical Lily with Wired Petals
Create an elegant, lifelike crochet lily with six sculpted pointed petals, delicate burgundy anthers, a long central pistil, and a flexible wired structure. This botanical design is inspired by the richly colored lily shown in the reference image and is ideal for bouquets, floral arrangements, wedding decor, home decoration, and heirloom crochet pieces.