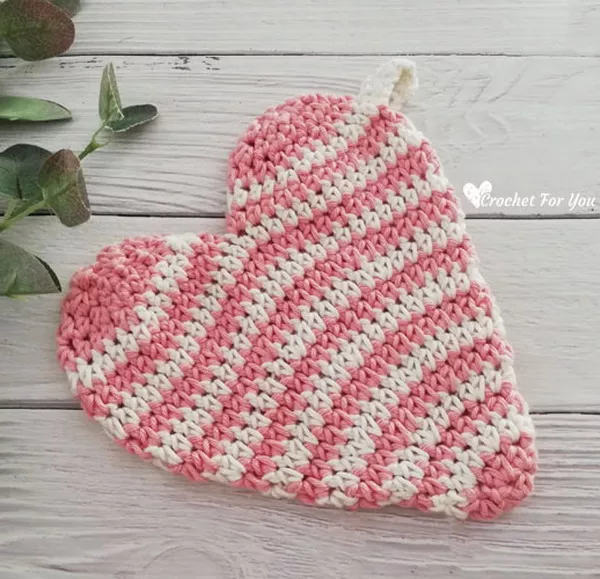
When the love is in the air I made this heart shaped potholder to spread the love into the kitchen, too. The Crochet Heart Potholder is an easy and a fun little crochet project you can make in less than an hour. The pattern begins from the bottom and work in rounds so when the color change to make pink and white stripes you can carry up the yarn from inside when needs. No need to worry too much about weaving ends. At the end you will have a beautiful double thickness heart potholder. The pattern makes great gift for your loved ones, friends, teachers and especially who love to cook.
Click here for the crochet pattern
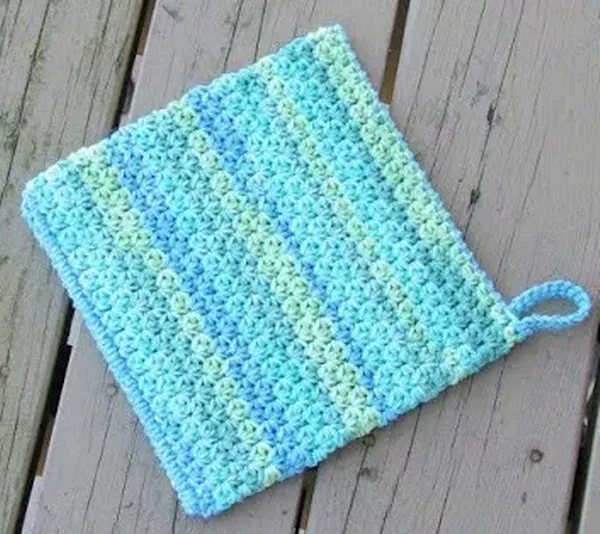
Easy Peasy Potholder
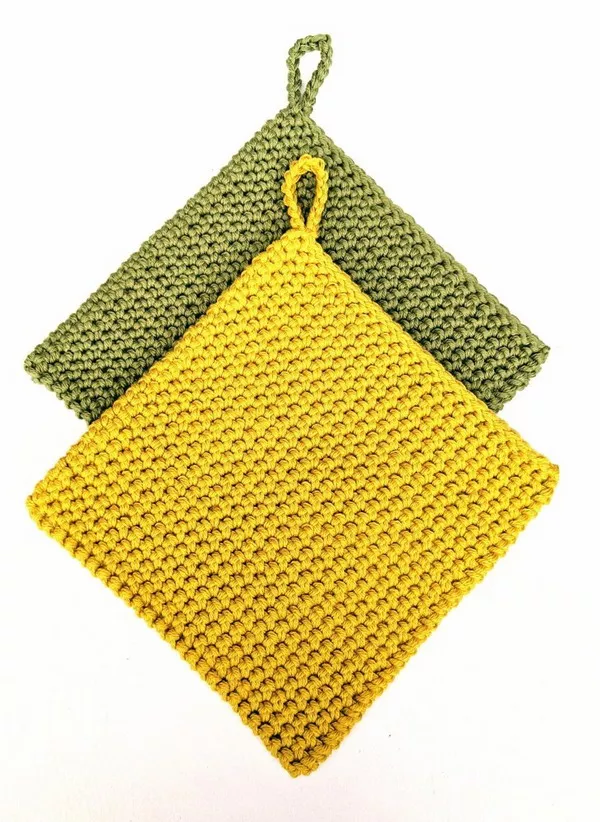
Easy Double Thick Textured Crochet Square Potholder
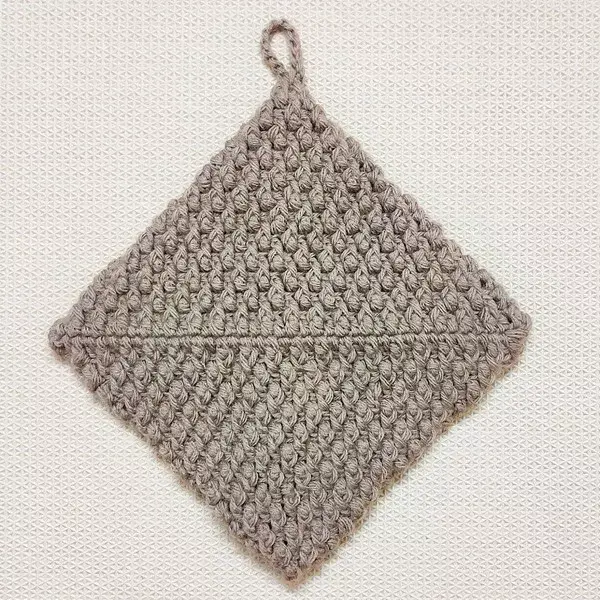
Crochet Thick Potholder
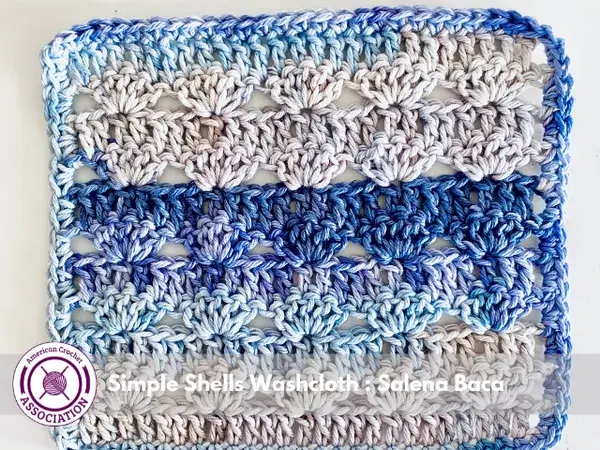
Simple Shells Washcloth: Quick and Easy Textured Stitch Pattern
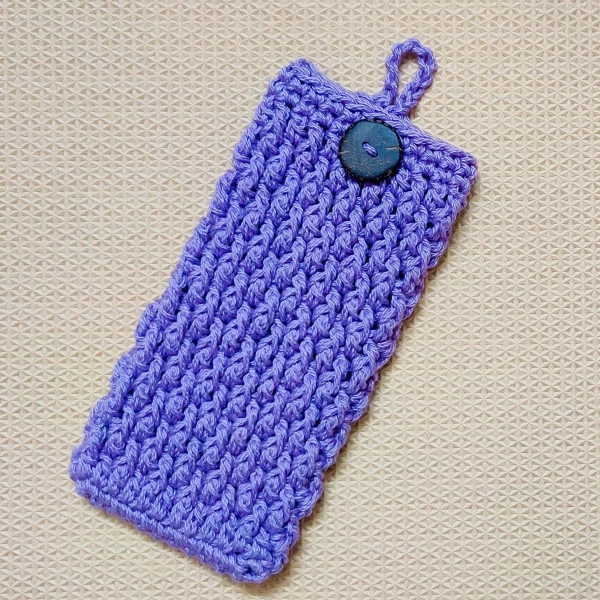
Simple And Easy Crochet Mobile Cover