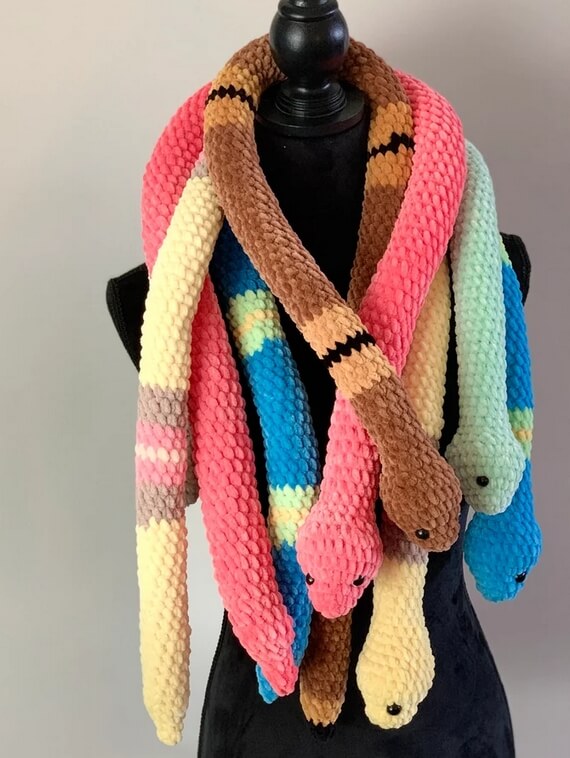
Part 3: Tapered Curled Tail
Continue maintaining the cream belly stripe as the circumference becomes smaller.
Rnd 51:
(Sc in next 2 sts, dec) around. (18 sts)
Rnd 52:
With Mauve, sc in sts 1-4; change to Cream and sc in sts 5-14; change to Mauve and sc in sts 15-18. (18 sts)
Rnd 53:
(Sc in next st, dec) around. (12 sts)
Rnd 54:
With Mauve, sc in sts 1-3; change to Cream and sc in sts 4-9; change to Mauve and sc in sts 10-12. (12 sts)
Rnd 55:
Dec around. (6 sts)
Rnd 56:
With Mauve, sc in sts 1-2; change to Cream and sc in sts 3-4; change to Mauve and sc in sts 5-6. (6 sts)
Rnd 57:
Dec around. (3 sts)
Rnd 58:
Sc in each stitch around. (3 sts)
Rnd 59:
Dec, sc. (2 sts)
Rnd 60:
Dec. (1 st)
Fasten off and pull the yarn tail through the final loop. Because the opening has been reduced to one stitch, the end can be snugly closed without sewing.
The complete snake body is now finished.
How to Shape the Snake
The magic of this design is that the crochet tube does not need separate pieces to create the pose.
While the snake is stuffed:
-
Keep the head firm and rounded.
-
Stuff the neck firmly enough to stand upright.
-
Add slightly less stuffing toward the middle of the body.
-
Shape the lower body into a loose U or C curve.
-
Let the tail curve naturally around the body.
-
Gently massage the plush yarn with your fingers to distribute the stuffing.
-
Rotate the snake until the cream belly faces forward.
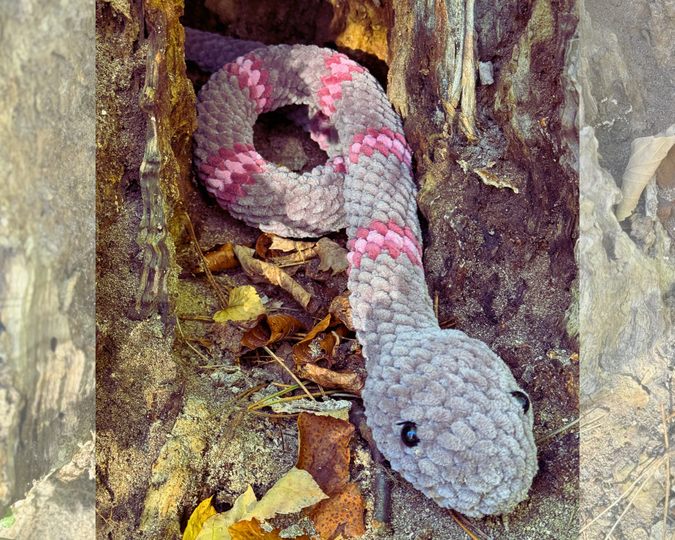
For a pose similar to the inspiration photo, keep the neck relatively upright and arrange the lower body in a broad curl.
Finishing Touches
Stuffing
Begin stuffing around Rnd 10-12 and continue adding small amounts as you crochet.
Do not overfill the head. The head should remain rounded and squishy.
The neck needs slightly firmer stuffing so it can stand upright.
For the curled body, use medium stuffing rather than packing it extremely hard. This makes the snake easier to pose.
Optional Smile
The mouth is completely optional.
Using black embroidery thread or thin black yarn, make a tiny curved smile below the nose.
Because the smile is decorative rather than structural, it does not affect the no-sew construction of the plush body.
Optional Cheeks
Add two tiny pink embroidered cheek marks beside the muzzle for a sweeter expression.
Invisible Final Closure
The final tail is reduced to one stitch, so there is no large opening to sew closed.
After Rnd 60:
-
Fasten off.
-
Pull the yarn tail through the final loop.
-
Gently tighten the tail.
-
Trim the yarn close to the plush surface.
-
Use the tip of your hook to tuck the end into the body if needed.
No separate body parts need to be stitched together.
Optional Photo-Inspired Styling
The reference photo features a charming floral hat that gives the snake a whimsical springtime look.
For a completely seamless finished toy, the snake itself is already complete without the hat. You can style your finished plush with a purchased miniature hat, ribbon, flower crown, or another removable accessory.
If you prefer a fully crocheted accessory, keep the hat removable so the main snake remains a true one-piece, no-sew amigurumi.
The soft mauve, ivory, pink, and olive color palette works particularly well with this design.
Why This Snake Is Perfect for Craft Fairs
This pattern is especially useful for handmade sellers because it eliminates several time-consuming finishing steps.
No tiny pieces to attach
There are no separate legs, arms, ears, or eyes to sew on.
Fast chunky construction
Bulky chenille yarn creates a large plush quickly.
Easy color customization
Try:
-
Lavender and cream
-
Pink and ivory
-
Sage green and cream
-
Brown and beige
-
Black and white
-
Rainbow stripes
-
Pastel rainbow
-
Solid cream
-
Solid dusty rose
Beginner-friendly construction
The pattern primarily uses:
-
sc
-
inc
-
dec
-
MR
-
bobble stitches
The bobble eyes may look advanced, but they are simply unfinished double crochets worked together in one stitch.
FAQ
1. How do you crochet a no-sew amigurumi snake?
A no-sew amigurumi snake can be crocheted as one continuous tube. Start by increasing stitches to create the rounded head, work the narrower neck and long body in continuous rounds, then decrease gradually to form the tapered tail. In this pattern, the eyes and nose are also crocheted directly into the head with bobble stitches, so there are no separate facial pieces to attach.
2. What yarn is best for a plush crochet snake?
Chunky chenille yarn is an excellent choice for a soft plush snake. Premier Parfait Chunky, Premier Parfait XL, and similar bulky velvet-style yarns create a squishy texture and help the project work up quickly. Use a hook size that produces tight enough stitches that the stuffing does not show through.
3. How do you make amigurumi look smooth with chenille yarn?
Use relaxed, consistent tension and avoid making your stitches excessively tight. Count every stitch carefully because chenille can hide individual loops. Stuff the toy gradually instead of adding all the fiberfill at the end. A slightly smaller hook can also help create dense stitches, but always test your yarn first so the fabric remains flexible enough to work comfortably.
Final Pattern Checklist
Before considering your snake finished, check that:
-
The head is fully rounded.
-
Both bobble eyes are securely integrated.
-
The nose is centered beneath the eyes.
-
The neck is firmly stuffed.
-
The cream belly stripe is facing forward.
-
The body has enough stuffing to hold its shape.
-
The tail is evenly tapered.
-
The final end is securely tightened.
-
The optional smile is centered.
-
No separate crochet pieces have been sewn onto the body.
This gives you a soft, chubby, photo-friendly no-sew amigurumi snake with a cute expression and a naturally curled plush body.
Crochet pattern Plush Green Snake
Curvy Striped Snake Amigurumi Free Crochet Pattern
Easy Beginner Crochet Pattern: Sansevieria Snake Plant
Crochet Pattern Snake
No-Sew Crochet Snake Pattern