
Bulldog Muzzle
The English Bulldog's muzzle is broad and short. The next rounds create the characteristic jowls.
Rnd 44: Sc in next 18 sts, HBo in next st, sc in next 18 sts, HBo in next st, sc in next 18 sts. The two heavy bobbles form the sides of the muzzle. (56)
Rnd 45: Sc in each stitch around. (56)
Rnd 46: Sc in each stitch around. (56)
Rnd 47: Sc in each stitch around. (56)
Integrated Nose
Rnd 48: Sc in next 26 sts, NB in next st using black yarn, sc in next 29 sts. The black nose bobble is centered on the muzzle. (56)
Switch back to white yarn.
Rnd 49: Sc in each stitch around. (56)
Head Reduction
Rnd 50: (Sc in next 5 sts, dec in next st) 8 times. (48)
Rnd 51: (Sc in next 4 sts, dec in next st) 8 times. (40)
Rnd 52: (Sc in next 3 sts, dec in next st) 8 times. (32)
Add stuffing, keeping the muzzle slightly softer than the back of the head.
Integrated Floppy Ears
Rnd 53: Sc in next 8 sts, EB in next st, sc in next 14 sts, EB in next st, sc in next 8 sts. The two ear bobbles form the floppy ears. (32)
Rnd 54: Sc in next 8 sts, EB in next st, sc in next 14 sts, EB in next st, sc in next 8 sts. This second row adds depth to the ears. (32)
Allow the ear bobbles to remain relaxed so they hang naturally.
Rnd 55: Sc in each stitch around. (32)
Rnd 56: Sc in each stitch around. (32)
Crown Closure
Rnd 57: (Sc in next 2 sts, dec in next st) 8 times. (24)
Rnd 58: (Sc in next 2 sts, dec in next st) 6 times. (18)
Rnd 59: (Sc in next st, dec in next st) 6 times. (12)
Check the stuffing.
Rnd 60: Dec around. (6)
Fasten off, leaving a long tail.
Stitch Count Check
| Round | Count |
|---|---|
| 1 | 8 |
| 2 | 16 |
| 3 | 24 |
| 4 | 32 |
| 5 | 40 |
| 6 | 48 |
| 7 | 48 |
| 8 | 48 |
| 9 | 56 |
| 10 | 56 |
| 11 | 56 |
| 12 | 56 |
| 13 | 56 |
| 14 | 56 |
| 15 | 56 |
| 16 | 56 |
| 17 | 48 |
| 18 | 48 |
| 19 | 48 |
| 20 | 48 |
| 21 | 48 |
| 22 | 48 |
| 23 | 48 |
| 24 | 48 |
| 25 | 48 |
| 26 | 48 |
| 27 | 40 |
| 28 | 40 |
| 29 | 40 |
| 30 | 40 |
| 31 | 48 |
| 32 | 56 |
| 33 | 56 |
| 34 | 56 |
| 35 | 56 |
| 36 | 56 |
| 37 | 56 |
| 38 | 56 |
| 39 | 56 |
| 40 | 56 |
| 41 | 56 |
| 42 | 56 |
| 43 | 56 |
| 44 | 56 |
| 45 | 56 |
| 46 | 56 |
| 47 | 56 |
| 48 | 56 |
| 49 | 56 |
| 50 | 48 |
| 51 | 40 |
| 52 | 32 |
| 53 | 32 |
| 54 | 32 |
| 55 | 32 |
| 56 | 32 |
| 57 | 24 |
| 58 | 18 |
| 59 | 12 |
| 60 | 6 |
Every special bobble stitch occupies one stitch, so the stitch counts remain mathematically consistent.
Finishing Touches
Stuffing
For the best English Bulldog shape:
-
Stuff the lower body firmly.
-
Add extra stuffing to the chest.
-
Keep the front legs moderately stuffed so they stay rounded.
-
Fill the back of the head firmly.
-
Leave the muzzle slightly softer to create natural jowls.
-
Do not stuff the ear bobbles heavily; they should stay floppy.
Optional Wrinkles
The reference bulldog has adorable wrinkles around the forehead and muzzle.
Using a small amount of light gray yarn, you can embroider two or three very short horizontal lines across the forehead and one curved line beneath each eye.
These stitches are optional and do not affect the seamless construction.
Optional Smile
Use black yarn to embroider a tiny, subtle mouth below the nose.
Make one short vertical stitch beneath the nose, then two small angled stitches outward.
This gives the bulldog a gentle expression without overpowering the face.
Closing the Final Hole
-
Thread the yarn tail onto a tapestry needle.
-
Insert the needle through the front loop of each of the remaining six stitches.
-
Pull gently to close the opening.
-
Insert the needle through the center.
-
Bring it out several stitches away.
-
Pull snugly.
-
Weave the tail through the body.
-
Trim the excess.
The invisible closure should blend into the plush yarn.
FAQ
1. Is this White English Bulldog Amigurumi Crochet Pattern really no-sew?
Yes. The paws, front legs, rear paws, eyes, ears, and nose are all formed directly into the crochet rounds using bobble stitches. No separate limbs or facial pieces need to be sewn onto the body.
2. What yarn is best for a realistic English Bulldog amigurumi?
Bulky chenille yarn such as Premier Parfait Chunky or Sweet Snuggles is ideal because it creates the soft, dense texture seen in the reference photo. It also hides small imperfections and gives the finished bulldog a cuddly appearance.
3. How do I make the bulldog look more realistic?
Focus on stuffing and shaping. Keep the body broad, the chest full, the muzzle slightly softer than the head, and the ears relaxed. Adding a few subtle embroidered wrinkles with gray yarn can also enhance the realistic English Bulldog look.
Final Thoughts
This White English Bulldog Amigurumi Crochet Pattern captures the sweet, stocky appearance of a classic English Bulldog while eliminating the frustration of sewing multiple pieces together. The integrated bobble stitches create chunky paws, expressive eyes, floppy ears, and a broad muzzle directly within the continuous crochet fabric.
The result is a soft, chubby plush puppy that is perfect for craft fairs, handmade gifts, nursery decor, or any dog lover's collection. Once you are comfortable with the shaping techniques, you can easily adapt the pattern into cream, fawn, brindle, or piebald color variations while keeping the same seamless construction.
With careful stuffing, firm tension, and a little gentle shaping at the end, your finished bulldog will have the lovable wrinkles, broad face, and cuddly personality that make this breed so instantly recognizable.
Crocheted Giraffe
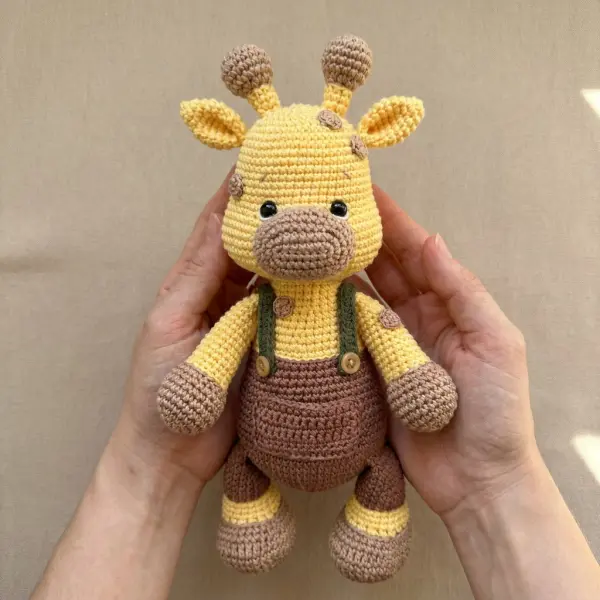
This adorable crocheted giraffe is a fun, beginner-friendly amigurumi project inspired by the sweet handmade giraffe in the photo. With a round head, tiny muzzle, floppy ears, tall ossicones, chunky legs, and cute little overalls, this plush has an irresistibly squishy personality.
The pattern is designed for quick crafting and simple construction. Most of the major pieces are worked directly onto the body with crochet stitches or slip stitches, keeping assembly to a minimum. There is no complicated garment sewing or difficult shaping.
Crocheted Elephant
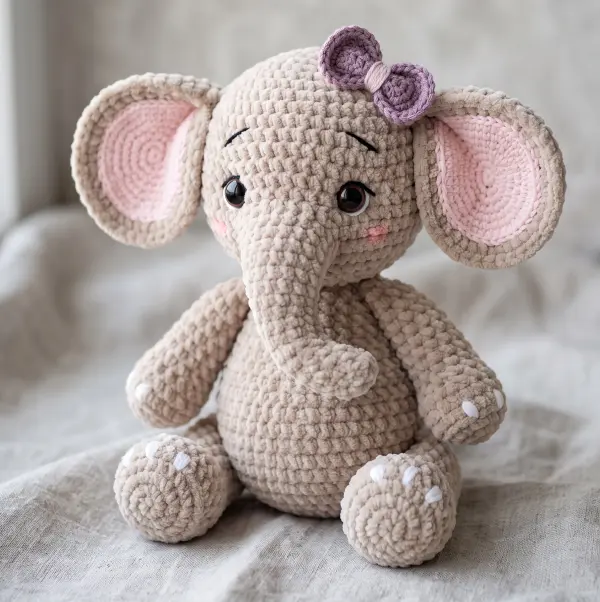
A soft, chubby, squishy crocheted elephant is one of those projects that is almost impossible to resist. With its oversized ears, tiny trunk, round belly, and cuddly chenille texture, this little elephant has the perfect handmade-toy look.
This beginner-friendly pattern is designed for quick crafting with plush yarn. The construction keeps the assembly simple, with parts attached using crochet stitches and slip stitches instead of traditional sewing. That makes it especially appealing if you love no-sew amigurumi and want a project you can finish in a short crafting session.
Free No-Sew Crochet Cow Pattern Quick, Chubby & Beginner-Friendly
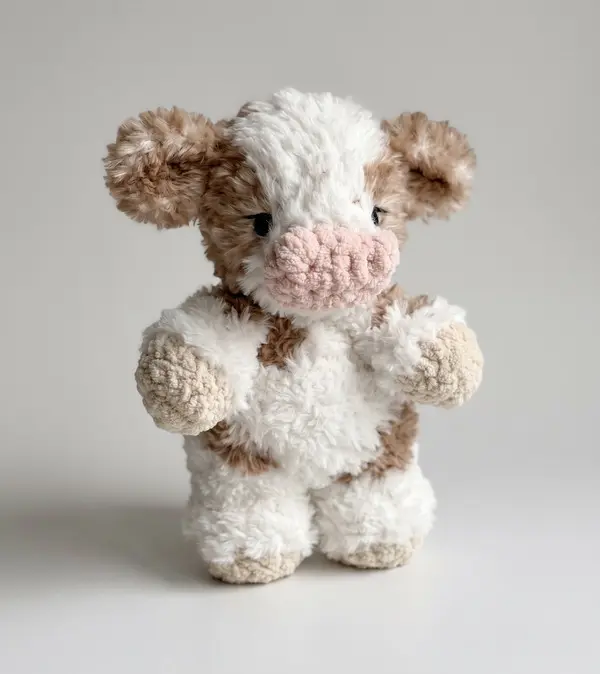
Create an irresistibly cuddly no-sew crochet cow inspired by the fluffy, chubby cow shown in the photo. This advanced-beginner pattern uses plush chenille or faux-fur yarn to create the soft, fuzzy texture and keeps the main construction completely needle-free.
Realistic Labrador Amigurumi Crochet Pattern
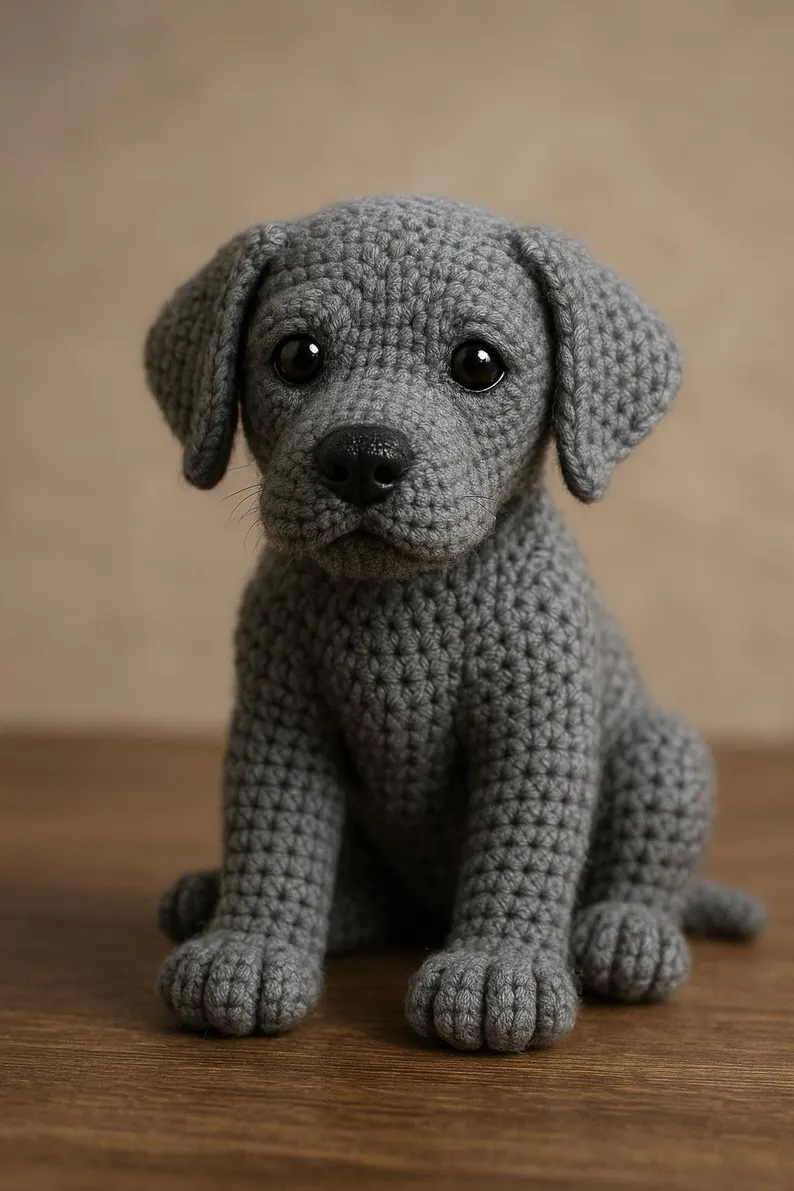
Realistic Labrador Amigurumi Crochet Pattern - Life-Like Sitting Puppy
Amigurumi Puppy
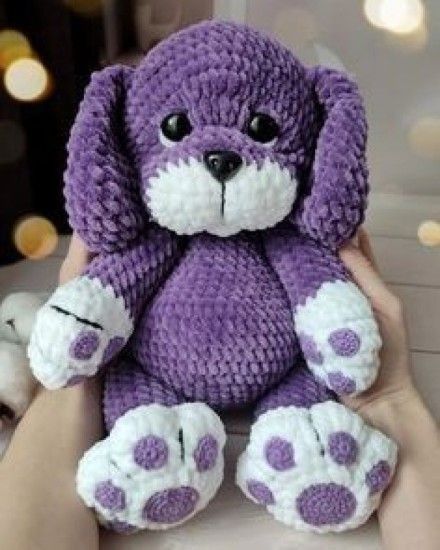
Create an irresistibly cuddly Amigurumi Puppy Crochet Pattern inspired by the adorable plush puppy shown in the photo. This chubby puppy features a deep violet body, oversized floppy ears, a soft white muzzle, and large white paws decorated with contrasting purple paw pads.
The pattern uses super bulky chenille yarn and is designed for advanced beginners who are comfortable crocheting amigurumi in continuous rounds, changing colors, increasing, decreasing, and sewing simple pieces together.