
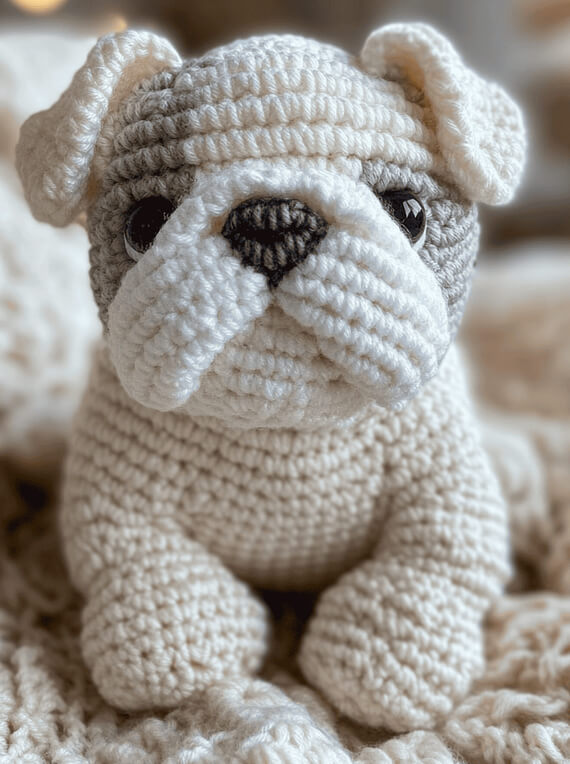
White English Bulldog Amigurumi Crochet Pattern - Easy No-Sew Chunky Plush Puppy
A Realistic, Chubby Bulldog You Can Crochet in One Piece
If you have ever admired the wrinkly, squishy face of an English Bulldog but hesitated because traditional amigurumi patterns require sewing on ears, legs, muzzles, and eyes, this White English Bulldog Amigurumi Crochet Pattern is designed to make the process much simpler. Inspired by the soft, rounded white bulldog in the reference photo, this pattern uses a continuous, seamless construction so the paws, eyes, ears, and facial features are formed directly into the crochet fabric.
A no-sew design is a lifesaver for craft fairs, handmade gifts, and beginner crocheters because it reduces finishing time and creates a sturdier plush with fewer seams to work loose. The finished bulldog has the adorable, chubby look that makes English Bulldogs so recognizable: a broad head, short muzzle, chunky front paws, floppy ears, and a compact sitting body. Bulky chenille yarn gives the puppy a wonderfully soft texture while strategic increases, decreases, and bobble stitches create its characteristic wrinkled appearance.
Materials & Tools Needed
Yarn
For the soft, plush finish shown in the inspiration photo, choose a bulky or super-bulky chenille yarn.
Main white yarn:
-
Premier Parfait Chunky
-
Sweet Snuggles
-
Hobbii Honey Bunny
-
Bernat Blanket Extra
-
Similar bulky chenille yarn
Approximately 180-240 g of white yarn is recommended.
Accent Yarn
-
Small amount of black yarn for the integrated eyes and nose
-
Small amount of light gray yarn for optional wrinkle embroidery
-
Optional cream yarn for subtle shading
Hook
-
5.0 mm crochet hook
-
4.5 mm if your tension is loose
-
6.0 mm only for very thick yarn
Other Supplies
-
Polyester fiberfill
-
Stitch markers
-
Tapestry needle
-
Small scissors
-
Measuring tape
-
Optional 12 mm safety eyes (not needed for the written bobble-eye version)
Crochet Abbreviations
| Abbreviation | Meaning |
|---|---|
| MR | Magic Ring |
| Ch | Chain |
| Sc | Single Crochet |
| Inc | Increase - 2 sc in the same stitch |
| Dec | Invisible Single Crochet Decrease |
| Bo | 4-dc Bobble Stitch |
| Sl st | Slip Stitch |
| St(s) | Stitch/Stitches |
Additional special stitches used:
| Abbreviation | Meaning |
|---|---|
| HBo | 6-dc Heavy Bobble |
| EB | 8-dc Ear Bobble |
| NB | 6-dc Nose Bobble |
Every bobble counts as one stitch.
Special Stitch Instructions
4-DC Bobble Stitch (Bo)
The 4-dc bobble is used for the bulldog's integrated eyes.
-
Yarn over.
-
Insert the hook into the indicated stitch.
-
Yarn over and pull up a loop.
-
Yarn over and pull through 2 loops.
-
Stop before completing the double crochet.
-
Repeat this partial double crochet three more times in the same stitch.
-
You will have 5 loops on the hook.
-
Yarn over and pull through all 5 loops.
-
Tighten gently.
The completed bobble counts as 1 stitch.
6-DC Heavy Bobble (HBo)
This larger bobble creates the bulldog's chunky paws.
Work six partial double crochets into the same stitch, then yarn over and pull through all seven loops on the hook.
The HBo counts as 1 stitch.
8-DC Ear Bobble (EB)
The floppy ears are made with a relaxed 8-dc bobble.
Work eight partial double crochets into the same stitch, then pull through all loops together.
Do not tighten the bobble too much. Leaving it slightly loose helps the ear drape naturally.
6-DC Nose Bobble (NB)
The nose is made with black yarn.
Work six partial double crochets into the indicated stitch, then pull through all loops.
The NB counts as 1 stitch.
Important Pattern Notes
-
Work in continuous spirals.
-
Do not join rounds unless instructed.
-
Place a stitch marker in the first stitch of every round.
-
Move the stitch marker upward as you crochet.
-
Every bobble counts as one stitch.
-
Stuff gradually instead of waiting until the end.
-
Plush yarn hides stitches beautifully, but loose tension can allow stuffing to show through.
-
Keep your stitches firm but comfortable.
-
The legs, paws, eyes, ears, and nose are all integrated directly into the body.
-
No separate limbs are sewn on.
Complete White English Bulldog Amigurumi Crochet Pattern
Body and Hindquarters
Rnd 1: With white yarn, make an MR and work 8 sc into the ring. (8)
Rnd 2: Inc in each stitch around. (16)
Rnd 3: (Sc in next st, inc in next st) 8 times. (24)
Rnd 4: (Sc in next 2 sts, inc in next st) 8 times. (32)
Rnd 5: (Sc in next 3 sts, inc in next st) 8 times. (40)
Rnd 6: (Sc in next 4 sts, inc in next st) 8 times. (48)
Rnd 7: Sc in each stitch around. (48)
Rnd 8: Sc in each stitch around. (48)
Rnd 9: (Sc in next 5 sts, inc in next st) 8 times. (56)
Rnd 10: Sc in each stitch around. (56)
Rnd 11: Sc in each stitch around. (56)
Rnd 12: Sc in each stitch around. (56)
Begin stuffing the lower body.
Integrated Rear Paws
Rnd 13: Sc in next 8 sts, HBo in next st, sc in next 18 sts, HBo in next st, sc in next 28 sts. The two HBo stitches form the rear paws directly into the body. (56)
Rnd 14: Sc in each stitch around. (56)
Rnd 15: Sc in each stitch around. (56)
Rnd 16: Sc in each stitch around. (56)
Add stuffing, concentrating it toward the back to create the bulldog's seated shape.
Body Taper
Rnd 17: (Sc in next 6 sts, dec in next st) 8 times. (48)
Rnd 18: Sc in each stitch around. (48)
Rnd 19: Sc in each stitch around. (48)
Rnd 20: Sc in each stitch around. (48)
Integrated Front Legs
The next four rounds create the two front legs directly from the body. The stacked heavy bobbles build thick, bulldog-style forelegs.
Rnd 21: Sc in next 10 sts, HBo in next st, sc in next 18 sts, HBo in next st, sc in next 18 sts. (48)
Rnd 22: Sc in next 10 sts, HBo in next st, sc in next 18 sts, HBo in next st, sc in next 18 sts. (48)
Rnd 23: Sc in next 10 sts, HBo in next st, sc in next 18 sts, HBo in next st, sc in next 18 sts. (48)
Rnd 24: Sc in next 10 sts, HBo in next st, sc in next 18 sts, HBo in next st, sc in next 18 sts. These final heavy bobbles create the rounded front paws. (48)
Rnd 25: Sc in each stitch around. (48)
Rnd 26: Sc in each stitch around. (48)
Stuff around the chest and front legs.
Neck
Rnd 27: (Sc in next 5 sts, dec in next st) 8 times. (40)
Rnd 28: Sc in each stitch around. (40)
Rnd 29: Sc in each stitch around. (40)
Rnd 30: Sc in each stitch around. (40)
Head
Rnd 31: (Sc in next 4 sts, inc in next st) 8 times. (48)
Rnd 32: (Sc in next 5 sts, inc in next st) 8 times. (56)
Rnd 33: Sc in each stitch around. (56)
Rnd 34: Sc in each stitch around. (56)
Rnd 35: Sc in each stitch around. (56)
Rnd 36: Sc in each stitch around. (56)
Integrated Eyes
Rnd 37: Sc in next 12 sts, Bo in next st using black yarn, sc in next 18 sts, Bo in next st using black yarn, sc in next 24 sts. The two black bobbles create the eyes directly in the face. (56)
Switch back to white yarn after each bobble.
Rnd 38: Sc in each stitch around. (56)
Rnd 39: Sc in each stitch around. (56)
Rnd 40: Sc in each stitch around. (56)
Rnd 41: Sc in each stitch around. (56)
Begin stuffing the head.
Rnd 42: Sc in each stitch around. (56)
Rnd 43: Sc in each stitch around. (56)
Click to view Video/Photo Guide for Special Stitches
Crocheted Giraffe
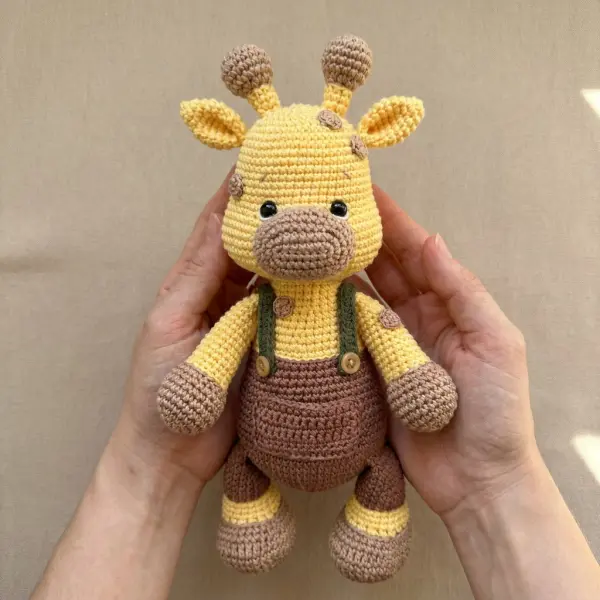
This adorable crocheted giraffe is a fun, beginner-friendly amigurumi project inspired by the sweet handmade giraffe in the photo. With a round head, tiny muzzle, floppy ears, tall ossicones, chunky legs, and cute little overalls, this plush has an irresistibly squishy personality.
The pattern is designed for quick crafting and simple construction. Most of the major pieces are worked directly onto the body with crochet stitches or slip stitches, keeping assembly to a minimum. There is no complicated garment sewing or difficult shaping.
Crocheted Elephant
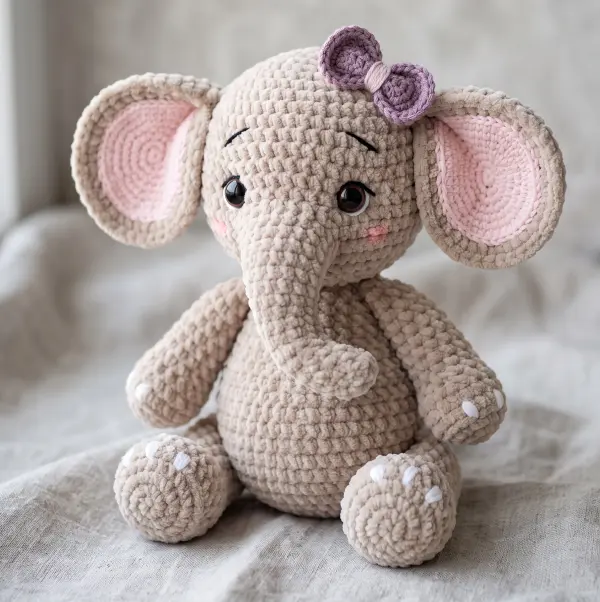
A soft, chubby, squishy crocheted elephant is one of those projects that is almost impossible to resist. With its oversized ears, tiny trunk, round belly, and cuddly chenille texture, this little elephant has the perfect handmade-toy look.
This beginner-friendly pattern is designed for quick crafting with plush yarn. The construction keeps the assembly simple, with parts attached using crochet stitches and slip stitches instead of traditional sewing. That makes it especially appealing if you love no-sew amigurumi and want a project you can finish in a short crafting session.
Free No-Sew Crochet Cow Pattern Quick, Chubby & Beginner-Friendly
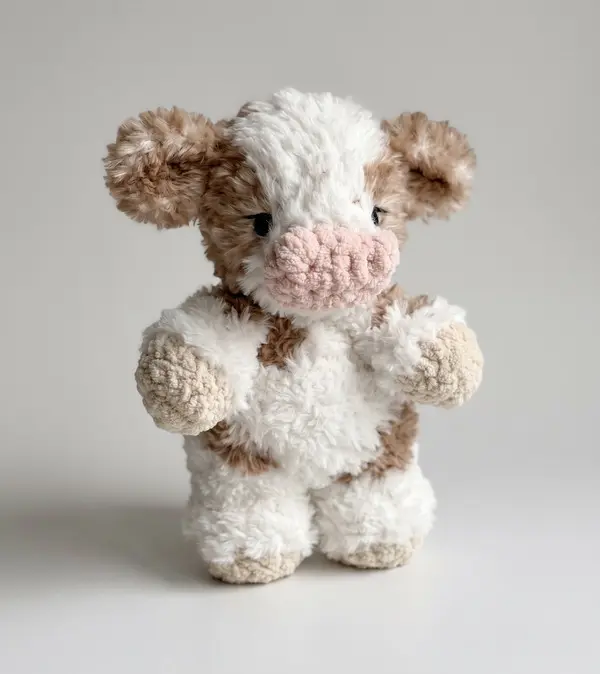
Create an irresistibly cuddly no-sew crochet cow inspired by the fluffy, chubby cow shown in the photo. This advanced-beginner pattern uses plush chenille or faux-fur yarn to create the soft, fuzzy texture and keeps the main construction completely needle-free.
Realistic Labrador Amigurumi Crochet Pattern
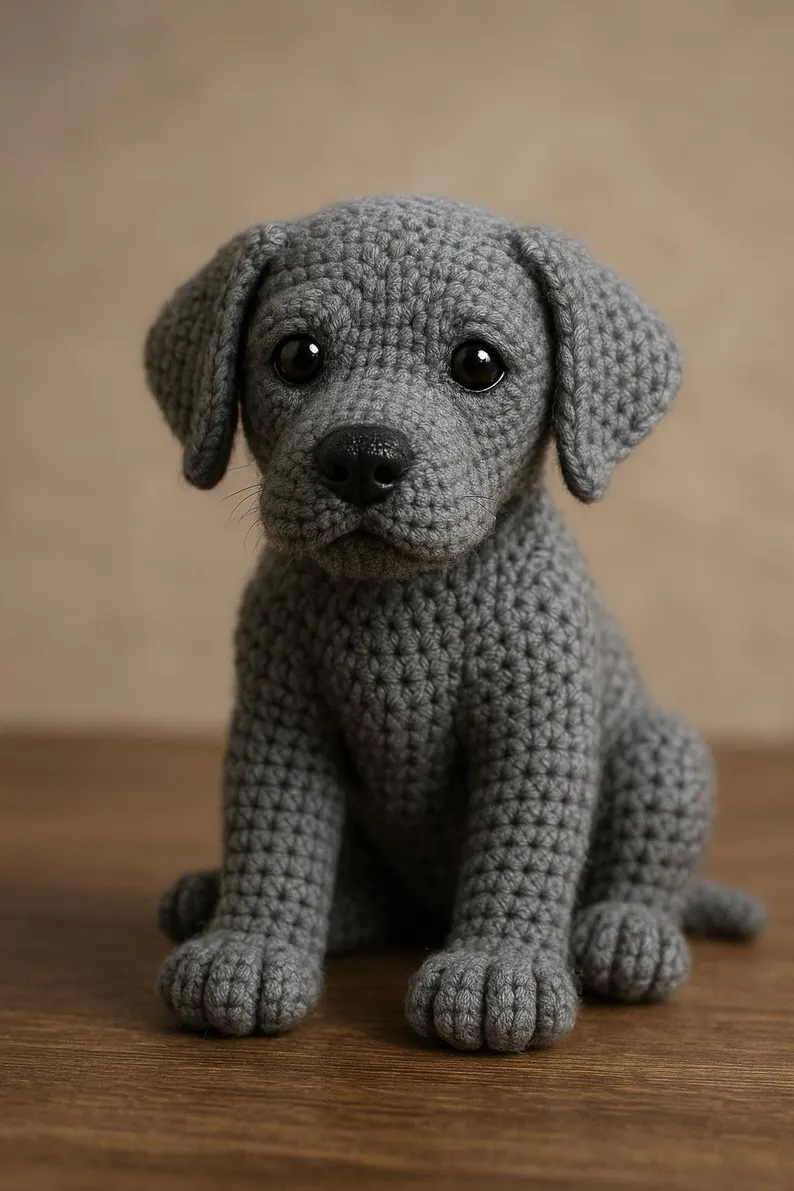
Realistic Labrador Amigurumi Crochet Pattern - Life-Like Sitting Puppy
Amigurumi Puppy
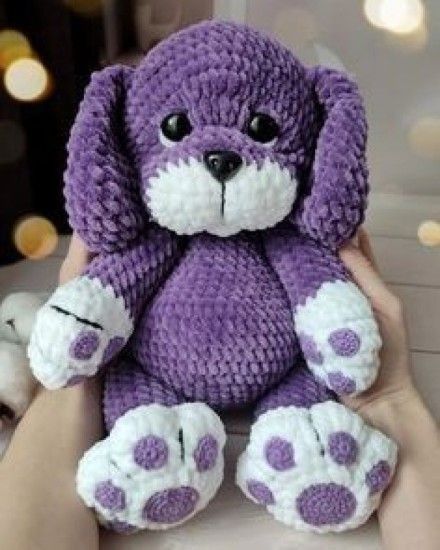
Create an irresistibly cuddly Amigurumi Puppy Crochet Pattern inspired by the adorable plush puppy shown in the photo. This chubby puppy features a deep violet body, oversized floppy ears, a soft white muzzle, and large white paws decorated with contrasting purple paw pads.
The pattern uses super bulky chenille yarn and is designed for advanced beginners who are comfortable crocheting amigurumi in continuous rounds, changing colors, increasing, decreasing, and sewing simple pieces together.