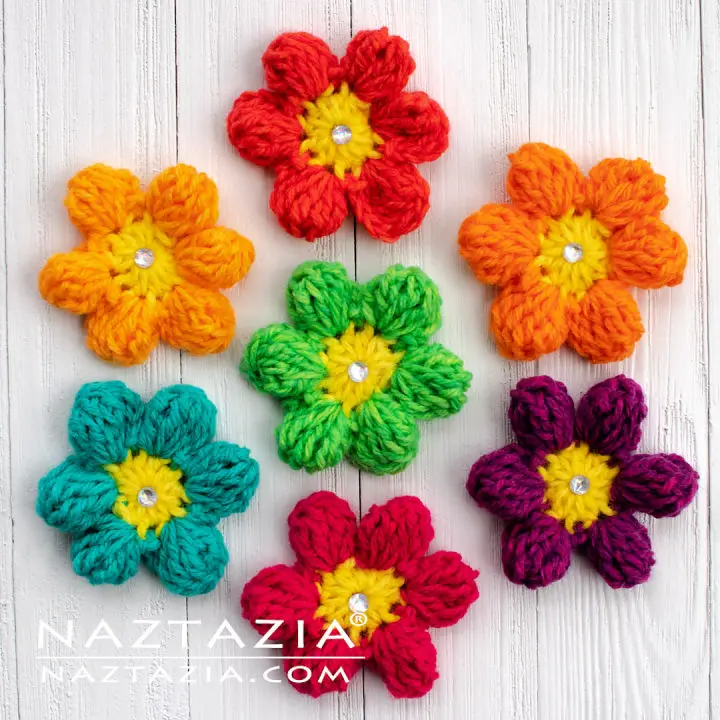
Strawberry Hanging Stems
Use green yarn.
For each stem:
ch 15–25, depending on the desired length.
Work sl st back along the chain.
Fasten off.
Attach one end to the leafy strawberry top.
Attach the other end to the basket or weave it through the surrounding leaves.
Vary the lengths.
Some strawberries should hang higher, while others should cascade below the basket.
This creates the lush, overflowing appearance seen in the finished design.
Crochet Leaves
The leaves are simple and fast.
Use green yarn.
Round 1: ch 9.
Starting in the second ch from the hook, work:
sc, hdc, 3 dc, hdc, sc, sl st
Do not turn.
Continue along the opposite side of the foundation chain with:
sc, hdc, 3 dc, hdc, sc, sl st
Fasten off.
Leave a long tail for attaching.
For a more realistic appearance, gently bend the leaf along its center.
You can also add a short line of surface crochet down the middle to imitate a leaf vein.
Make approximately 15–25 leaves depending on how full you want the basket to look.
Tiny Crochet Flowers
The little white flowers add an adorable garden-inspired detail.
Use cream yarn.
Five-Petal Flower
Make a Magic Ring.
Work:
(ch 2, 3 dc, ch 2, sl st into ring) × 5
Pull the ring closed.
Fasten off.
Add a tiny yellow center using embroidery thread or a small crocheted circle.
Make approximately 3–5 flowers.
Attach them among the leaves.
Assembling the Strawberry Plant
This is where the basket really comes alive.
Start by attaching the largest leaves around the upper rim.
Place them close together.
Then add smaller leaves between them.
Attach strawberries at different heights.
Use the following arrangement as a guide:
- 3–4 strawberries around the front
- 3 strawberries on the sides
- 2–3 strawberries hanging lower
- 2 strawberries toward the back
- Several leaves filling empty spaces
- 3–5 flowers scattered across the top
Do not make the arrangement perfectly symmetrical.
Natural plants are irregular.
That slight randomness will make the finished piece look much more realistic.
Creating the Lush Green Top
The original inspiration has a very full canopy.
To recreate that look, layer the leaves.
Place some leaves horizontally.
Angle others upward.
Allow a few leaves to hang over the basket edge.
Use shorter stems for strawberries near the top.
Use longer stems for strawberries toward the bottom.
This creates visual depth without requiring complicated crochet techniques.
Seamless Finishing Techniques
Although the individual decorative components are made separately, you can make the final assembly look almost completely seamless.
Hide Yarn Tails
Thread each yarn tail onto a tapestry needle.
Weave it through several stitches on the back of the piece.
Change direction once or twice.
Pull gently.
Trim the excess.
Secure the Leaves
Use the existing yarn tail whenever possible.
Stitch through the base of the leaf rather than through the visible center.
This keeps the attachment point discreet.
Shape the Strawberries
After stuffing, gently pinch the bottom point.
This creates the classic strawberry silhouette.
Do not pull too tightly.
You want a rounded top and softly pointed bottom.
How to Make the Basket Extra Cute
Small details make a big difference.
Try these finishing tricks:
- Mix slightly different shades of green.
- Make some leaves larger than others.
- Vary strawberry sizes.
- Use different stem lengths.
- Add a few flowers near the top.
- Let several strawberries hang below the basket.
- Slightly curve the leaves.
- Keep the basket neutral so the red strawberries stand out.
Beginner Tips
If this is your first botanical crochet project, take your time with the leaves.
The strawberries themselves are very forgiving.
Keep Your Tension Consistent
Consistent tension makes the basket look polished.
If your stitches are loose, switch to a smaller hook.
If they are too tight, try a slightly larger hook.
Count Your Stitches
Use a stitch marker at the beginning of every round.
This is particularly helpful with the strawberry body.
Stuff Gradually
Do not wait until the final round to add stuffing.
Add small amounts as you decrease.
This prevents lumps and helps you control the shape.
Craft Fair and Handmade Gift Ideas
This strawberry basket makes a wonderful handmade gift.
It can be used as:
- Nursery decor
- Kitchen decor
- Cottagecore room decor
- Spring decoration
- Summer decoration
- Handmade market display
- Teacher appreciation gift
- Housewarming gift
- Crochet plant alternative
- Photography prop
It also makes an excellent craft-fair item because the design is visually striking from a distance.
Pinterest & TikTok Photo Tips
Crochet plants photograph beautifully.
For social media content, try:
- A clean pastel background
- Soft window light
- A close-up of the strawberry stitches
- A side view showing the hanging cords
- A detail shot of the flowers
- A full vertical photograph showing the entire cascade
A 2:3 vertical composition works especially well for Pinterest-style photography.
Keep the background simple.
Let the bright strawberries and green leaves be the focus.
Customization Ideas
Once you understand the basic pattern, you can create your own crochet hanging garden.
Try replacing the strawberries with:
- Cherries
- Blueberries
- Raspberries
- Tiny lemons
- Mini tomatoes
- Flowers
- Mushrooms
You can even create a seasonal collection.
Use pastel colors for spring, bright red and green for summer, orange and brown for fall, and white and red for winter.
Final Thoughts
This Crochet Strawberry Hanging Basket Pattern is a fun combination of amigurumi, crochet plants, and handmade home decor.
The individual components are simple.
The strawberries are quick to crochet.
The leaves use basic shaping.
The flowers require only a few stitches.
Together, they create a dramatic finished piece that looks far more complicated than it actually is.
It is a perfect beginner-friendly project, a colorful stash buster, and an eye-catching handmade item for craft fairs.
Grab your red and green yarn and start growing your own crochet strawberry garden!
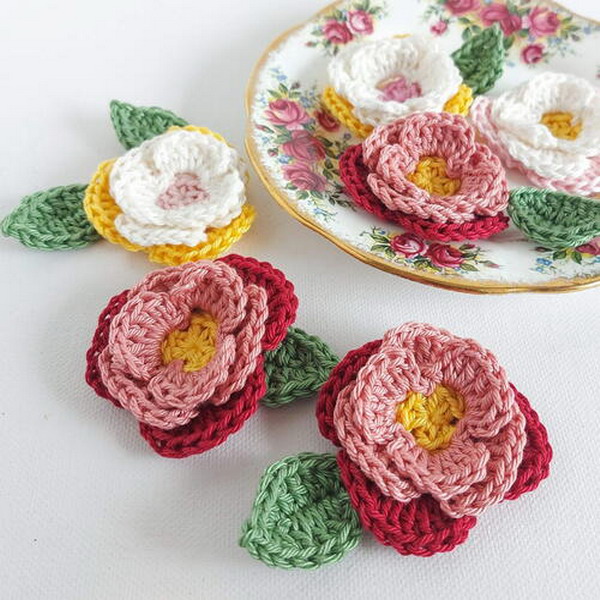
Peony Flowers Free Crochet Pattern
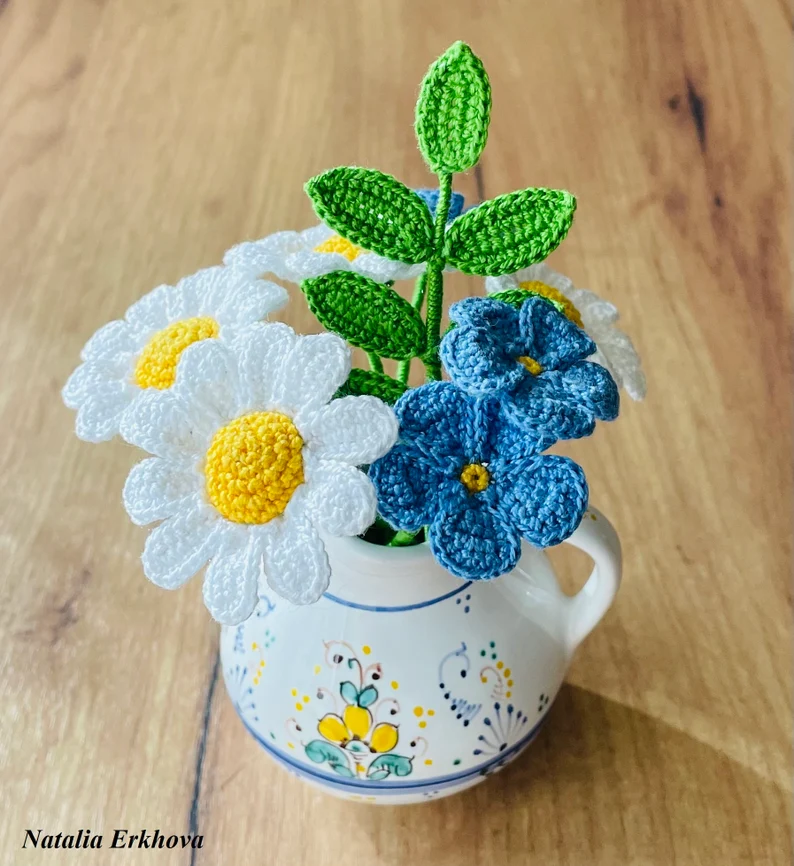
Spring Bouquet Crochet Pattern
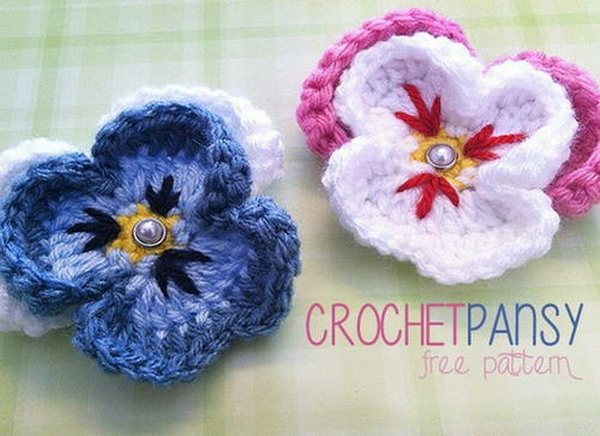
Pansy Crochet Flower Free Pattern
Teeny Tiny Crochet Flowers
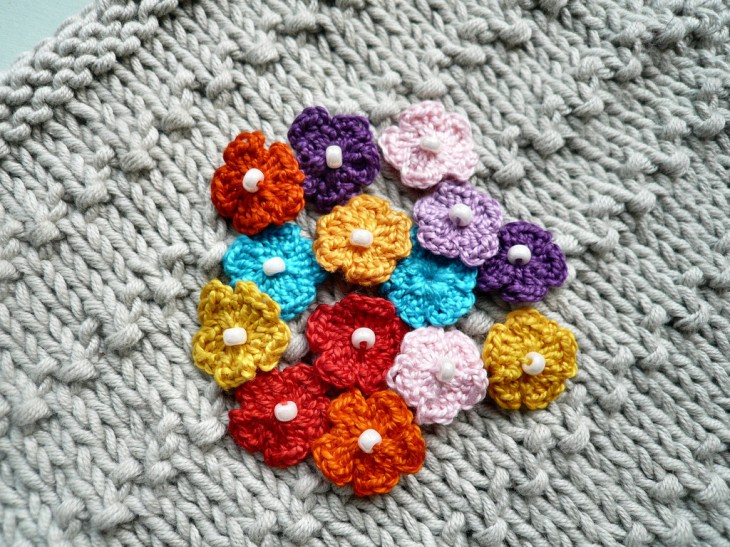
How to Crochet Spring Flower Free Pattern