
Head
Rnd 31: Head Expansion
Work (sc in next 4 sts, inc in next st) 8 times around.
Stitch Count: 48
Rnd 32: Head
Work (sc in next 5 sts, inc in next st) 8 times around.
Stitch Count: 56
Rnd 33: Head
Work sc in each stitch around.
Stitch Count: 56
Rnd 34: Head
Work sc in each stitch around.
Stitch Count: 56
Rnd 35: Head
Work sc in each stitch around.
Stitch Count: 56
Rnd 36: Head
Work sc in each stitch around.
Stitch Count: 56
Integrated Labrador Eyes
The eyes are made directly into Round 37.
Rnd 37: Bobble Eyes
Using Labrador-colored yarn, work:
Sc in next 12 sts, Bo in next st using black yarn, sc in next 18 sts, Bo in next st using black yarn, sc in next 24 sts.
Stitch Count: 56
The first black bobble is the left eye and the second black bobble is the right eye.
The two eyes are intentionally separated by 18 stitches to give the puppy a broad, realistic head.
When completing each black bobble, switch back to the main color before continuing the following stitch.
Rnd 38: Face
Using the Labrador color, work sc in each stitch around.
Stitch Count: 56
Rnd 39: Face
Work sc in each stitch around.
Stitch Count: 56
Rnd 40: Face
Work sc in each stitch around.
Stitch Count: 56
Rnd 41: Face
Work sc in each stitch around.
Stitch Count: 56
Begin adding stuffing to the head.
Rnd 42: Head
Work sc in each stitch around.
Stitch Count: 56
Rnd 43: Head
Work sc in each stitch around.
Stitch Count: 56
Integrated Muzzle
The Labrador's muzzle should project forward rather than remain completely flat.
Rnd 44: Muzzle Base
Work:
Sc in next 18 sts, HBo in next st, sc in next 18 sts, HBo in next st, sc in next 18 sts.
Stitch Count: 56
The two HBo stitches establish the rounded sides of the muzzle.
Rnd 45: Muzzle
Work sc in each stitch around.
Stitch Count: 56
Rnd 46: Muzzle
Work sc in each stitch around.
Stitch Count: 56
Rnd 47: Muzzle
Work sc in each stitch around.
Stitch Count: 56
Integrated Nose
Rnd 48: Nose
Using black yarn, work:
Sc in next 26 sts, NB in next st, sc in next 29 sts.
Stitch Count: 56
The black 6-dc nose bobble sits directly in the center-front facial area.
Switch back to Labrador-colored yarn after completing the nose.
Rnd 49: Face
Work sc in each stitch around.
Stitch Count: 56
Rnd 50: Head Reduction
Work (sc in next 5 sts, dec in next st) 8 times around.
Stitch Count: 48
Rnd 51: Head Reduction
Work (sc in next 4 sts, dec in next st) 8 times around.
Stitch Count: 40
Rnd 52: Head Reduction
Work (sc in next 3 sts, dec in next st) 8 times around.
Stitch Count: 32
Add stuffing firmly but gently.
Integrated Floppy Ears
The ears are formed directly into the head using large elongated bobbles.
Rnd 53: Ear Foundations
Work:
Sc in next 8 sts, EB in next st, sc in next 14 sts, EB in next st, sc in next 8 sts.
Stitch Count: 32
The two EB stitches establish the left and right floppy ears.
Rnd 54: Ear Depth
Work:
Sc in next 8 sts, EB in next st, sc in next 14 sts, EB in next st, sc in next 8 sts.
Stitch Count: 32
Allow the large bobbles to hang naturally from the sides of the head.
Rnd 55: Head
Work sc in each stitch around.
Stitch Count: 32
Rnd 56: Head
Work sc in each stitch around.
Stitch Count: 32
Rnd 57: Head Reduction
Work (sc in next 2 sts, dec in next st) 8 times around.
Stitch Count: 24
Rnd 58: Head Reduction
Work (sc in next 2 sts, dec in next st) 6 times around.
Stitch Count: 18
Rnd 59: Crown
Work (sc in next st, dec in next st) 6 times around.
Stitch Count: 12
Check the stuffing.
Add a small amount of fiberfill if necessary.
Rnd 60: Final Closure
Work 6 dec around.
Stitch Count: 6
Fasten off, leaving a yarn tail approximately 8 inches long.
Integrated Tail
For this strictly no-sew version, the tail is created as an integrated rounded tail cluster rather than as a separately crocheted piece.
Locate the rear-center area of the body around Rounds 13-18.
Use the following direct crochet construction before final finishing if you want the tail to project more strongly:
Tail Foundation
Insert the hook into the selected rear-center stitch.
Work 4 sc into that same stitch.
Turn the work slightly and work sc into each of those 4 new stitches.
Continue working around the small projection for 4 rounds of 4 sc.
Finish with 4 sc dec.
Fasten off and pull the yarn tail inside the body.
Because the tail is created from the existing body stitch rather than sewn on, the construction remains structurally no-sew.
How the Finished Shape Should Look
When correctly stuffed and shaped, the puppy should have:
-
A broad, rounded head
-
Two large integrated dark eyes
-
A prominent black nose
-
A short rounded muzzle
-
Wide floppy ears
-
A thick chest
-
Two forward-projecting front legs
-
Rounded rear paws
-
A fuller seated rump
-
A small integrated tail
The reference photograph has a particularly soft, realistic puppy silhouette. To reproduce that appearance with crochet, avoid making the body perfectly cylindrical. Keep the rear fuller and allow the chest and head to remain broad.
Stuffing Instructions
Stuffing is one of the most important parts of achieving a realistic Labrador shape.
Body
Fill the lower body firmly.
Push stuffing toward the sides to create a rounded rump.
Chest
Add extra stuffing to the chest area so the puppy does not look flat from the front.
Front Legs
Push small amounts of fiberfill into the integrated leg projections.
Do not overstuff them.
The legs should remain slightly flexible.
Head
Use firm stuffing around the back and sides of the skull.
Keep the muzzle softer.
This creates the characteristic Labrador puppy head shape.
Ears
The integrated bobble ears do not require heavy stuffing.
Keeping them soft allows them to droop naturally.
Shaping the Face
After the final closure, gently massage the crocheted fabric with your fingers.
Shape the head so that:
-
The forehead is broad.
-
The cheeks are rounded.
-
The muzzle projects slightly.
-
The nose sits centrally.
-
The eyes are level.
-
The ears fall downward.
Because chenille yarn is highly forgiving, gentle manipulation can significantly improve the finished expression.
Optional Smile and Facial Details
The realistic Labrador in the reference image has a very subtle mouth.
For an optional embroidered mouth, use a small amount of black or dark brown yarn.
Insert the tapestry needle underneath the nose and make two short stitches angling slightly downward.
Then add two short stitches angling outward to create a soft puppy mouth.
This embroidery is completely optional.
The main puppy remains no-sew because the facial structure, eyes, and nose are already crocheted directly into the piece.
Optional Eye Highlights
If you want the shiny-eyed appearance shown in the inspiration image, you can add a tiny white embroidered highlight to each black bobble.
Use white yarn and make one very small stitch near the upper outer edge of each eye.
This is optional decorative embroidery rather than a structural attachment.
Final Invisible Closure
Once Round 60 is complete:
-
Cut the yarn.
-
Pull the working loop through.
-
Thread the yarn tail onto a tapestry needle.
-
Insert the needle through the front loop of each of the remaining 6 stitches.
-
Pull gently.
-
The opening will begin to close.
-
Insert the needle through the center of the opening.
-
Bring it out through the body several stitches away.
-
Pull firmly.
-
Weave the yarn through several internal stitches.
-
Trim the excess.
The final hole should disappear into the plush surface.
Stitch-Count Check
Use this table while crocheting.
| Round | Stitch Count |
|---|---|
| Rnd 1 | 8 |
| Rnd 2 | 16 |
| Rnd 3 | 24 |
| Rnd 4 | 32 |
| Rnd 5 | 40 |
| Rnd 6 | 48 |
| Rnd 7 | 48 |
| Rnd 8 | 48 |
| Rnd 9 | 56 |
| Rnd 10 | 56 |
| Rnd 11 | 56 |
| Rnd 12 | 56 |
| Rnd 13 | 56 |
| Rnd 14 | 56 |
| Rnd 15 | 56 |
| Rnd 16 | 56 |
| Rnd 17 | 48 |
| Rnd 18 | 48 |
| Rnd 19 | 48 |
| Rnd 20 | 48 |
| Rnd 21 | 48 |
| Rnd 22 | 48 |
| Rnd 23 | 48 |
| Rnd 24 | 48 |
| Rnd 25 | 48 |
| Rnd 26 | 48 |
| Rnd 27 | 40 |
| Rnd 28 | 40 |
| Rnd 29 | 40 |
| Rnd 30 | 40 |
| Rnd 31 | 48 |
| Rnd 32 | 56 |
| Rnd 33 | 56 |
| Rnd 34 | 56 |
| Rnd 35 | 56 |
| Rnd 36 | 56 |
| Rnd 37 | 56 |
| Rnd 38 | 56 |
| Rnd 39 | 56 |
| Rnd 40 | 56 |
| Rnd 41 | 56 |
| Rnd 42 | 56 |
| Rnd 43 | 56 |
| Rnd 44 | 56 |
| Rnd 45 | 56 |
| Rnd 46 | 56 |
| Rnd 47 | 56 |
| Rnd 48 | 56 |
| Rnd 49 | 56 |
| Rnd 50 | 48 |
| Rnd 51 | 40 |
| Rnd 52 | 32 |
| Rnd 53 | 32 |
| Rnd 54 | 32 |
| Rnd 55 | 32 |
| Rnd 56 | 32 |
| Rnd 57 | 24 |
| Rnd 58 | 18 |
| Rnd 59 | 12 |
| Rnd 60 | 6 |
Technical note: Every bobble, heavy bobble, ear bobble, and nose bobble occupies exactly one underlying stitch. This is why the special stitches do not change the round's stitch count.
Craft-Fair Tips
This Labrador is especially suitable for handmade markets because the basic silhouette can be produced repeatedly while changing only the yarn color.
Try making:
-
Black Labradors
-
Chocolate Labradors
-
Golden Labradors
-
Silver-gray Labradors
-
Cream puppies
-
Speckled fantasy puppies
For craft-fair production, keep a master copy of the pattern next to your yarn so you can maintain consistent sizing from one puppy to the next.
A small handmade tag can describe the puppy as a hand-crocheted, no-sew amigurumi Labrador.
Troubleshooting
My stuffing is visible.
Your hook may be too large or your tension may be too loose.
Try a 4.5 mm hook.
My puppy looks too round.
Reduce the amount of stuffing in the body and concentrate more fiberfill toward the chest and rump.
The eyes are not level.
Use your stitch marker and count carefully from the beginning of Round 37.
The first eye is after 12 stitches, and the second eye is 18 stitches after the first eye.
My ears are too small.
The ear bobbles need to remain relatively relaxed. Do not tighten the 8-dc bobble excessively.
My puppy doesn't sit upright.
Add more stuffing to the rear and lower body while keeping the chest firm.
A flat base can also be encouraged by gently pressing the bottom of the finished puppy against a table.
Frequently Asked Questions
1. How do you crochet a realistic Labrador amigurumi?
A realistic crochet Labrador is created by combining several shape elements: a broad head, rounded muzzle, fuller rear body, thick chest, floppy ears, and proportionally smaller facial features.
This pattern achieves those features with strategic increases and decreases while using integrated bobble construction for the eyes, paws, ears, and nose.
2. Can amigurumi be made without sewing?
Yes. A no-sew amigurumi can be constructed by crocheting appendages directly into the main body, using bobbles, clusters, chain-based extensions, or stitches picked up directly from existing fabric.
This Labrador pattern uses integrated crochet construction so that the major decorative and structural features do not need to be sewn on separately.
3. What yarn is best for a realistic plush crochet dog?
Chunky chenille yarn is an excellent choice when you want a soft, rounded, plush finish. Premier Parfait Chunky, Sweet Snuggles, and similar bulky yarns produce a dense surface that hides small imperfections and gives the finished puppy a cuddly appearance.
For more visible stitch definition, use a smooth worsted-weight yarn with an appropriately smaller hook.
Final Thoughts
This Realistic Labrador Amigurumi Crochet Pattern combines the cuddly softness of plush yarn with a simplified no-sew construction. Instead of crocheting multiple legs, eyes, ears, and facial pieces and then spending hours attaching them, the major features are built directly into the body.
The most important techniques are controlled increases, invisible decreases, firm plush-yarn tension, and the integrated bobble stitches.
For the closest visual result to the reference puppy, use a medium-gray or silver-gray chenille yarn, black yarn for the eyes and nose, and a 5.0 mm hook. Keep the head generously stuffed, the muzzle slightly softer, and the ears relaxed.
Once you are comfortable with the basic construction, this pattern can easily become the foundation for an entire collection of handmade puppy breeds and color variations.
The result is a soft, chubby, expressive Labrador-style plush that looks wonderful sitting on a shelf, displayed at a craft fair, or given as a handmade gift.
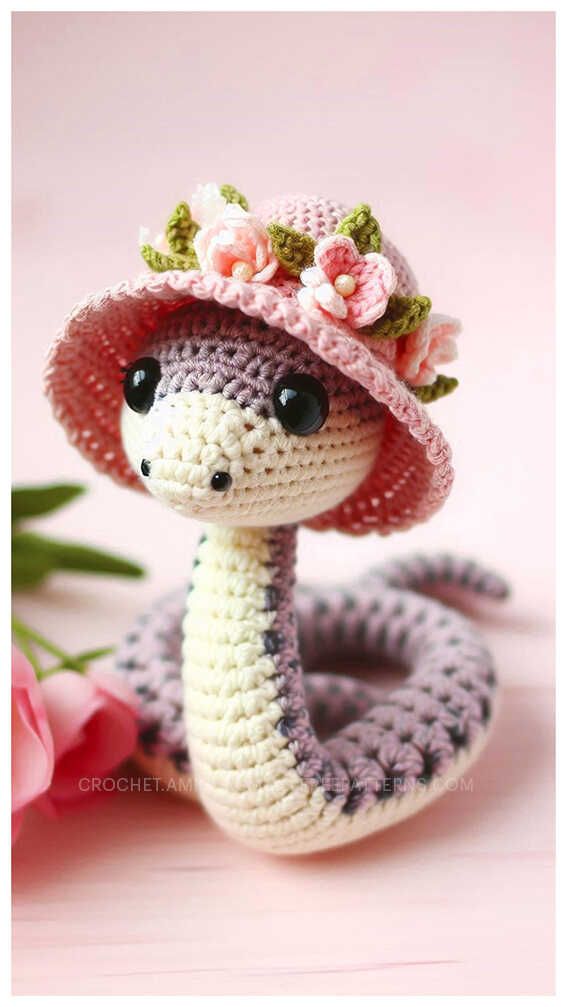
Amigurumi Snake Crochet Free Pattern
Easy Amigurumi Snake Crochet Free Pattern: Chunky Plush Yarn Quick Market Make Engaging Introduction Looking for a crochet project that is cute, beginner-friendly, and completely free from the
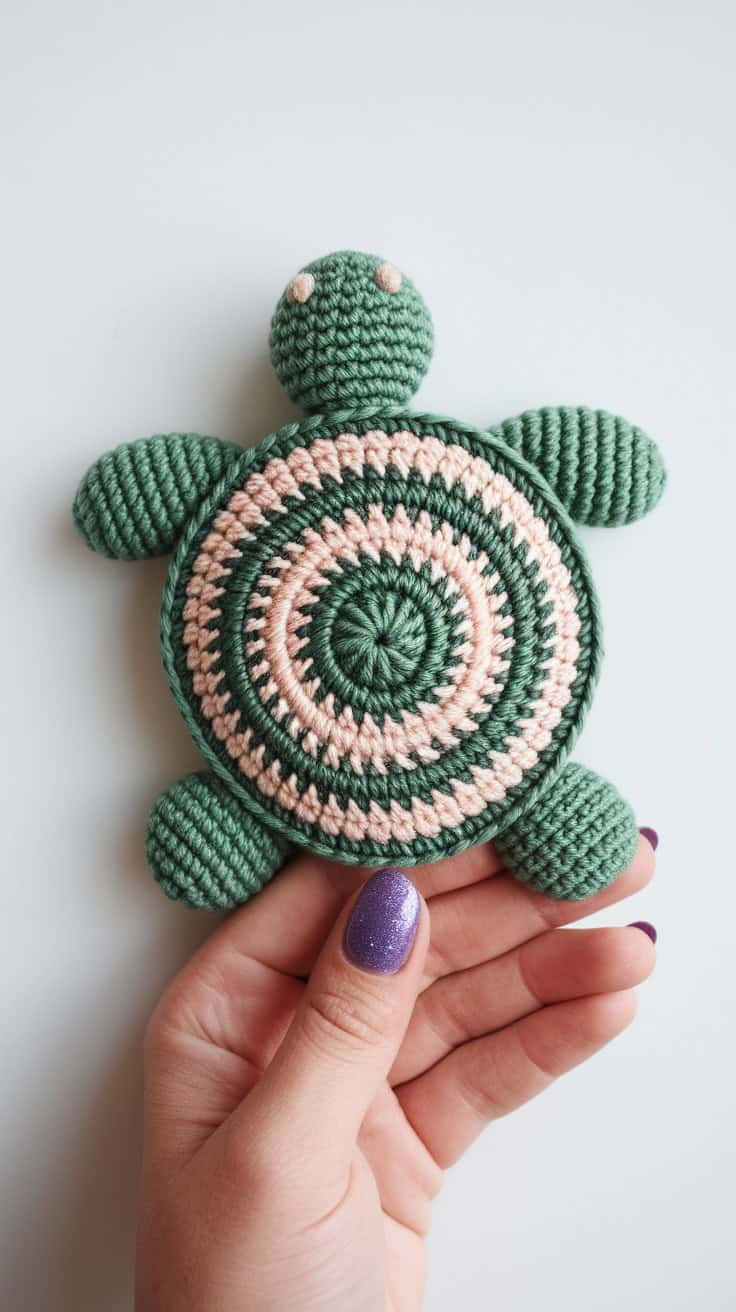
Turtle-Themed Crochet Coaster Pattern
Easy Turtle-Themed Crochet Coaster Pattern: Cute No-Sew Quick Make Engaging Introduction This Turtle-Themed Crochet Coaster Pattern turns a simple round coaster into an adorable little turtle you
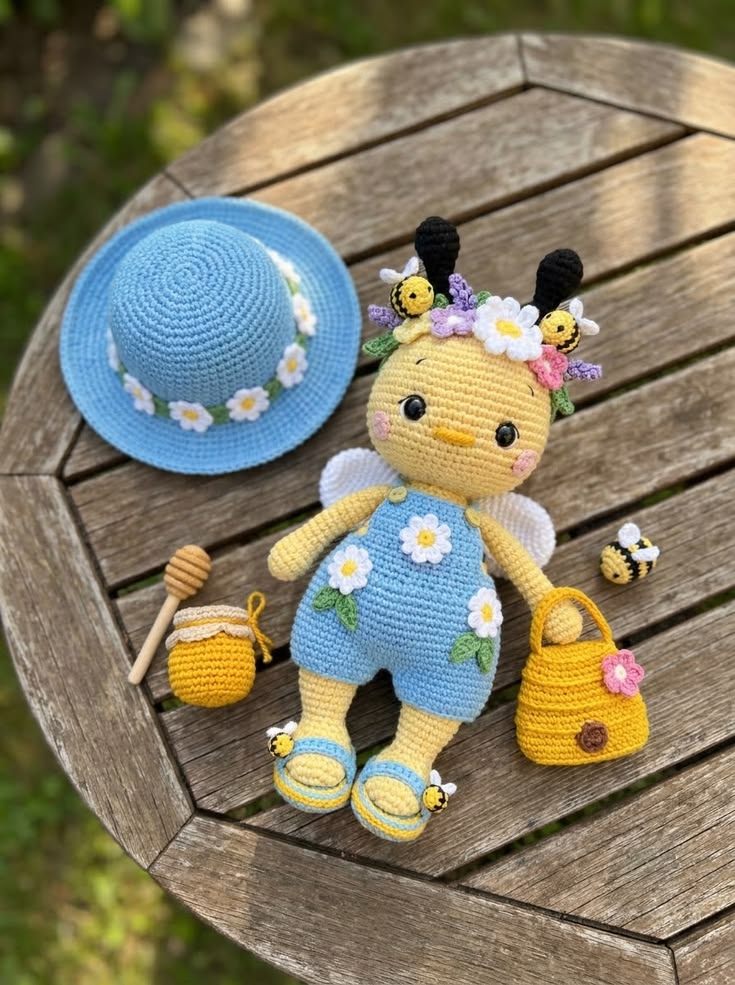
Honeybee Garden Doll with Sky-Blue Romper, Flower Crown, Hat and Honey Accessories Pattern Guide
This sweet honeybee garden doll has a round yellow head, black antennae, white wings, a sky-blue romper, daisy appliques, tiny bee charms, and soft summer accessories. The full set includes the
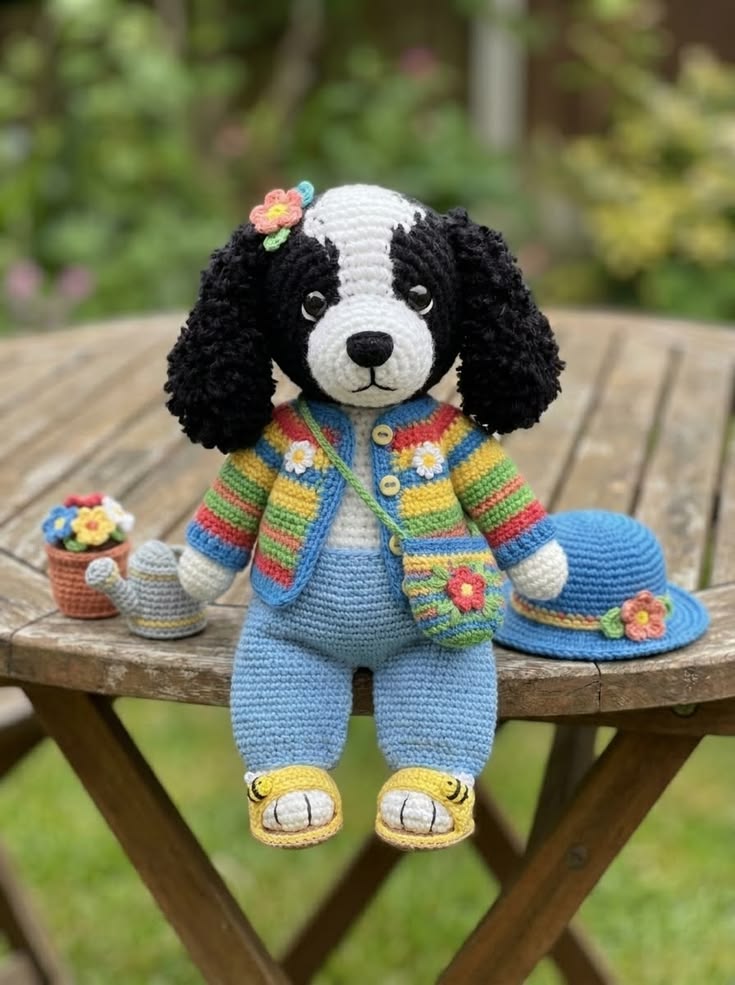
Black-and-White Puppy in Rainbow Cardigan with Blue Overalls and Flower Hat Free Crochet Pattern
This cheerful black-and-white puppy is designed as a seated amigurumi with floppy textured ears, a rounded white muzzle, glossy black eyes, blue overalls, yellow sandals, and a bright rainbow
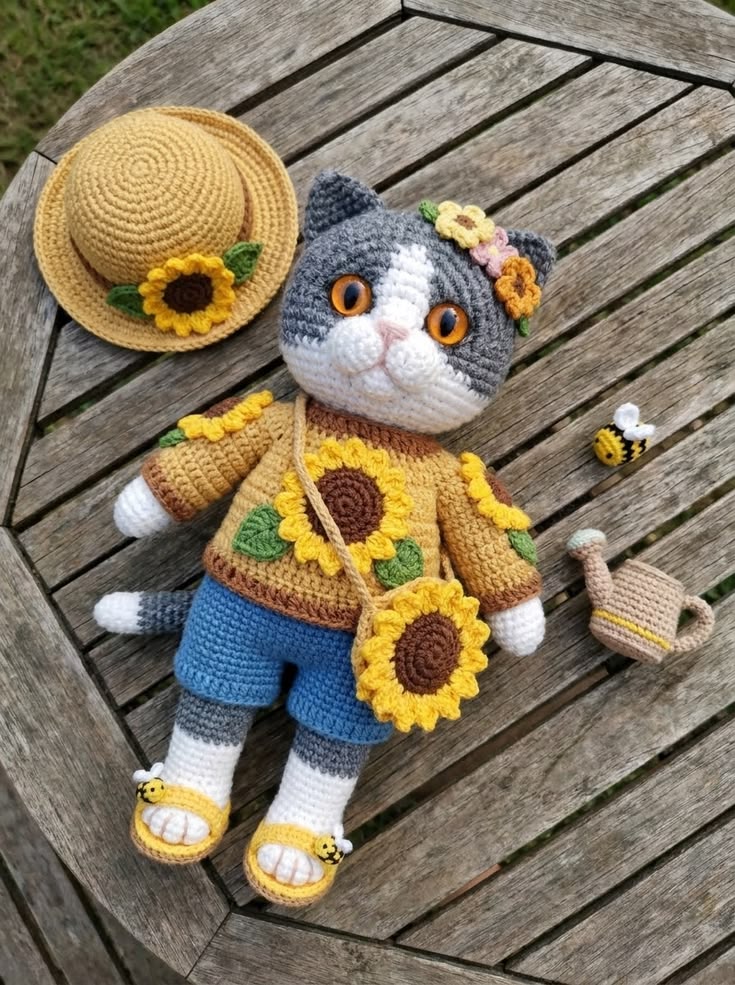
Garden Gray Cat in Sunflower Sweater with Flower Bag and Watering Can Free Crochet Pattern
This garden gray cat is a soft amigurumi doll with a large rounded head, white muzzle, amber eyes, a sunflower sweater, blue shorts, yellow sandals, a flower bag, a straw sun hat, a tiny bee, and a