Easy Turtle-Themed Crochet Coaster Pattern: Cute No-Sew Quick Make
Engaging Introduction
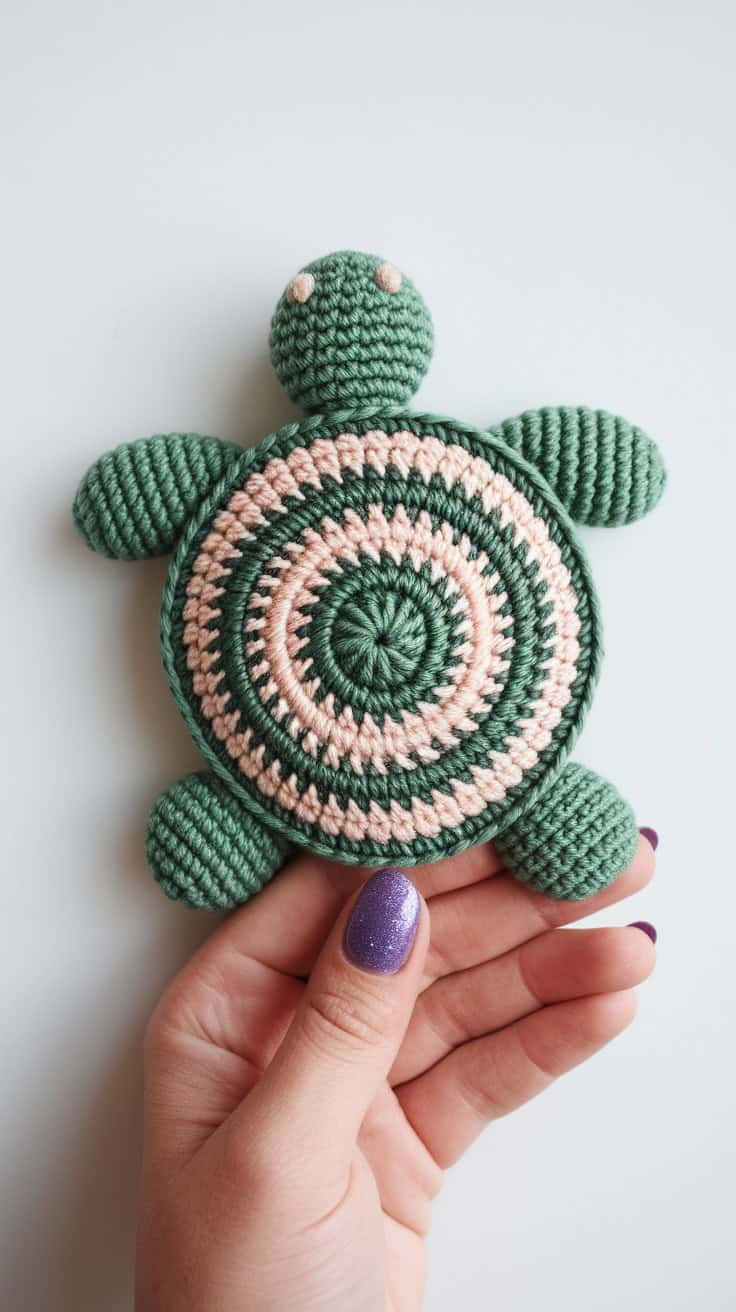
This Turtle-Themed Crochet Coaster Pattern turns a simple round coaster into an adorable little turtle you can use, gift, or sell at craft fairs. Inspired by the soft sage-green and blush-pink turtle in the photo, this design features a beautifully striped shell, a rounded head, four raised flippers, and tiny eyes crocheted directly into the edge. Best of all, the entire turtle is 100% no-sew. There are no separate legs, head, or eyes to stitch onto the finished coaster. Everything is incorporated as you crochet. That makes this project especially convenient for beginner crocheters and craft-fair makers who want a polished finished product without a long finishing session. The flat shell works beautifully as a drink coaster, while the raised bobble features give it the unmistakable personality of a cute turtle. Use cotton yarn for a practical coaster, or soft acrylic yarn when making this as a decorative turtle motif.
Design note: This is a flat crochet coaster rather than a stuffed plush. The raised head, flippers, and eyes are created directly into the final round with bobble stitches, keeping the project completely seamless.
Materials & Tools Needed
Yarn
For an actual drink coaster, cotton yarn is recommended because it is durable, washable, and holds its shape well.
You will need approximately:
-
Sage green: 25-35 g
-
Blush pink: 10-15 g
-
Cream: 2-3 g for the eyes
Good yarn choices include:
-
Lily Sugar'n Cream
-
Bernat Handicrafter Cotton
-
Paintbox Cotton Aran
-
Hobby Lobby I Love This Cotton
-
Any worsted-weight cotton yarn with similar thickness
For a softer decorative version, you can use acrylic yarn.
Hook & Tools
-
4.0 mm crochet hook for worsted-weight cotton
-
Stitch marker
-
Scissors
-
Tapestry needle for weaving in the starting and ending tails
-
Optional measuring tape
-
Optional blocking mat and pins
Finished Size
Approximately 5-6 inches (13-15 cm) across, depending on yarn, hook size, and tension.
For a larger coaster, use thicker yarn and a larger hook. For a smaller coaster, use lighter yarn and a smaller hook.
Crochet Abbreviations
This pattern uses standard US Crochet Terms.
| Abbreviation | Meaning |
|---|---|
| MR | Magic Ring |
| Ch | Chain |
| Sc | Single Crochet |
| Inc | Increase - 2 sc in the same stitch |
| Dec | Decrease - sc2tog |
| Bo | Bobble Stitch - specified as 3-dc, 4-dc, 6-dc, or 8-dc bobble |
| Sl st | Slip Stitch |
| St(s) | Stitch / Stitches |
Special Stitch Instructions
6-DC Bobble - Flippers
The four flippers are made with 6-dc bobbles.
To make the 6-dc bobble:
-
Yarn over.
-
Insert the hook into the indicated stitch.
-
Yarn over and pull up a loop.
-
Yarn over and pull through 2 loops.
-
Stop before completing the double crochet.
-
Repeat Steps 1-4 five more times in the same stitch.
-
You now have seven loops on your hook.
-
Yarn over and pull through all seven loops.
-
Push the completed bobble gently toward the outside of the coaster.
The completed bobble occupies one stitch.
Because these bobbles are worked directly into the final round, the flippers do not need to be sewn onto the turtle.
8-DC Bobble - Head
The head uses a larger 8-dc bobble.
Work eight unfinished double crochets into the indicated stitch, then yarn over and pull through all loops on the hook.
Push the bobble outward as you finish it.
This creates a larger raised head without crocheting a separate piece.
3-DC Bobble - Eyes
Each eye is made with a 3-dc bobble using cream yarn.
Work three unfinished double crochets into the indicated stitch, then yarn over and pull through all remaining loops.
Because the eye bobbles are crocheted directly into the turtle's final round, they are completely seamless.
Important Pattern Notes
-
Work the shell in continuous rounds.
-
Do not join rounds unless specifically instructed.
-
Place a stitch marker in the first stitch of each round.
-
Count your stitches after every round.
-
The stitch counts in this pattern are designed to remain mathematically consistent.
-
Bobble stitches count as one stitch, regardless of how many double crochets are used to form them.
-
Keep your tension even but not excessively tight.
-
For cotton yarn, firm tension helps the coaster lie flat.
-
If your coaster begins to cup, loosen your tension slightly.
-
If the outer edge becomes wavy, your tension may be too loose.
-
Change colors during the final yarn-over of the stitch before the color change.
-
Do not stuff the shell. A coaster should remain flat.
-
The raised bobble features do not require sewing or fiberfill.
The Complete Step-by-Step Turtle-Themed Crochet Coaster Pattern
Part 1: Center of the Turtle Shell
The shell begins with a standard 6-sc Magic Ring.
Rnd 1:
With Sage Green, make a MR and work 6 sc into the ring. Pull the ring closed. (6 sts)
Rnd 2:
Inc in each stitch around. (12 sts)
Rnd 3:
(Sc in next st, inc in next st) around. (18 sts)
Rnd 4:
(Sc in next 2 sts, inc in next st) around. (24 sts)
Rnd 5:
(Sc in next 3 sts, inc in next st) around. (30 sts)
At this point, the center of the turtle shell is approximately circular.
Part 2: Blush-Pink Shell Ring
Rnd 6:
Change to Blush Pink. (Sc in next 4 sts, inc in next st) around. (36 sts)
Rnd 7:
Change to Sage Green. (Sc in next 5 sts, inc in next st) around. (42 sts)
Rnd 8:
Change to Blush Pink. (Sc in next 6 sts, inc in next st) around. (48 sts)
The alternating green and pink rounds create the concentric shell effect visible in the inspiration design.
Part 3: Outer Shell Expansion
Rnd 9:
Change to Sage Green. (Sc in next 7 sts, inc in next st) around. (54 sts)
There are six increases in this round:
-
8-stitch repeat - 6 = 48 stitches worked from the previous round
-
Six increases add 6 stitches
-
Final count = 54 stitches
Rnd 10:
Change to Blush Pink. (Sc in next 8 sts, inc in next st) around. (60 sts)
There are six increases:
-
9-stitch repeat - 6 = 54 stitches worked from the previous round
-
Six increases add 6 stitches
-
Final count = 60 stitches
At the end of Round 10, you have a flat circular shell with exactly 60 stitches.
Part 4: No-Sew Head, Eyes, and Four Flippers
This is the most important round of the pattern.
All five major turtle features are created directly into the final round:
-
1 raised head
-
2 crocheted eyes
-
4 raised flippers
Every bobble replaces exactly one regular sc stitch, so the round remains at 60 stitches.
Use Sage Green unless another color is specifically mentioned.
For easier counting, the feature positions are:
-
St 8: Front-left flipper
-
St 16: Back-left flipper
-
St 29: Left eye
-
St 30: Head
-
St 31: Right eye
-
St 44: Back-right flipper
-
St 52: Front-right flipper
Click to view Video/Photo Guide for Special Stitches
Crocheted Giraffe
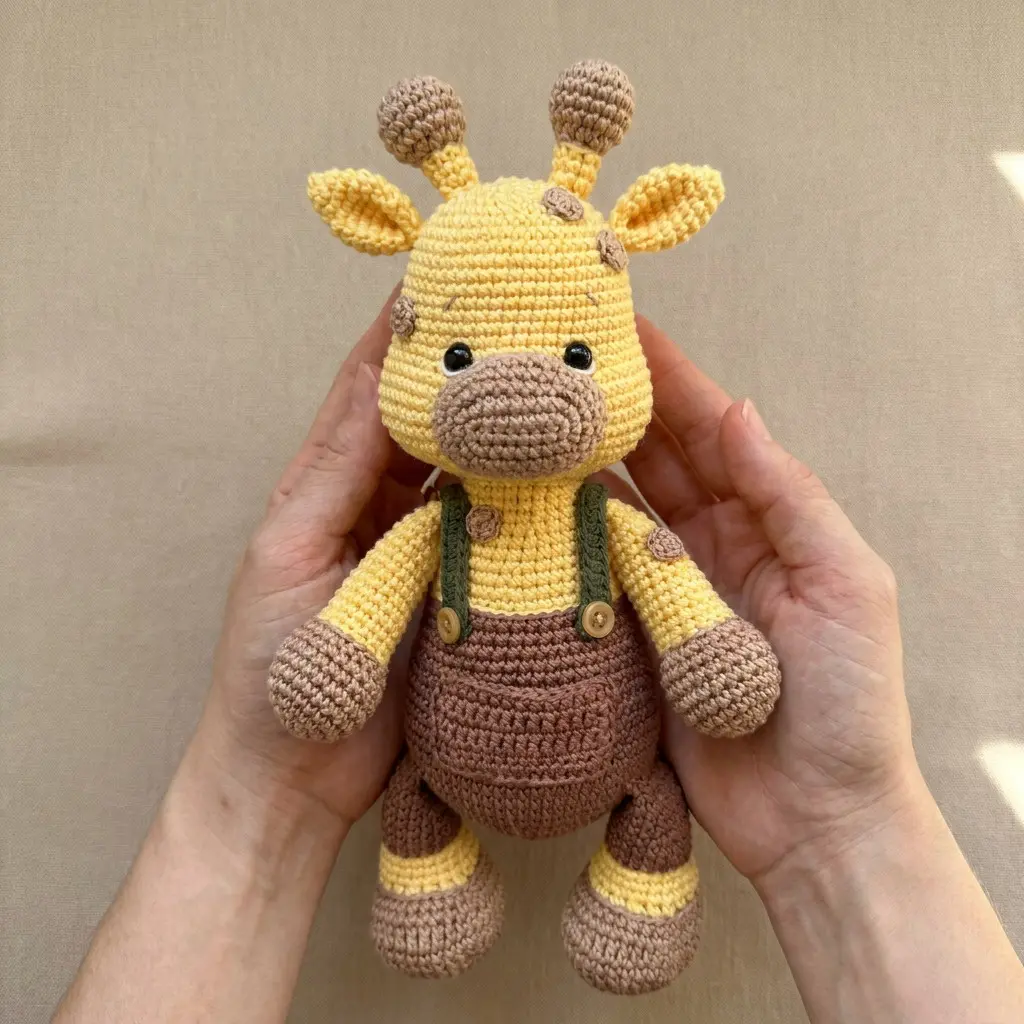
This adorable crocheted giraffe is a fun, beginner-friendly amigurumi project inspired by the sweet handmade giraffe in the photo. With a round head, tiny muzzle, floppy ears, tall ossicones, chunky legs, and cute little overalls, this plush has an irresistibly squishy personality.
The pattern is designed for quick crafting and simple construction. Most of the major pieces are worked directly onto the body with crochet stitches or slip stitches, keeping assembly to a minimum. There is no complicated garment sewing or difficult shaping.
Crocheted Elephant
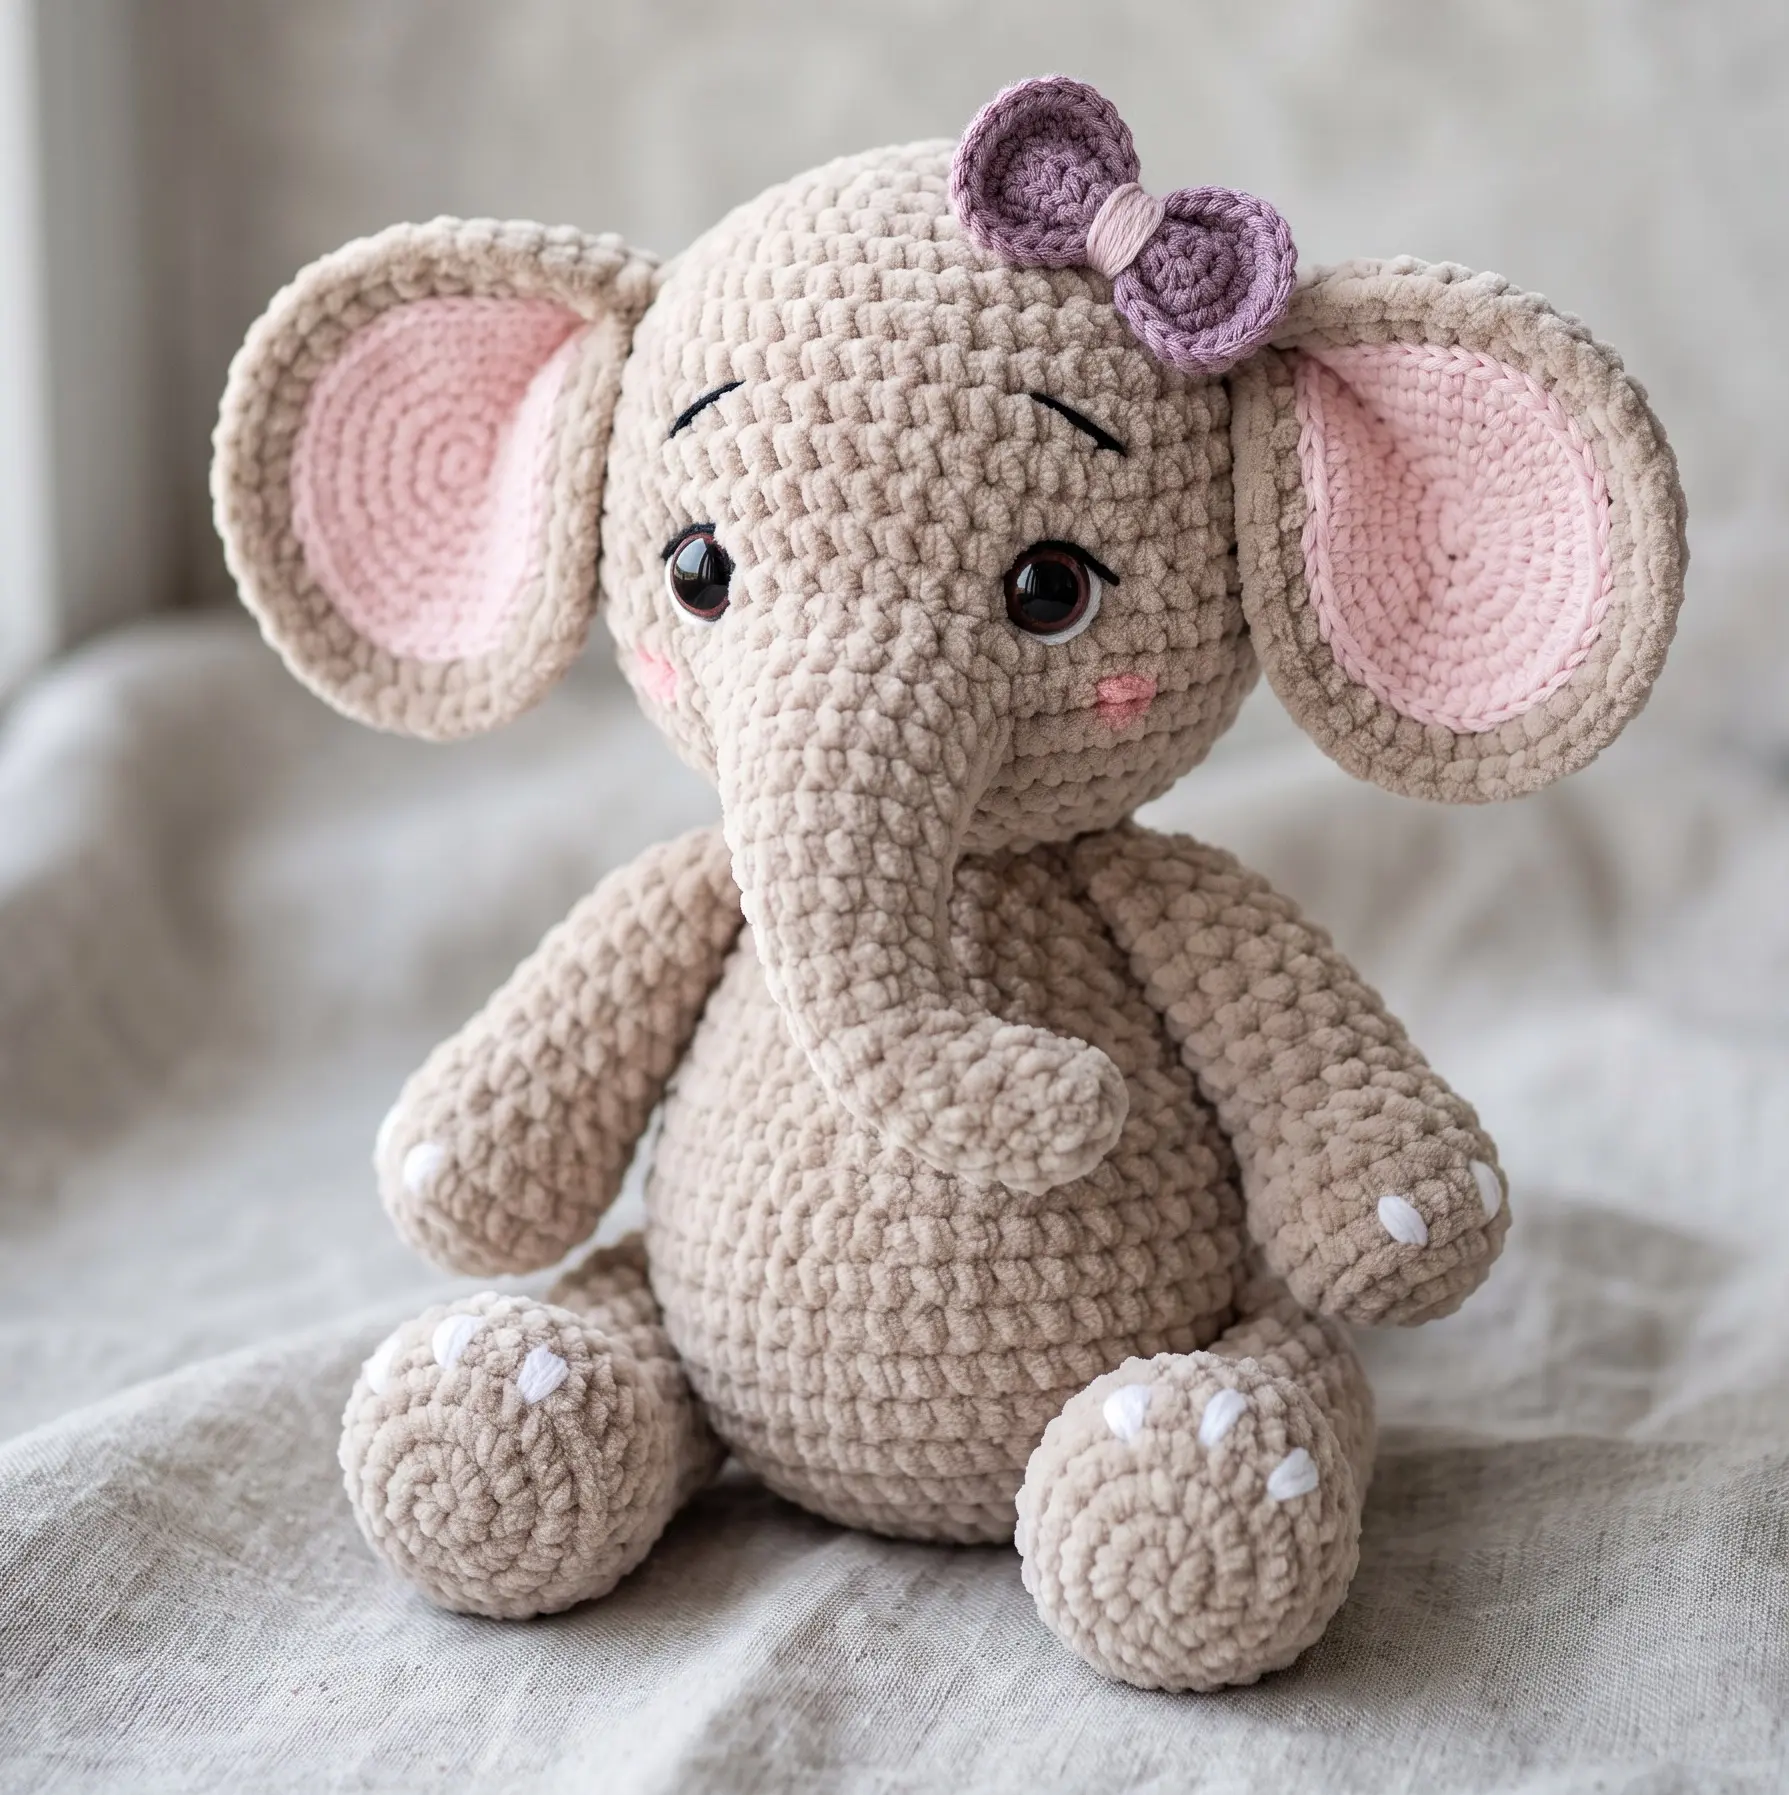
A soft, chubby, squishy crocheted elephant is one of those projects that is almost impossible to resist. With its oversized ears, tiny trunk, round belly, and cuddly chenille texture, this little elephant has the perfect handmade-toy look.
This beginner-friendly pattern is designed for quick crafting with plush yarn. The construction keeps the assembly simple, with parts attached using crochet stitches and slip stitches instead of traditional sewing. That makes it especially appealing if you love no-sew amigurumi and want a project you can finish in a short crafting session.
Easy No-Sew Crochet Wizard Doll Pattern
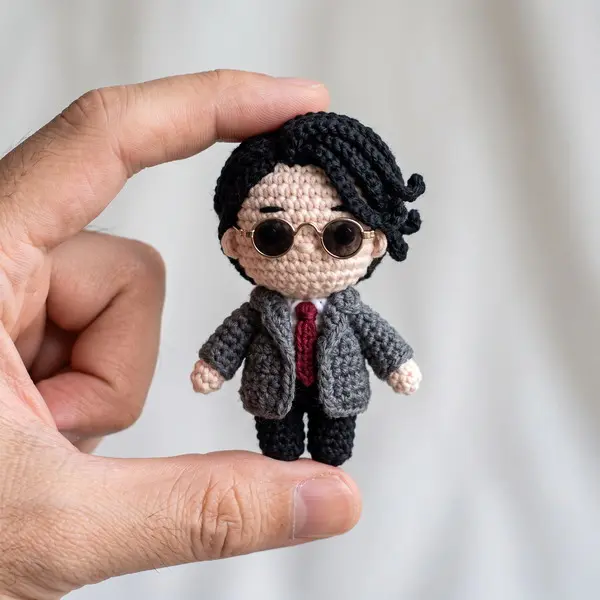
This tiny crochet wizard doll is designed as a quick, beginner-friendly project with a cute, chubby amigurumi shape. Inspired by the handmade wizard-style doll shown in the photo, this version features round glasses, tousled black hair, a gray jacket, a red tie, and little black shoes.
The entire doll is designed with a no-sew construction. The legs are joined directly to the body, the arms are crocheted directly from the body, and the hair, jacket details, and tie are added with crochet techniques rather than sewn-on pieces.
Easy No-Sew Crochet Turtle Pattern Quick Plush Make
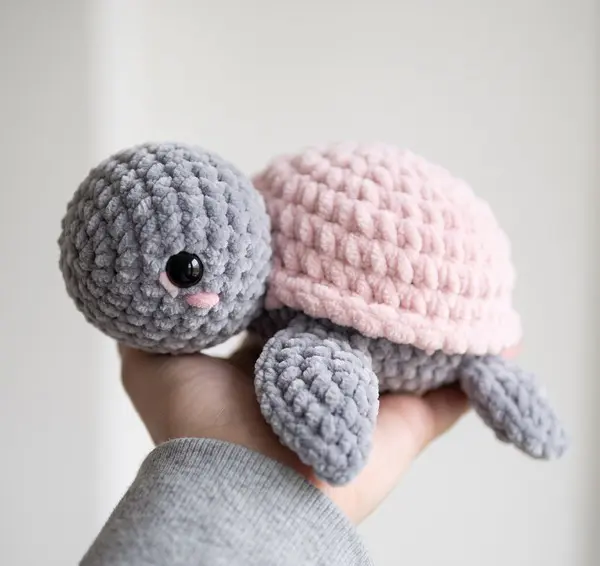
Create an irresistibly cute, chubby turtle inspired by the soft pastel plush in the photo. This Easy No-Sew Crochet Turtle Pattern uses chunky chenille yarn to create a soft, squishy texture and keeps the construction simple.
The head and body are crocheted as one continuous piece. The four flippers and tail are made first, flattened, and then crocheted directly into the body as you work. The pink shell is crocheted separately and attached with a crochet join rather than traditional needle sewing.
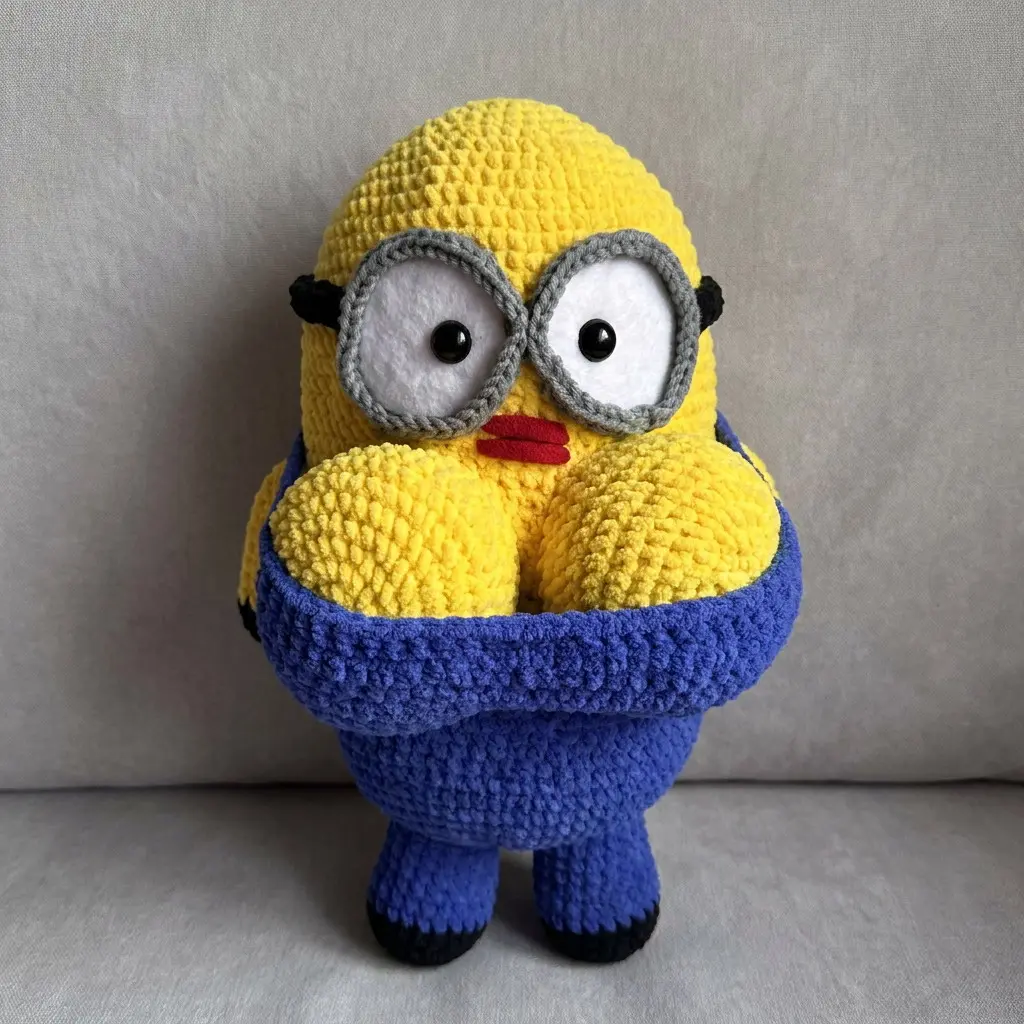
Easy No-Sew Crochet Minion Pattern