Rnd 11 - Head, Eyes & Flippers:
Sc in sts 1-7. (7 sts)
Work a 6-dc bobble in st 8 for the first flipper. (1 st)
Sc in sts 9-15. (7 sts)
Work a 6-dc bobble in st 16 for the second flipper. (1 st)
Sc in sts 17-28. (12 sts)
Change to Cream and work a 3-dc bobble in st 29 for the left eye. (1 st)
Change back to Sage Green and work an 8-dc bobble in st 30 for the head. (1 st)
Change to Cream and work a 3-dc bobble in st 31 for the right eye. (1 st)
Change back to Sage Green and sc in sts 32-43. (12 sts)
Work a 6-dc bobble in st 44 for the third flipper. (1 st)
Sc in sts 45-51. (7 sts)
Work a 6-dc bobble in st 52 for the fourth flipper. (1 st)
Sc in sts 53-60. (8 sts)
Final stitch count: 60 sts
Rnd 11 Feature Count Check
The round contains:
-
7 regular sc
-
1 flipper bobble
-
7 regular sc
-
1 flipper bobble
-
12 regular sc
-
1 eye bobble
-
1 head bobble
-
1 eye bobble
-
12 regular sc
-
1 flipper bobble
-
7 regular sc
-
1 flipper bobble
-
8 regular sc
Total:
7 + 1 + 7 + 1 + 12 + 1 + 1 + 1 + 12 + 1 + 7 + 1 + 8 = 60 stitches
The turtle coaster is now complete.
Finishing the Turtle Coaster
Closing the Round
Because this is a coaster rather than a stuffed amigurumi, the shell remains completely flat.
After completing Rnd 11:
-
Make 1 sl st into the first stitch of the round.
-
Cut the yarn, leaving a 4-5 inch tail.
-
Pull the yarn through the final loop.
-
Thread the tail onto a tapestry needle.
-
Weave the tail securely through several stitches on the back.
-
Trim the excess yarn.
You do not need to sew the head, eyes, or flippers because every feature was crocheted directly into the final round.
How to Make the Coaster Lie Perfectly Flat
A good coaster should sit flat on a table.
If your finished turtle curls slightly:
-
Place it on a blocking mat.
-
Lightly mist the cotton yarn with water.
-
Gently flatten the shell.
-
Pin the outer edge into a circular shape.
-
Allow it to dry completely.
-
Remove the pins.
Avoid stretching the bobble features aggressively.
The center shell should remain flat while the head, eyes, and flippers remain slightly raised.
Do You Need Fiberfill?
No.
This design is intentionally constructed as a flat coaster.
Unlike a stuffed turtle plush, this pattern does not require polyester fiberfill.
The raised 3D appearance comes from the bobble stitches themselves.
This is particularly useful for a coaster because the finished piece remains practical and washable.
If you want to transform the design into a decorative turtle rather than a functional coaster, you can crochet a second shell behind it and lightly stuff the two layers. However, that would no longer be the completely one-piece construction described in this pattern.
Optional Finishing Details
Tiny Smile
The reference design has a simple, understated turtle face.
If you want a visible smile, use a small strand of black cotton yarn.
Make a tiny curved line beneath the head.
This is the only optional decorative embroidery in the pattern.
The structural construction remains completely no-sew.
Optional Cheeks
For a sweeter expression, add two tiny blush-pink embroidered marks beside the head.
Color Ideas
The sage-green and blush-pink combination is perfect for a soft botanical aesthetic, but this turtle looks adorable in many color combinations.
Try:
-
Sage green + cream
-
Forest green + beige
-
Olive + blush
-
Mint + pale pink
-
Teal + cream
-
Brown + tan
-
Pastel rainbow
-
Seafoam + coral
-
Black + cream
-
Woodland green + mustard
Why This Is a Great Craft-Fair Make
This turtle coaster is particularly useful for craft fairs because it is:
-
Quick to crochet
-
Low-cost to make
-
Easy to customize
-
Beginner-friendly
-
Washable when made from cotton
-
Completely no-sew
-
Small enough to batch-produce
-
Suitable for gift sets
-
Easy to photograph
-
Ideal for turtle and animal lovers
You can also sell sets of two, four, or six turtles in coordinating colors.
A four-piece set using different shell color combinations can make a particularly attractive handmade gift.
FAQ
1. What yarn is best for crochet coasters?
Cotton yarn is usually the best choice for crochet coasters because it is durable, washable, absorbent, and less likely to stretch dramatically with use. Worsted-weight cotton also gives this turtle coaster enough structure to lie flat.
2. How do you crochet a turtle coaster?
Start with a Magic Ring and increase evenly to create a flat circular shell. Alternate colors to create the decorative shell rings. In the final round, replace selected sc stitches with bobbles to create the head, eyes, and four flippers. Because the features are worked directly into the final round, there are no separate pieces to sew on.
3. How do I stop my crochet coaster from curling?
Curling usually comes from tight tension, insufficient increases, or using a hook that is too small for the yarn. Keep your tension relaxed and make sure every increase is worked correctly. Blocking the completed cotton coaster can also help flatten the finished piece and give the outer edge a professional shape.
Final Pattern Checklist
Before using or selling your turtle coaster, check the following:
-
The center is flat.
-
The shell has alternating green and pink rings.
-
The final round contains exactly 60 stitches.
-
The head is an 8-dc bobble.
-
Both eyes are 3-dc bobbles.
-
Each flipper is a 6-dc bobble.
-
All four flippers are crocheted directly into the shell.
-
No separate pieces have been sewn onto the coaster.
-
The yarn tails are securely woven in.
-
The outer edge is smooth.
-
The coaster lies flat.
-
The bobble features remain slightly raised.
This creates a charming, practical Turtle-Themed Crochet Coaster Pattern inspired by the rounded shell, soft sage-green palette, blush-pink concentric stripes, and cute raised features of the reference design.
Crocheted Giraffe
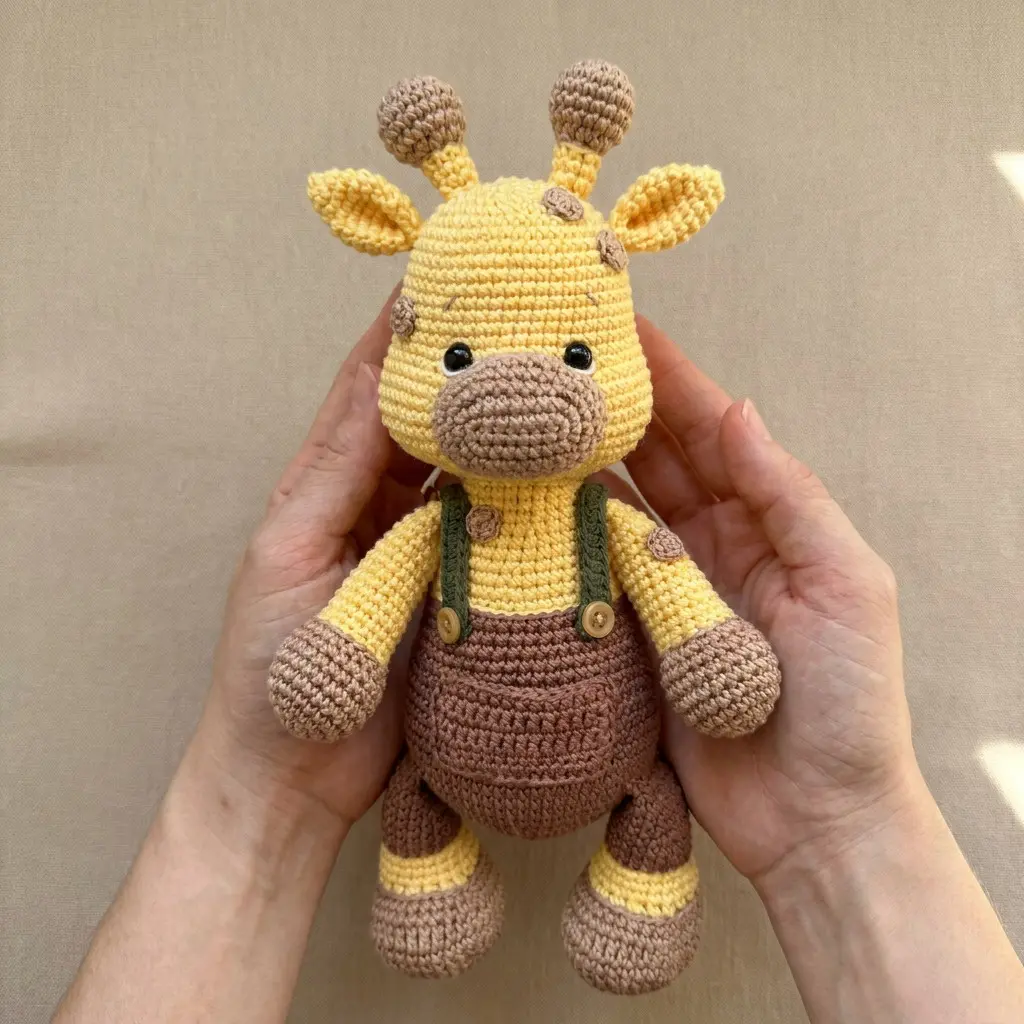
This adorable crocheted giraffe is a fun, beginner-friendly amigurumi project inspired by the sweet handmade giraffe in the photo. With a round head, tiny muzzle, floppy ears, tall ossicones, chunky legs, and cute little overalls, this plush has an irresistibly squishy personality.
The pattern is designed for quick crafting and simple construction. Most of the major pieces are worked directly onto the body with crochet stitches or slip stitches, keeping assembly to a minimum. There is no complicated garment sewing or difficult shaping.
Crocheted Elephant
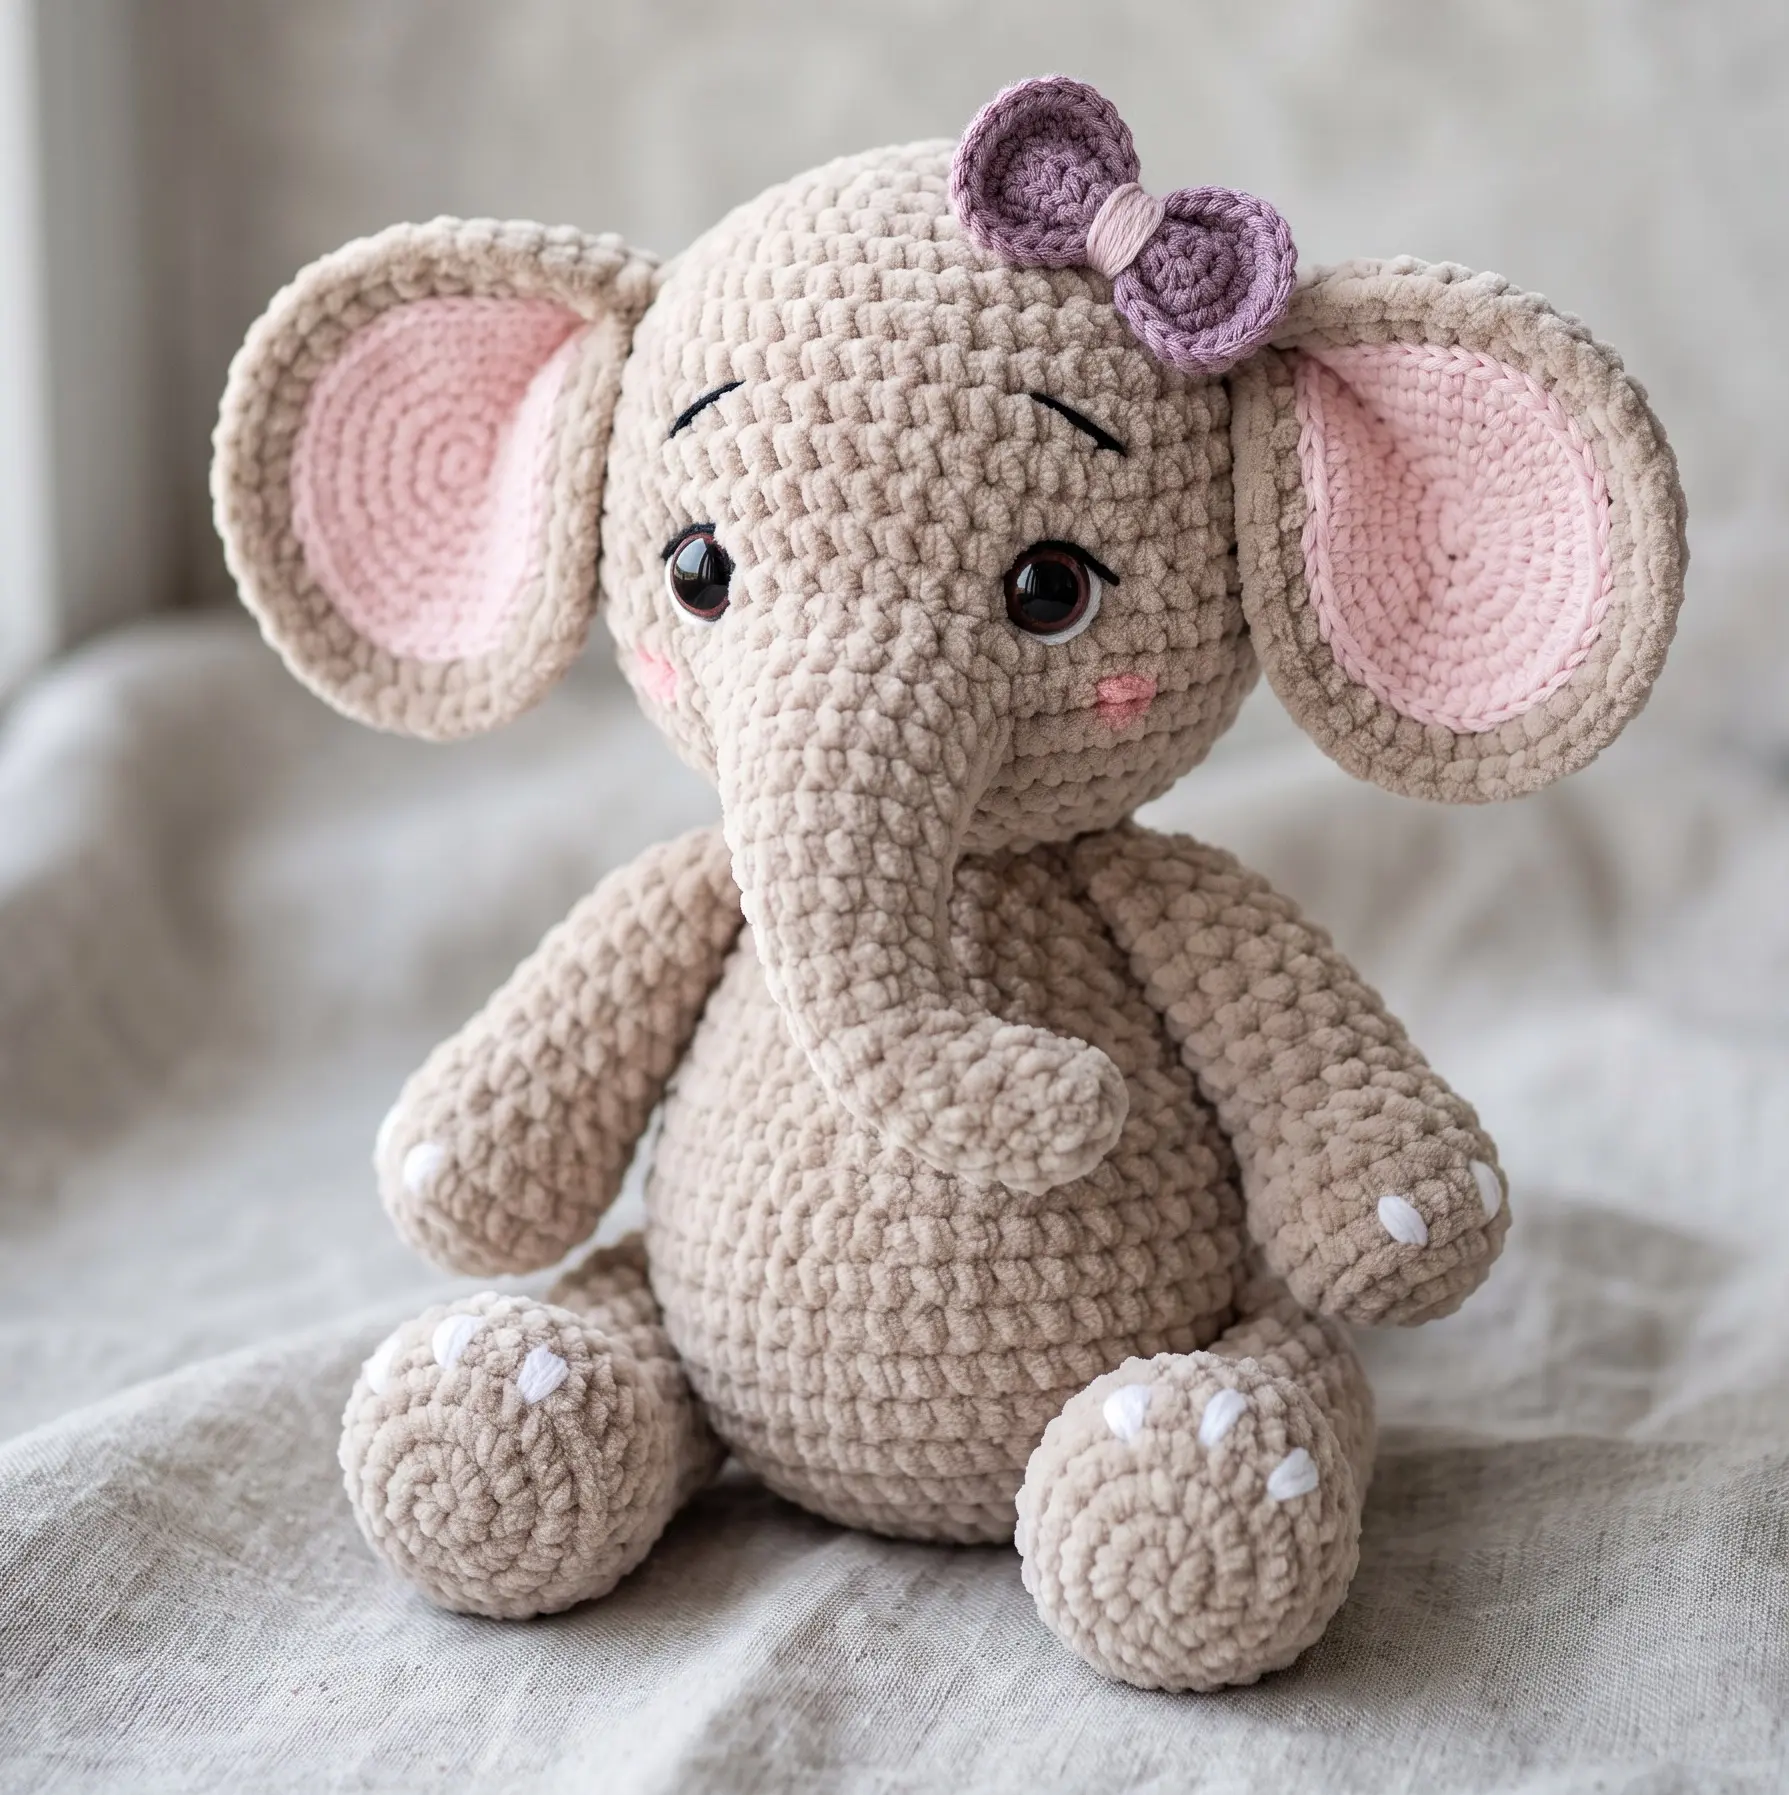
A soft, chubby, squishy crocheted elephant is one of those projects that is almost impossible to resist. With its oversized ears, tiny trunk, round belly, and cuddly chenille texture, this little elephant has the perfect handmade-toy look.
This beginner-friendly pattern is designed for quick crafting with plush yarn. The construction keeps the assembly simple, with parts attached using crochet stitches and slip stitches instead of traditional sewing. That makes it especially appealing if you love no-sew amigurumi and want a project you can finish in a short crafting session.
Easy No-Sew Crochet Wizard Doll Pattern
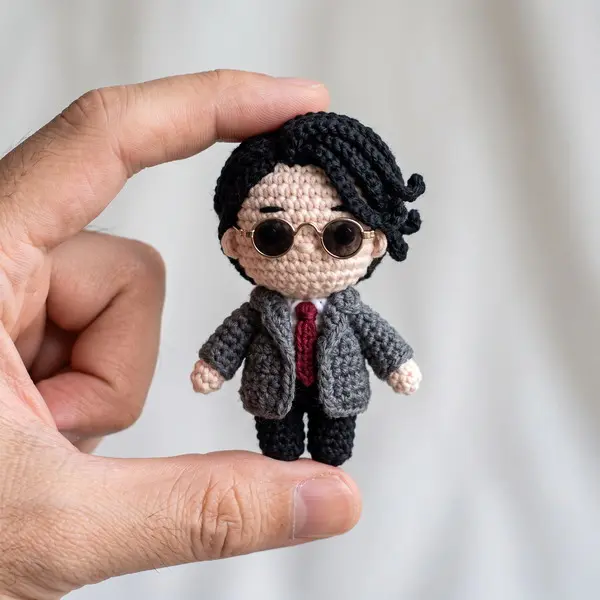
This tiny crochet wizard doll is designed as a quick, beginner-friendly project with a cute, chubby amigurumi shape. Inspired by the handmade wizard-style doll shown in the photo, this version features round glasses, tousled black hair, a gray jacket, a red tie, and little black shoes.
The entire doll is designed with a no-sew construction. The legs are joined directly to the body, the arms are crocheted directly from the body, and the hair, jacket details, and tie are added with crochet techniques rather than sewn-on pieces.
Easy No-Sew Crochet Turtle Pattern Quick Plush Make
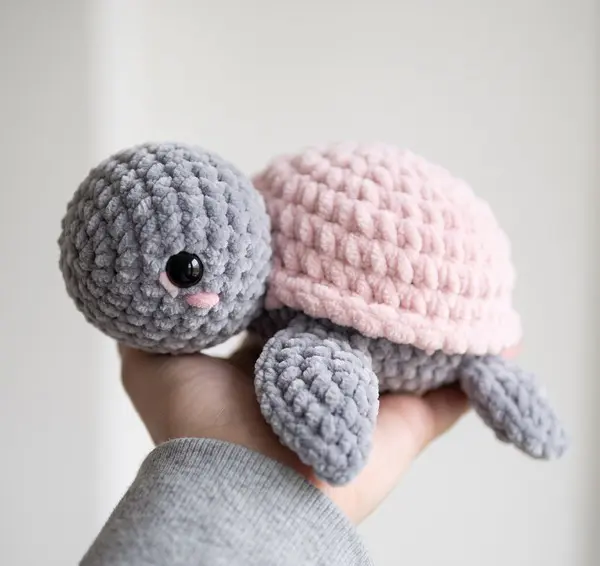
Create an irresistibly cute, chubby turtle inspired by the soft pastel plush in the photo. This Easy No-Sew Crochet Turtle Pattern uses chunky chenille yarn to create a soft, squishy texture and keeps the construction simple.
The head and body are crocheted as one continuous piece. The four flippers and tail are made first, flattened, and then crocheted directly into the body as you work. The pink shell is crocheted separately and attached with a crochet join rather than traditional needle sewing.
Easy No-Sew Crochet Minion Pattern