
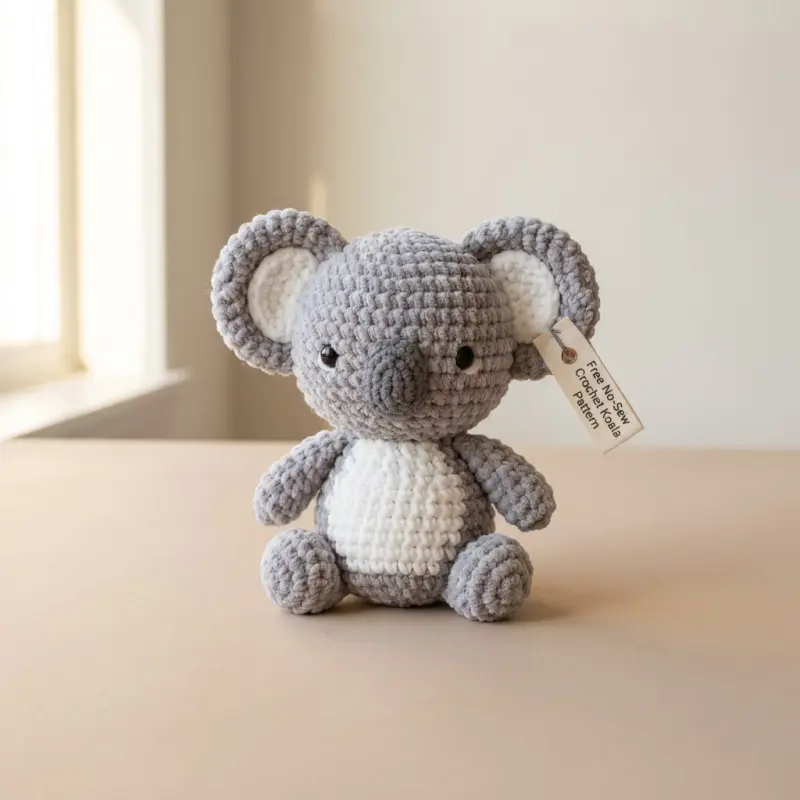
Create an irresistibly squishy Free No-Sew Crochet Koala Pattern with chunky chenille yarn, a round cuddly body, oversized ears, a soft white belly, tiny arms, and adorable little feet. This advanced-beginner amigurumi is designed so the major pieces are crocheted together as you work, eliminating traditional needle-sewn assembly.
The finished koala has the same plush, rounded character as the inspiration photo and works beautifully as a handmade gift, nursery decoration, key-sized plush variation, or craft-fair item.
Materials & Tools
- Super bulky/6 chenille or velvet yarn
- Gray - approximately 100-120 g
- White - approximately 25-30 g
- Black or very dark gray - a small amount for the nose
- 5.0 mm crochet hook or hook size needed to create tight stitches
- 10-12 mm black safety eyes
- Polyester fiberfill
- Stitch marker
- Yarn scissors
- Tapestry needle only if desired for hiding tails; the construction itself requires no sewing
Tip: With chenille yarn, crochet tightly enough that stuffing cannot show through the stitches.
Finished Size
Using super bulky chenille yarn and a 5.0 mm hook, the finished koala will measure approximately 7-8 inches (18-20 cm) tall.
Your finished size may vary depending on yarn weight, hook size, and tension.
Abbreviations
| Abbreviation | Meaning |
|---|---|
| MR | Magic ring |
| ch | Chain |
| sc | Single crochet |
| inc | 2 sc in the same stitch |
| dec | Single crochet 2 stitches together |
| sl st | Slip stitch |
| BLO | Back loop only |
| FLO | Front loop only |
| st/sts | Stitch/stitches |
| Rnd | Round |
| FO | Fasten off |
Pattern is written in standard US crochet terminology.
Part 1: Ears & Limbs
Make the ears, arms, and feet first. They will be attached directly to the head or body with crochet stitches, so there is no traditional sewing.
Outer Ears with Seamless White Centers - Make 2
Each ear is worked from the center outward. The white inner section is crocheted first, followed by the gray outer section.
Ear 1
Rnd 1: With white, MR, 6 sc into ring. (6)
Rnd 2: Inc around. (12)
Rnd 3: [Sc, inc] around. (18)
Change to gray.
Rnd 4: Working in BLO, sc around. (18)
Rnd 5: [2 sc, inc] around. (24)
Rnd 6: [3 sc, inc] around. (30)
Rnd 7: Sc around. (30)
Sl st to the next stitch and FO, leaving a short tail.
Do not sew the ear closed or attach it with a needle.
Ear 2
Repeat the complete ear instructions above, working a second identical ear.
Set both ears aside for the head attachment.
Arms - Make 2
The arms are short, rounded tubes that will be crocheted directly into the body.
Arm 1
With gray yarn:
Rnd 1: MR, 6 sc. (6)
Rnd 2: Inc around. (12)
Rnd 3: Sc around. (12)
Rnd 4: Sc around. (12)
Rnd 5: Sc around. (12)
Rnd 6: Sc around. (12)
Lightly stuff the arm.
Rnd 7: Dec around. (6)
Add a small amount of stuffing if needed so the arm remains rounded. Sl st and FO, leaving the final 6 stitches open.
Do not sew the opening closed.
Arm 2
Make a second arm using the same instructions.
Feet - Make 2
The feet are deliberately larger and rounder than the arms to create the chunky sitting pose shown in the inspiration photo.
Foot 1
With gray yarn:
Rnd 1: MR, 6 sc. (6)
Rnd 2: Inc around. (12)
Rnd 3: [Sc, inc] around. (18)
Rnd 4: Sc around. (18)
Rnd 5: Sc around. (18)
Rnd 6: Sc around. (18)
Begin stuffing firmly but keep the shape soft.
Rnd 7: [Sc, dec] around. (12)
Rnd 8: Dec around. (6)
Add a final small amount of stuffing to maintain the rounded shape.
Sl st and FO.
Foot 2
Make a second identical foot.
Part 2: Main Body & Head
The body and head are worked continuously from the bottom upward.
The legs and arms are joined directly into the body with single crochet. The ears are also attached directly to the head.
There are no sewn-on limbs.
Main Body
With gray yarn, begin at the bottom center.
Rnd 1: MR, 6 sc. (6)
Rnd 2: Inc around. (12)
Rnd 3: [Sc, inc] around. (18)
Rnd 4: [2 sc, inc] around. (24)
Attach the Feet
The feet are attached while working the next round.
Position the first foot on the left side of the body with the opening facing upward. Hold it against the outside of the body.
You will crochet through both the body stitch and one stitch of the foot whenever instructed.
Rnd 5:
Sc in the first 3 body sts, then crochet through the first 9 stitches of Foot 1 and the next 9 body stitches at the same time, working 9 sc through both layers. Sc in the next 3 body sts.
Attach Foot 2 in exactly the same manner across the opposite lower side:
Sc through the next 3 body sts, then crochet through the first 9 stitches of Foot 2 and the next 9 body stitches, working 9 sc through both layers. Sc in the remaining 3 body sts. (24)
The feet are now structurally attached by crochet stitches. Do not sew them to the body.
Rnd 6: Sc around. (24)
Rnd 7: Sc around. (24)
Rnd 8: [3 sc, inc] around. (30)
Seamless White Belly
The white tummy is created through in-round color changes, so there is no separate belly patch to sew on.
The front of the koala is the side where the white section is worked.
Keep gray yarn attached at the back of the work and carry it loosely when working the white section. Do not pull carried yarn tightly.
Rnd 9 - Begin Belly
Sc 11 in gray, switch to white, sc 8, switch to gray, sc 11. (30)
Rnd 10
Sc 9 gray, sc 12 white, sc 9 gray. (30)
Rnd 11
Sc 9 gray, sc 12 white, sc 9 gray. (30)
Rnd 12
Sc 9 gray, sc 12 white, sc 9 gray. (30)
Rnd 13
Sc 10 gray, sc 10 white, sc 10 gray. (30)
Rnd 14
Sc 11 gray, sc 8 white, sc 11 gray. (30)
The belly gradually narrows toward the neck, creating a rounded white tummy rather than a straight rectangular patch.
Rnd 15
Sc around in gray. (30)
At this point, the white belly is complete.
Attach the Arms
Place the arms on the sides of the body.
The arm openings should face upward toward the head.
For the cleanest symmetrical appearance, position one arm on each side of the body.
Rnd 16
Sc 5.
Place Arm 1 against the body. Crochet through 6 stitches of the arm and the next 6 body stitches, working 6 sc through both layers.
Sc 8.
Place Arm 2 against the opposite side. Crochet through 6 stitches of the arm and the next 6 body stitches, working 6 sc through both layers.
Sc 5. (30)
The arms are now permanently incorporated into the body.
Rnd 17: Sc around. (30)
Lightly stuff the entire body before continuing.
Shape the Upper Body
Rnd 18: [4 sc, inc] around. (36)
Rnd 19: Sc around. (36)
Rnd 20: Sc around. (36)
Rnd 21: [5 sc, inc] around. (42)
The stitch count is now increased to create the larger rounded head.
Rnd 22: Sc around. (42)
Rnd 23: Sc around. (42)
Rnd 24: Sc around. (42)
Rnd 25: Sc around. (42)
Rnd 26: Sc around. (42)
Attach the Ears
The ears are attached directly to the head with crochet stitches.
Before beginning this round, flatten each ear slightly.
The 15-stitch attachment edge is the lower half of each ear.
For a symmetrical face:
- Left ear attachment: approximately stitches 5-19
- Right ear attachment: approximately stitches 24-38
- Keep the remaining stitches at the front and back of the head uninterrupted.
Rnd 27
Sc 4.
Place the first ear against the left side of the head. Crochet through 15 ear stitches and the next 15 head stitches simultaneously, working 15 sc through both layers.
Sc 4.
Continue around the back and toward the opposite side until reaching the second ear placement.
Place the second ear against the right side of the head. Crochet through 15 ear stitches and the next 15 head stitches simultaneously, working 15 sc through both layers.
Continue around the remaining stitches.
(42)
If your ear attachment falls one or two stitches differently because of your tension, center each ear visually on the sides of the head. The important point is that both ears should be positioned symmetrically.
Do not sew the ears.
Safety Eyes
Insert the safety eyes before closing the head.
For the proportions shown in the photo, place the eyes approximately between Rounds 24 and 25.
With the koala facing you:
- Left eye: approximately 7 stitches to the left of the center front
- Right eye: approximately 7 stitches to the right of the center front
- Keep the eyes on the same horizontal level.
- Leave approximately 12-14 visible stitches between the eye positions across the front.
For a softer plush appearance, gently press the eye washers into the chenille rather than pulling them extremely tight.
Important Safety Note
For a toy intended for a baby or very young child, embroider the eyes with yarn instead of using plastic safety eyes.
Shape the Face
Continue crocheting around the head.
Rnd 28: Sc around. (42)
Rnd 29: Sc around. (42)
Rnd 30: [5 sc, dec] around. (36)
Rnd 31: [4 sc, dec] around. (30)
Rnd 32: [3 sc, dec] around. (24)
Begin stuffing the head firmly.
Add stuffing around the cheeks, behind the eyes, and beneath the ears. Keep the muzzle area slightly fuller so the koala has the rounded face seen in the reference.
Rnd 33: [2 sc, dec] around. (18)
Rnd 34: [Sc, dec] around. (12)
Add the final stuffing.
Rnd 35: Dec around. (6)
Fasten off and pull the opening closed by drawing the remaining stitches together with the working yarn. This is the only closure needed; no separate piece is sewn on.
Direct-Crochet Koala Nose
The koala's nose should be vertically oval and slightly protruding, matching the chunky appearance of the inspiration image.
Use black or dark gray chenille yarn.
Instead of attaching a separate crocheted nose, create the nose directly over the center-front stitches.
Crochet-embroidered nose
Insert the hook into the center-front area approximately 2-3 rounds below the eyes.
- Pull a loop of dark gray yarn through the center stitch.
- Work 5-7 tightly packed sc stitches vertically across the center of the muzzle.
- Work back over the same stitches with additional sc stitches until the nose becomes a small, raised oval.
- Finish with a sl st.
- Pull the yarn toward the inside of the head.
- Secure the tail by weaving it through several interior stitches.
The finished nose should be approximately ½-¾ inch tall, depending on your yarn thickness.
For the cutest expression, keep the nose slightly wider at the top and narrower toward the bottom.
Optional Sweet Mouth
For the tiny smiling expression:
- Bring a strand of dark gray or black yarn out directly beneath the nose.
- Make one short vertical stitch.
- Add two tiny diagonal stitches extending downward and outward to form a subtle Y-shaped smile.
- Pull the ends inside the head and secure them between the stuffing.
This creates the simple embroidered expression without attaching a separate mouth piece.
Finishing Instructions
Your koala is now completely assembled without traditional sewing.
Clean Up the Yarn Tails
For a truly seamless finish:
- Do not leave long tails hanging outside the toy.
- Pull each remaining tail into the interior of the amigurumi.
- Using your crochet hook, weave the tail through several interior stitches.
- Pull gently so the tail disappears into the stuffing.
- Trim the excess close to the surface.
- Massage the chenille fibers over the area to conceal the end.
Shape the Koala
Give the finished koala a gentle shaping:
- Round the head with your hands.
- Push the stuffing evenly into both cheeks.
- Flatten the ears slightly.
- Angle the arms gently downward.
- Turn the feet slightly outward to create the seated pose.
- Smooth the white tummy so it remains centered.
Final No-Sew Checklist
Your finished koala should have:
- ✓ Two large gray ears with seamless white centers
- ✓ Two short crocheted arms
- ✓ Two chunky rounded feet
- ✓ A continuous gray body and head
- ✓ A rounded white belly worked directly into the body
- ✓ Safety eyes installed before closing
- ✓ A directly crocheted/embroidered dark nose
- ✓ No sewn-on limbs
- ✓ No sewn-on ears
- ✓ No separate belly patch
- ✓ No traditional assembly sewing
The result is a soft, chubby no-sew crochet koala with a plush chenille texture and a clean, handmade finish perfect for gifting or selling at craft fairs.
Crocheted Giraffe
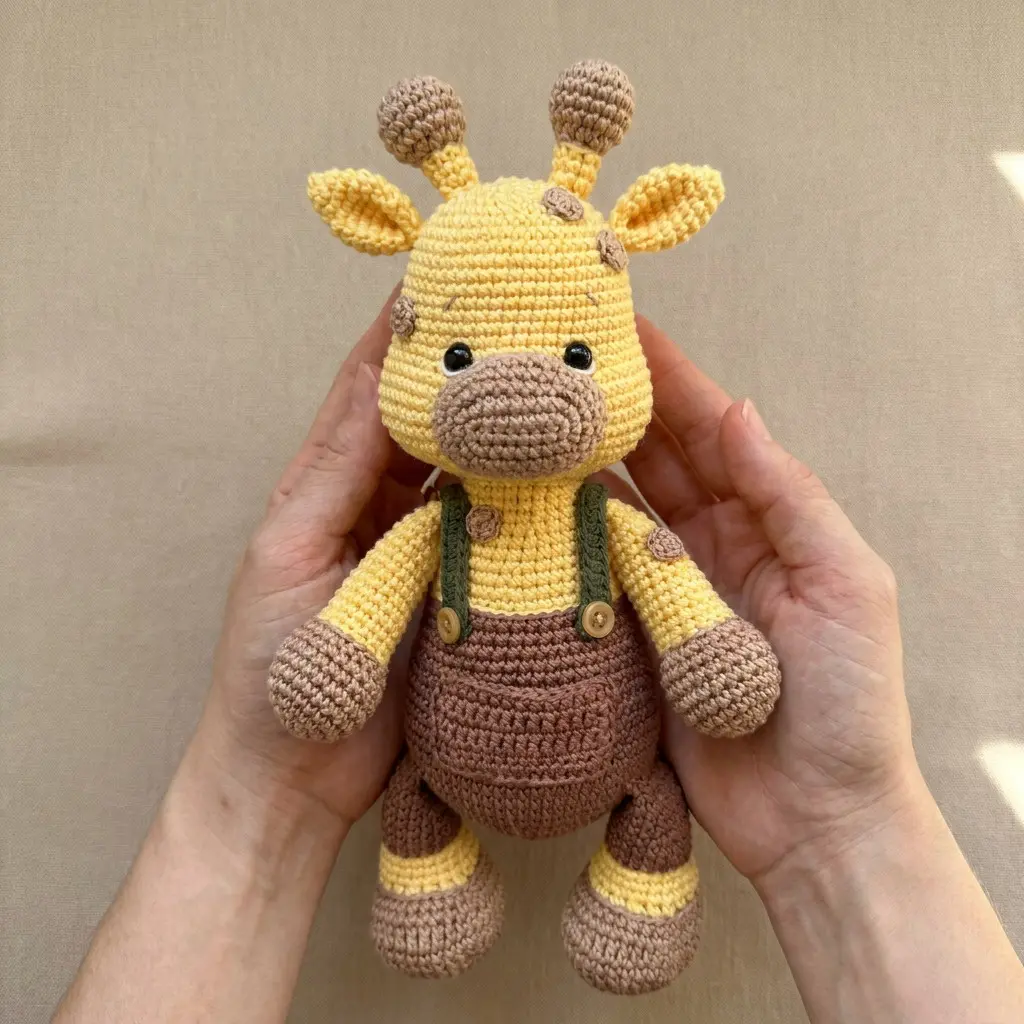
This adorable crocheted giraffe is a fun, beginner-friendly amigurumi project inspired by the sweet handmade giraffe in the photo. With a round head, tiny muzzle, floppy ears, tall ossicones, chunky legs, and cute little overalls, this plush has an irresistibly squishy personality.
The pattern is designed for quick crafting and simple construction. Most of the major pieces are worked directly onto the body with crochet stitches or slip stitches, keeping assembly to a minimum. There is no complicated garment sewing or difficult shaping.
Crocheted Elephant
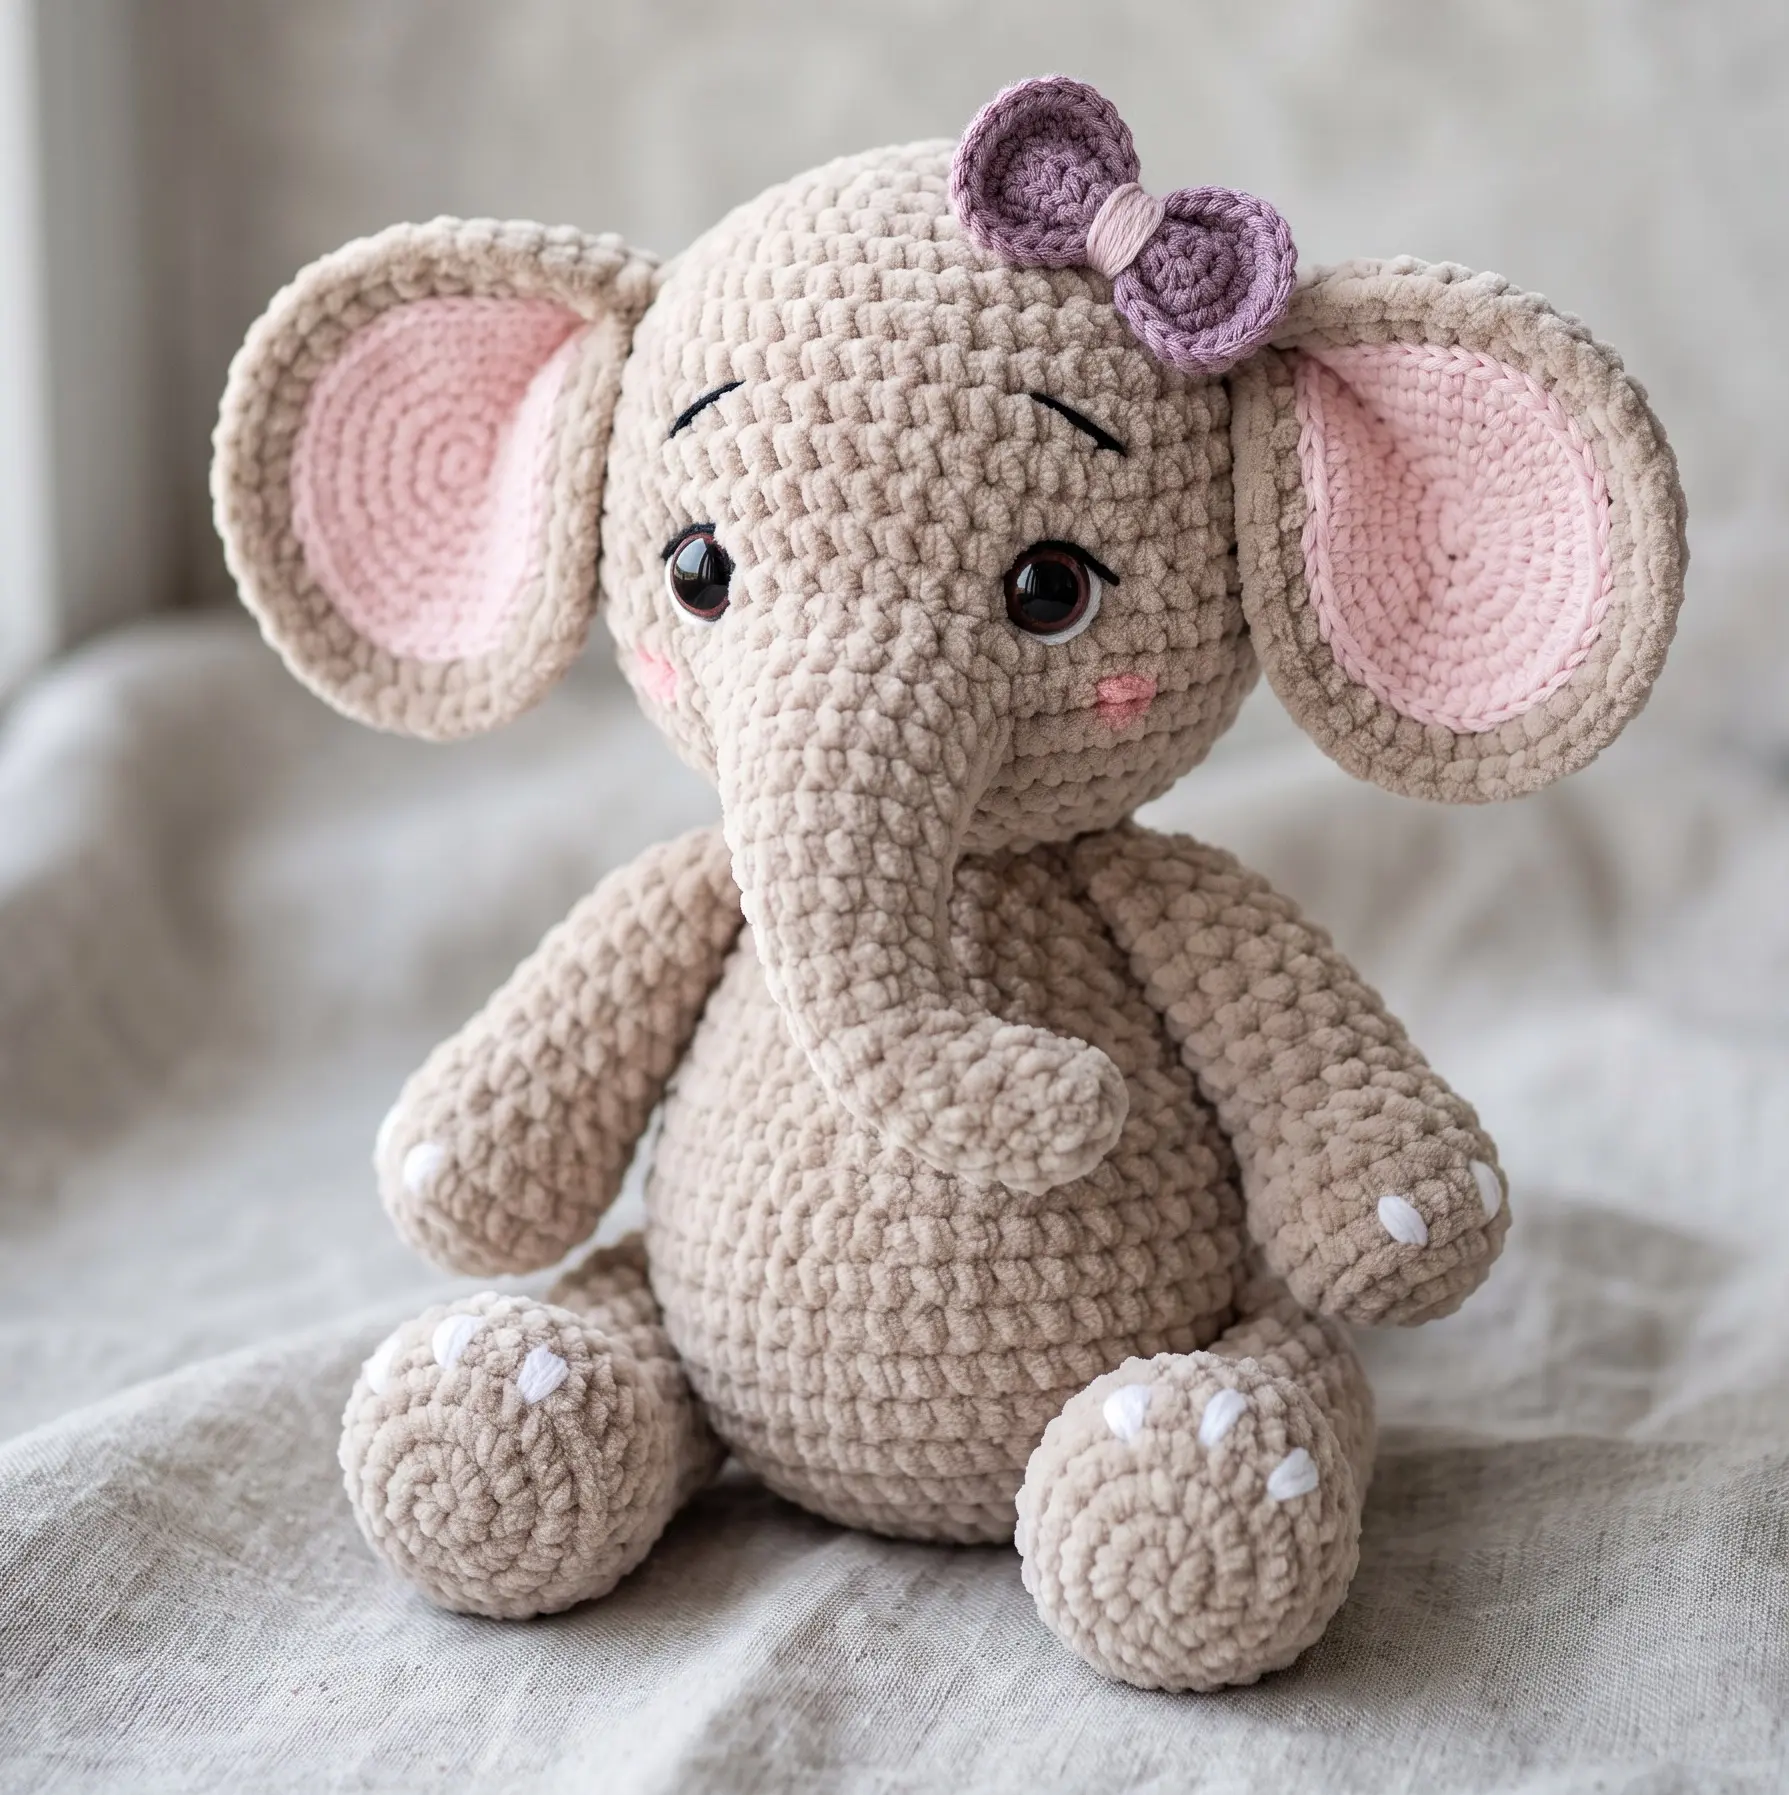
A soft, chubby, squishy crocheted elephant is one of those projects that is almost impossible to resist. With its oversized ears, tiny trunk, round belly, and cuddly chenille texture, this little elephant has the perfect handmade-toy look.
This beginner-friendly pattern is designed for quick crafting with plush yarn. The construction keeps the assembly simple, with parts attached using crochet stitches and slip stitches instead of traditional sewing. That makes it especially appealing if you love no-sew amigurumi and want a project you can finish in a short crafting session.
Easy No-Sew Crochet Turtle Pattern Quick Plush Make
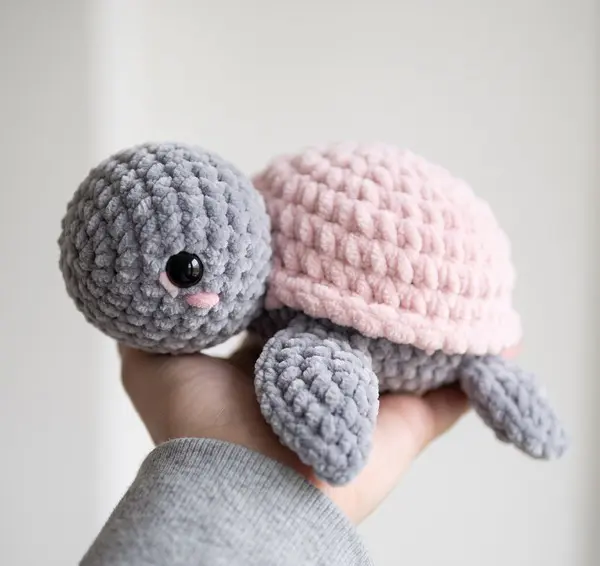
Create an irresistibly cute, chubby turtle inspired by the soft pastel plush in the photo. This Easy No-Sew Crochet Turtle Pattern uses chunky chenille yarn to create a soft, squishy texture and keeps the construction simple.
The head and body are crocheted as one continuous piece. The four flippers and tail are made first, flattened, and then crocheted directly into the body as you work. The pink shell is crocheted separately and attached with a crochet join rather than traditional needle sewing.
Easy No-Sew Crochet Bunny Pattern A Quick, Squishy Plush
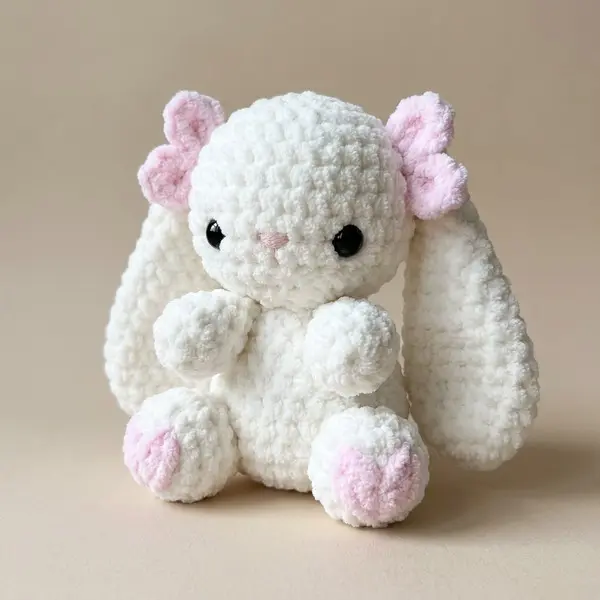
A super-soft bunny with long floppy ears, chubby paws, pink axolotl-style gills, and sweet little feet. This design is worked primarily in continuous rounds, with the ears, arms, feet, and pink gills crocheted onto the main piece using crochet joins rather than needle sewing.
Amigurumi Puppy
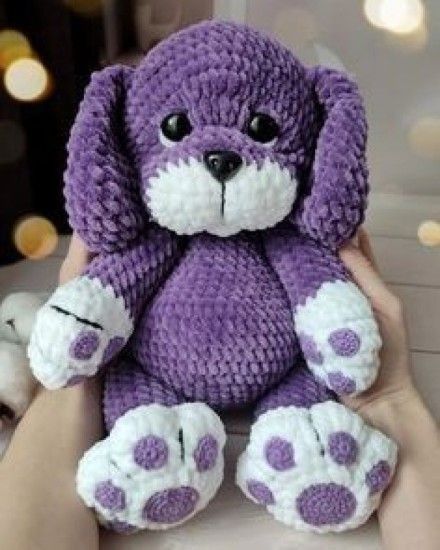
Create an irresistibly cuddly Amigurumi Puppy Crochet Pattern inspired by the adorable plush puppy shown in the photo. This chubby puppy features a deep violet body, oversized floppy ears, a soft white muzzle, and large white paws decorated with contrasting purple paw pads.
The pattern uses super bulky chenille yarn and is designed for advanced beginners who are comfortable crocheting amigurumi in continuous rounds, changing colors, increasing, decreasing, and sewing simple pieces together.