Lower Body and Feet
Round 25 - Integrated Feet
Work the following sequence:
-
3 sc.
-
1 Foot Bobble.
-
1 dec.
-
4 sc.
-
1 dec.
-
4 sc.
-
1 dec.
-
4 sc.
-
1 Foot Bobble.
-
1 dec.
-
4 sc.
-
1 dec.
-
4 sc.
-
1 dec.
(30 sts)
The two bobbles become the koala's rounded feet.
Because they are worked directly into the body, there is no foot assembly.
Round 26
Sc in each stitch around.
(30 sts)
Round 27
Sc in the next 3 sts, dec in the next 2 sts around.
(24 sts)
Round 28
Sc in each stitch around.
(24 sts)
Add more stuffing.
Concentrate the fiberfill around the lower belly and sides.
The koala should now feel pleasantly firm and squishy.
Round 29
Sc in the next 2 sts, dec in the next 2 sts around.
(18 sts)
Round 30
Sc in each stitch around.
(18 sts)
Check the shape before closing.
Add small amounts of stuffing through the opening until the body is evenly filled.
Round 31
Sc in the next stitch, dec in the next 2 sts around.
(12 sts)
Stuff firmly one final time.
Use a crochet hook or stuffing tool to push small pieces of fiberfill into any visible gaps.
Avoid creating hard lumps.
Round 32
Dec around.
(6 sts)
Fasten off.
Leave a short yarn tail.
Using your crochet hook, pull the yarn tail through the remaining 6 stitches and gently tighten the opening closed.
Tuck the tail inside the body using the crochet hook.
No sewing is required.
Finishing Touches
Add the Sweet Pink Nose
The large muzzle bobble provides a natural place for the koala's nose.
For the classic look:
-
Thread a tapestry needle with pink embroidery thread.
-
Bring the thread through the center of the muzzle.
-
Make several small horizontal stitches to form a soft oval nose.
-
Add one or two stitches beneath the nose if you want a slightly more dimensional expression.
-
Pull the thread gently so the nose sits securely against the muzzle.
-
Hide the thread ends inside the body.
This small embroidery detail is optional. It does not attach any crochet components, so the actual plush construction remains completely no-sew.
For a strictly crochet-only finish, you can also leave the muzzle gray or crochet a tiny oval nose directly into the muzzle using surface stitches.
Shape the Koala Ears
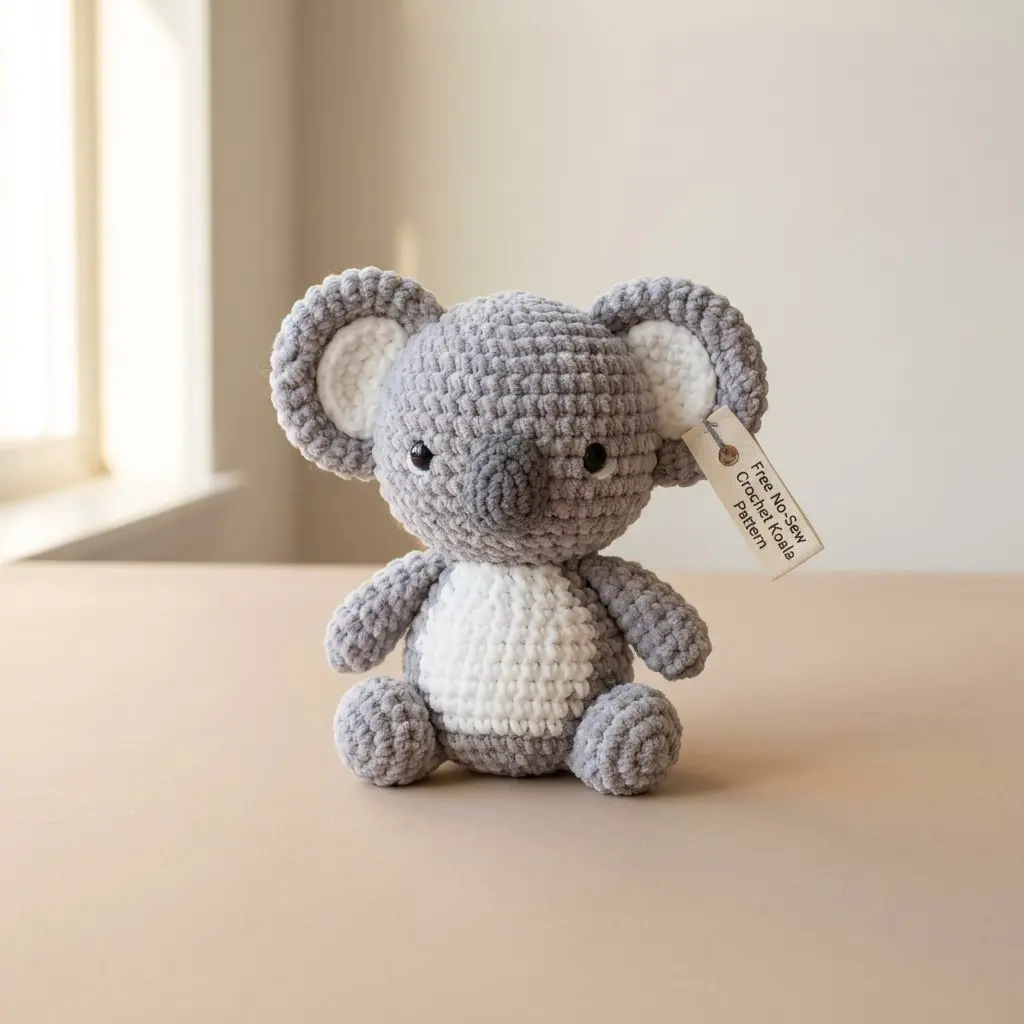
The ears are intentionally created as rounded loops to match the classic koala silhouette shown in the inspiration image.
To make them extra cute:
-
Pinch the lower part of each ear gently.
-
Curve the outer edge slightly backward.
-
Keep the upper portion rounded.
-
Avoid flattening the entire ear.
-
Adjust both ears so they sit at approximately the same height.
Because the ears are crocheted directly into the head, they should remain securely attached.
Shape the Feet
The foot bobbles may look slightly small immediately after crocheting.
Use your fingers to gently massage the chenille fibers.
Round each foot outward.
If necessary, push a tiny amount of fiberfill toward the lower body behind each bobble to give the feet more volume.
Shape the Arms
The chain-loop arms can be gently pulled downward and outward.
For a relaxed sitting koala, angle the arms slightly toward the feet.
For a more upright pose, leave the arms pointing downward.
Do not pull aggressively because chenille yarn can stretch.
Hide Yarn Tails Without Sewing
A true no-sew construction does not require a tapestry needle for assembly.
Instead:
-
Use your crochet hook to pull yarn tails into the inside of the plush.
-
Thread tails backward through several nearby stitches with the hook.
-
Pull gently.
-
Trim the excess inside the toy.
-
For color-change tails, tuck them between the dense chenille stitches.
-
Never leave long loose tails on the exterior.
Tips for the Squishiest Koala
Use Dense Stitches
Amigurumi should be crocheted tightly enough that stuffing does not show through.
If you can easily see fiberfill between your stitches, switch to a smaller hook.
Do Not Overstuff the Head
The koala should look soft and rounded rather than stiff.
Add stuffing gradually.
Rotate the toy while stuffing so the fiberfill distributes evenly.
Check the Face Before Finishing
The eyes have a huge effect on the personality of an amigurumi.
Before permanently securing the safety-eye washers, check:
-
Eye height.
-
Eye spacing.
-
Muzzle alignment.
-
Overall symmetry.
A tiny adjustment can completely change the expression.
Keep the White Belly Centered
The white belly uses 24 stitches on the front of the 48-stitch body rounds.
When changing colors, make sure your stitch marker stays in the correct first stitch.
This keeps the belly centered and prevents it from gradually drifting around the body.
Why This No-Sew Koala Is Great for Craft Fairs
This pattern is particularly useful for handmade sellers because there are no separate body parts to assemble.
That means:
-
Less finishing time.
-
Less sewing.
-
Fewer loose components.
-
A consistent production process.
-
Easy color customization.
-
Fast batch crocheting.
-
A cute, recognizable animal that attracts attention.
Make several in different colors for a coordinated market display.
Try:
-
Classic gray and white.
-
Light gray and cream.
-
Warm beige and white.
-
Ginger and cream.
-
Brown and ivory.
-
Dusty pink and white.
The same construction can also be used as a starting point for creating a whole collection of seamless woodland animals.
Beginner Troubleshooting
My koala is too loose.
Try using a smaller hook.
A 4.5 mm hook may produce a tighter fabric than a 5.0 mm hook.
My koala is much smaller than the sample.
Your yarn may be thinner or your tension tighter.
Use a thicker chenille yarn or a slightly larger hook.
The belly is off-center.
Check your stitch marker and color-change positions.
The white section should contain exactly 24 stitches between 12 gray stitches on each side.
The ears look uneven.
Gently reshape the chain loops before finishing.
Chenille yarn is forgiving and can often be repositioned with your fingers.
The feet look too flat.
Massage the bobbles to separate the chenille fibers.
You can also push a small amount of stuffing underneath the feet from inside the body before closing.
The koala looks too skinny.
Add more stuffing around the cheeks, sides, and lower body.
The finished character should have a noticeably rounded silhouette.
Pattern Recap
This Free No-Sew Crochet Koala Pattern uses a simple top-down construction.
The major design features are:
-
One-piece seamless construction.
-
Integrated rounded ears.
-
Integrated arms.
-
Integrated bobble feet.
-
Integrated tail.
-
Crocheted muzzle.
-
Safety eyes.
-
White belly created with color changes.
-
Optional embroidered pink nose.
-
No sewing required for assembly.
The result is a soft, chubby koala that is especially adorable when made with plush chenille yarn.
Final Notes
This pattern is designed as an original beginner-friendly plush construction inspired by the proportions and overall aesthetic of the supplied koala photo. The rounded ears, oversized head, tiny limbs, prominent muzzle, and white belly are intentionally emphasized to capture that cuddly plush character.
For the best result, keep your tension consistent, check your stitch counts at the end of every round, and stuff gradually.
Most importantly, enjoy the process.
A seamless amigurumi project should feel relaxing-not like a battle with a tiny sewing needle!
Realistic Labrador Amigurumi Crochet Pattern
Amigurumi Snake Crochet Free Pattern
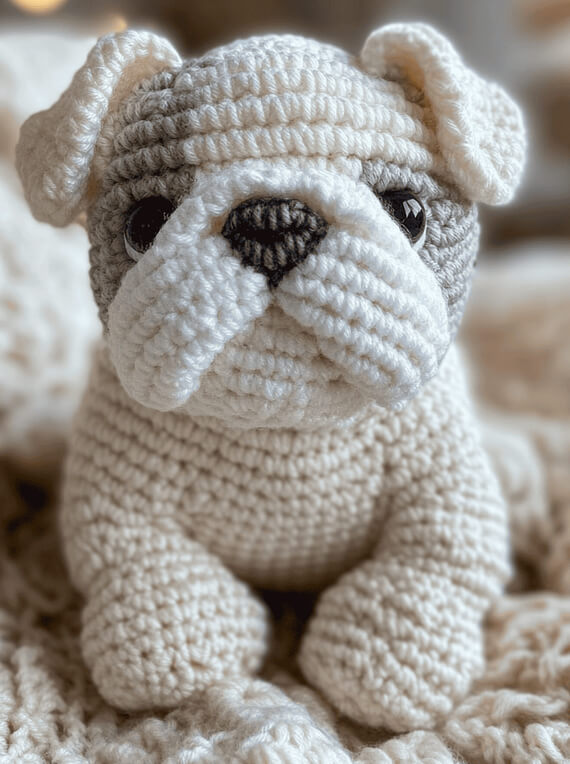
White English Bulldog Amigurumi Crochet Pattern
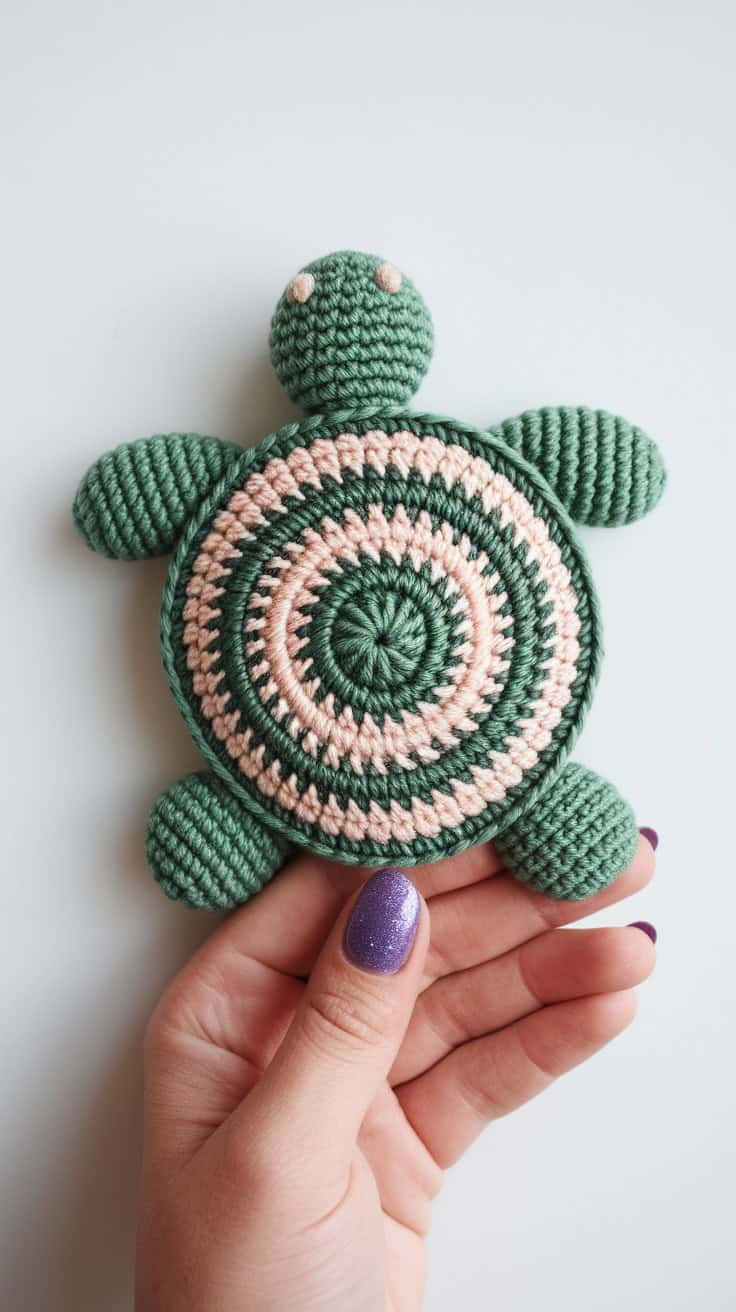
Turtle-Themed Crochet Coaster Pattern
No-Sew Baby Animals Amigurumi Crochet Patterns Bundle